Adding filters to Instagram photos is a practice that goes back to the app’s early days. If you were an early adopter, scroll back to your first posts and you’ll probably find photos you posted with the stylish, washed out Valencia filter. Since then, however, the default Instagram filters have fallen out of favor, but many popular accounts still have a certain visual consistency across its posts, some of which look great, while others look outlandish for the sake of style. In fact, filters have been replaced by presets: pre-determined sets of image adjustments created and implemented using Adobe’s Lightroom photo editing software.
The Atlantic has a great look at the latest trend of Instagram influencers selling image presets that allow followers to give their photos the same overall look. Adobe only gave the mobile version of Lightroom the ability to use custom and purchased presets, even though photographers had been using them on computers for years.
You can use presets from photography companies like Mastin Labs, which makes excellent presets designed to mimic the look of film photography. VSCO uses a similar approach, but its interpretations of film looks are less authentic and more stylized. But these companies have been around for years. Photographers also sell their own custom presets.
But now, you can also buy presets from makeup companies or YouTube personalities. Or, you can just make them yourself. Here’s how to do it
You’ll need access to Lightroom, which is part of Adobe’s Creative Cloud. You don’t need the full Creative Cloud subscription, but rather the much-cheaper $10 per month Creative Cloud for Photographers plan that includes the full versions of Photoshop and Lightroom.
You can create presets in the app or the desktop version. Here’s a quick guide to each.
Creating presets in the Lightroom CC app
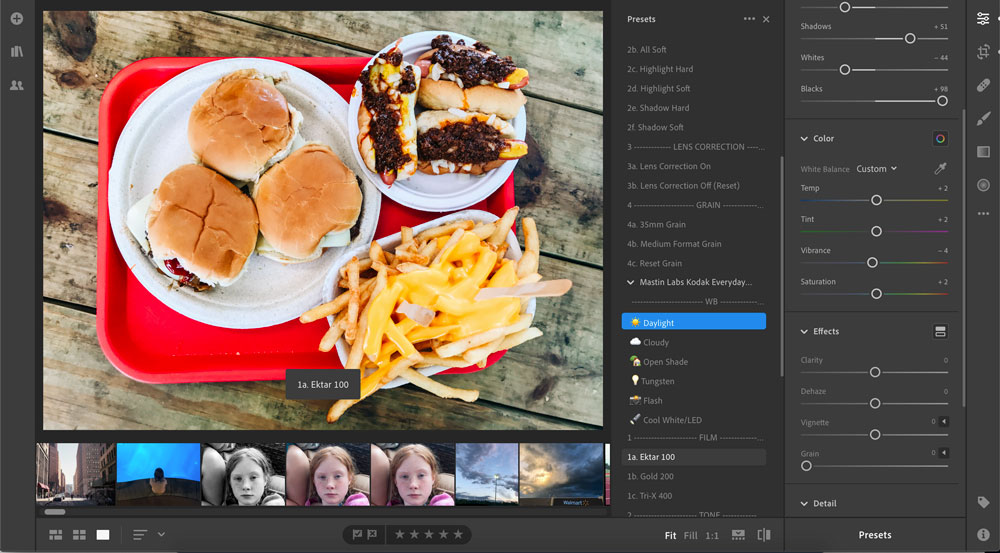
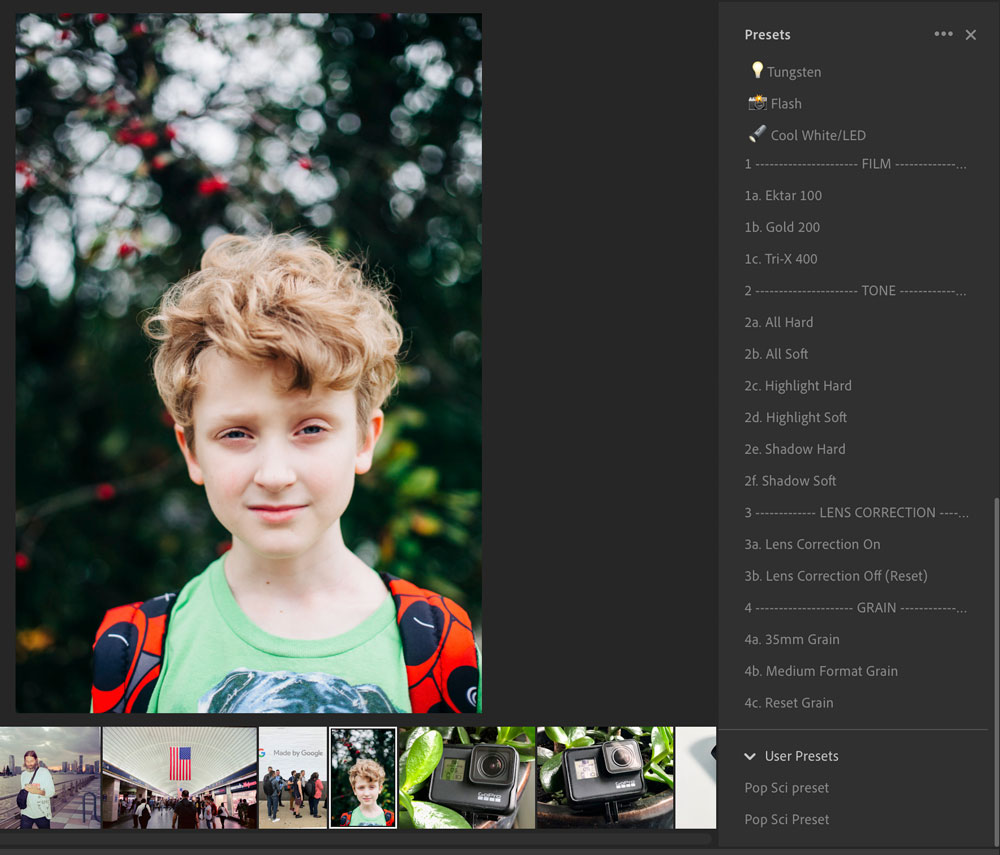
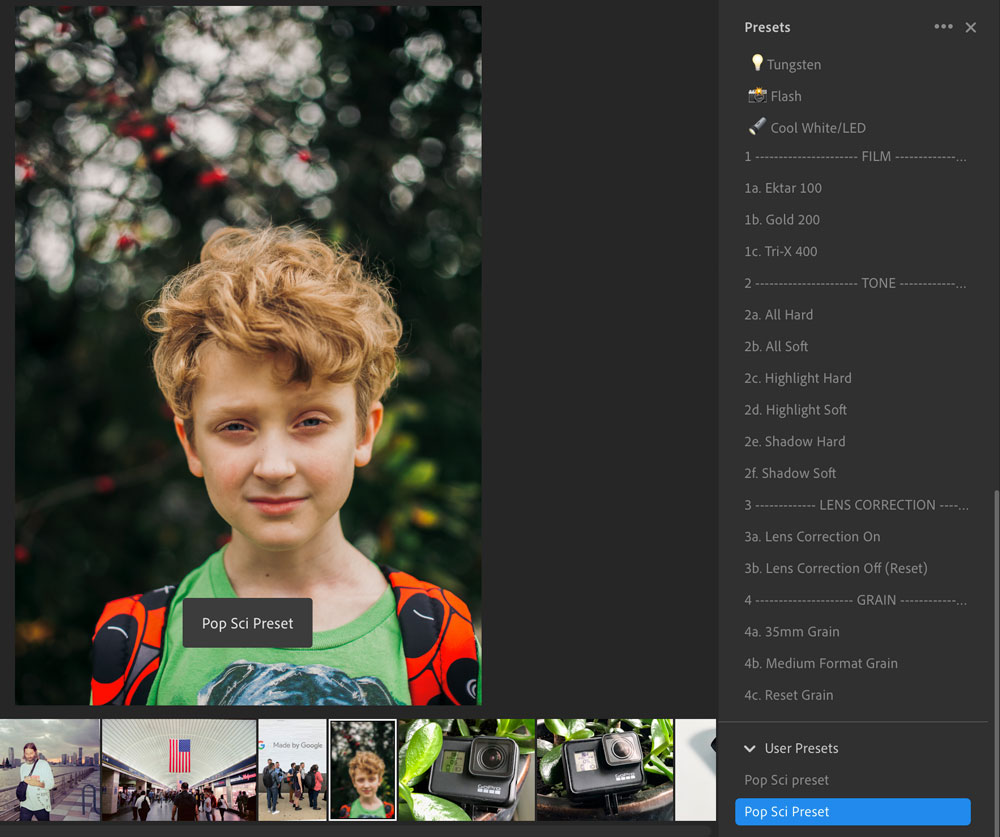
Open a photo and edit it so it has the look you want by adjusting things like contrast, brightness, and saturation. Then scroll over to the Presets tool in the bottom right part of the screen. Once you’re in that screen, click the three dots in the top right corner. It gives you the option to create a preset. Once you click that, it will save all the adjustments you’ve made so it can later apply them to other photos.
You can pick and choose what kinds of adjustments you want to include as part of the preset, so if you want to change the color of the photos, but not the brightness or contrast, you can do so.
Creating presets in the desktop version
The process is simple here, too. Click on the Presets tab on the bottom right of the screen and it will list the default presets for you. Open and edit an image so it looks how you want, then click “Create a new Preset.” From here, it’s the same process as creating a preset in the app.
Getting the look right
This is a trial-and-error process, so there’s a good chance your first preset won’t look good when you try to apply it across a variety of photos. Once you know what your go-to look will be, you’ll likely want to start shooting photos that lend itself to that look. So, if you want lighter, brighter pictures, you’ll want to expose your original photos to accommodate that look. If you like bright and contrasty, look for things that will look good when you punch them up. Graffiti walls look great with lots of contrast, but most human faces do not.
Many influencers and companies team up with companies or photographers who know their way around the various adjustments within the app to help them nail the style, but you can get there by experimenting if you want. Here’s a simple overview of what each slider does to a photo.
As a final tip, be careful about having too heavy a hand when editing. Gobs of saturation or lots of “clarity,” (that’s is a word Adobe uses to describe “midtown contrast” that’s nice in small doses, but makes things look gritty in excess) will look bad down the road.
Now you’re ready to get rich
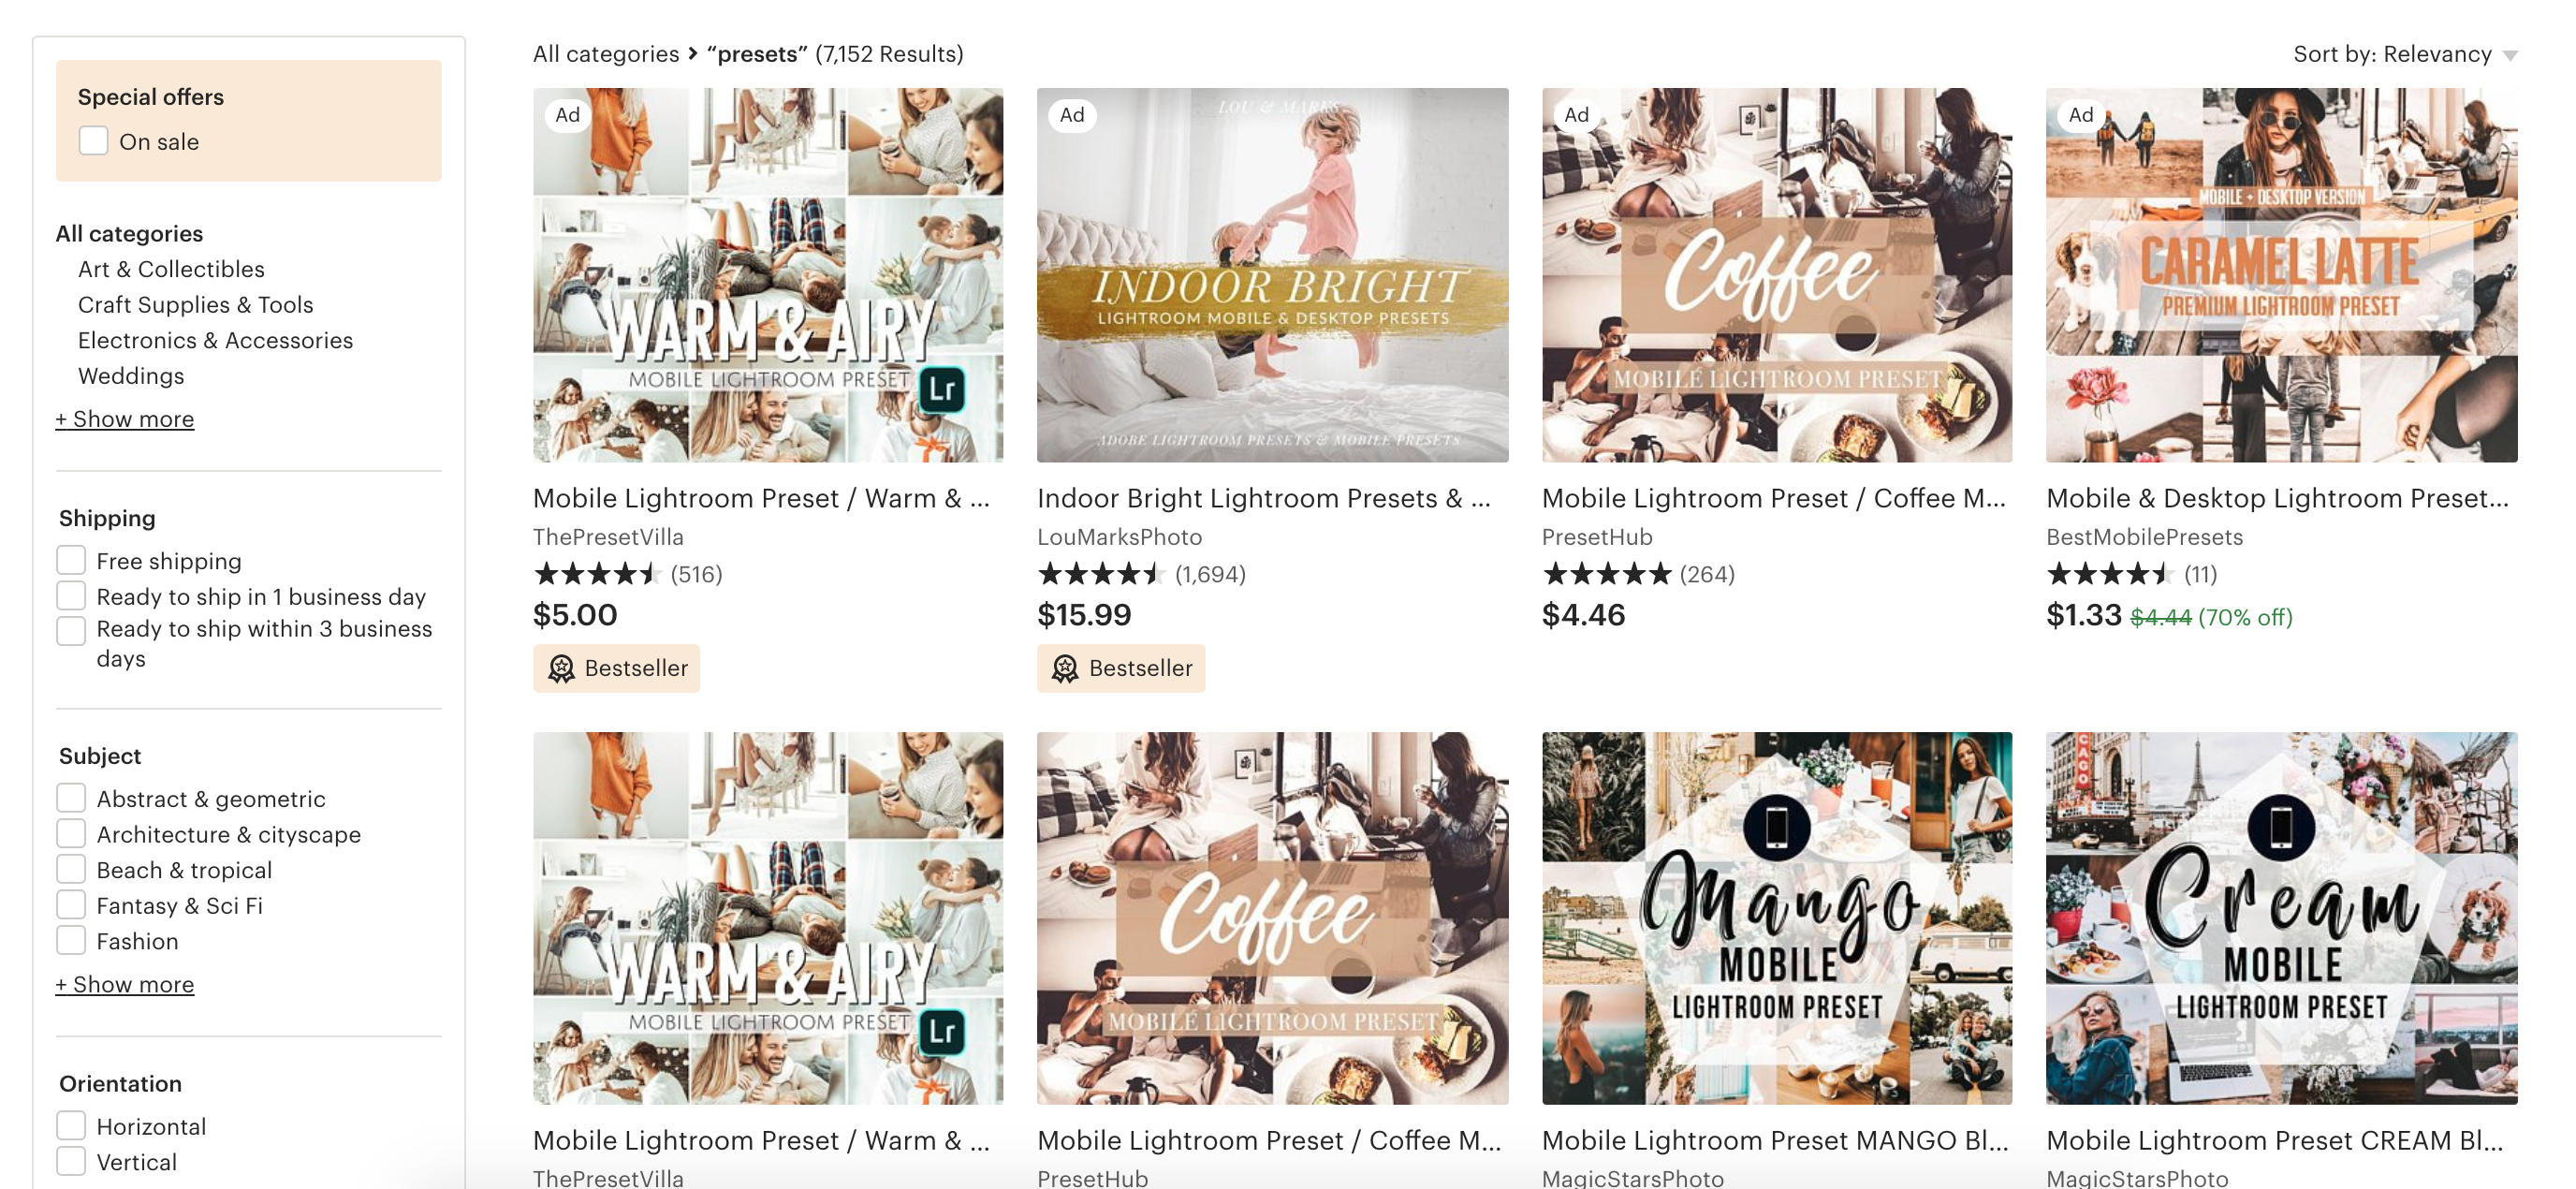
Once your preset is ready and you’re already internet famous so people will buy anything you’re trying to sell, especially if they think it will grant you access to some of their fame, you can export your presets as files and sell them through any online store like Shopify or Squarespace’s. There’s also a bustling market for presets on Etsy, where some packs of settings can sell for hundreds of dollars depending on the look or how famous the creator is.