
We may earn revenue from the products available on this page and participate in affiliate programs. Learn more ›
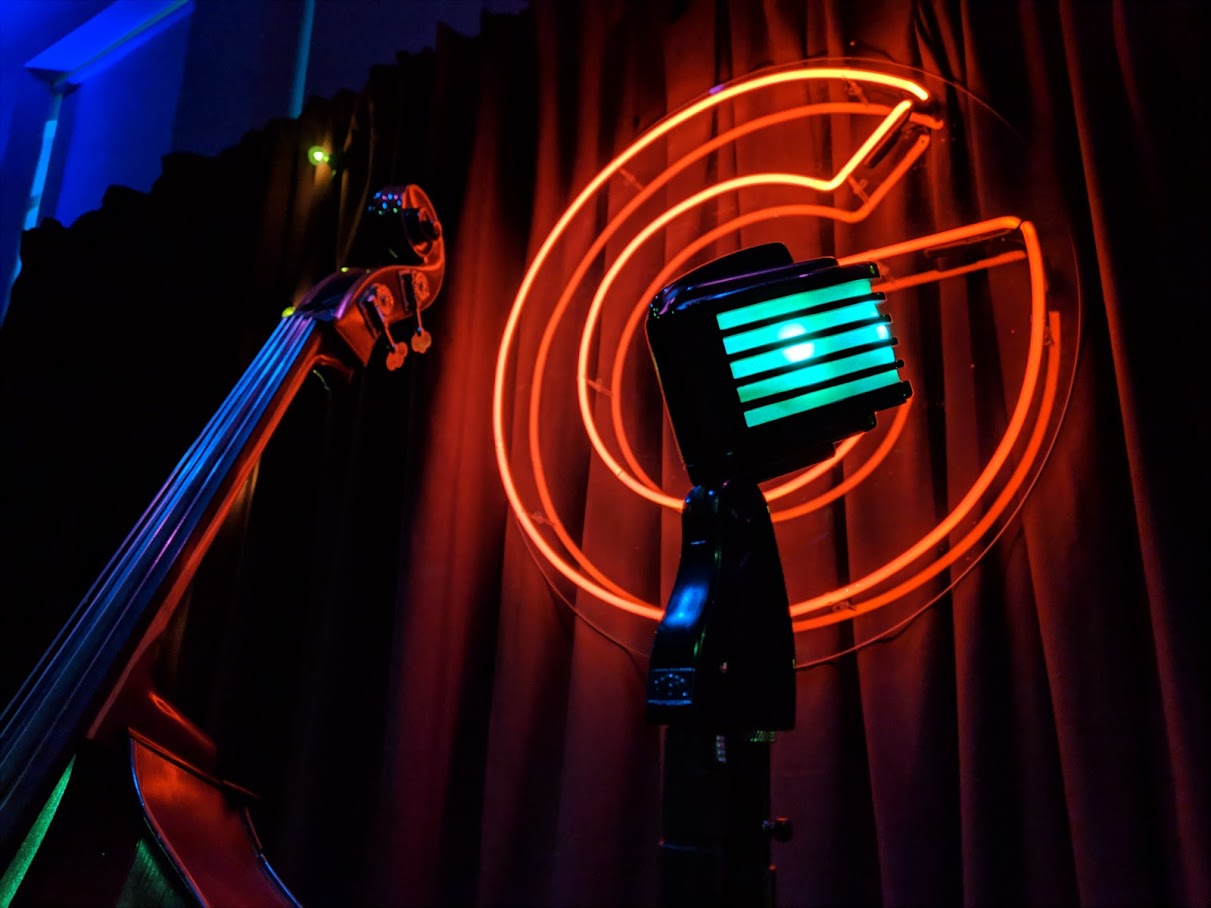
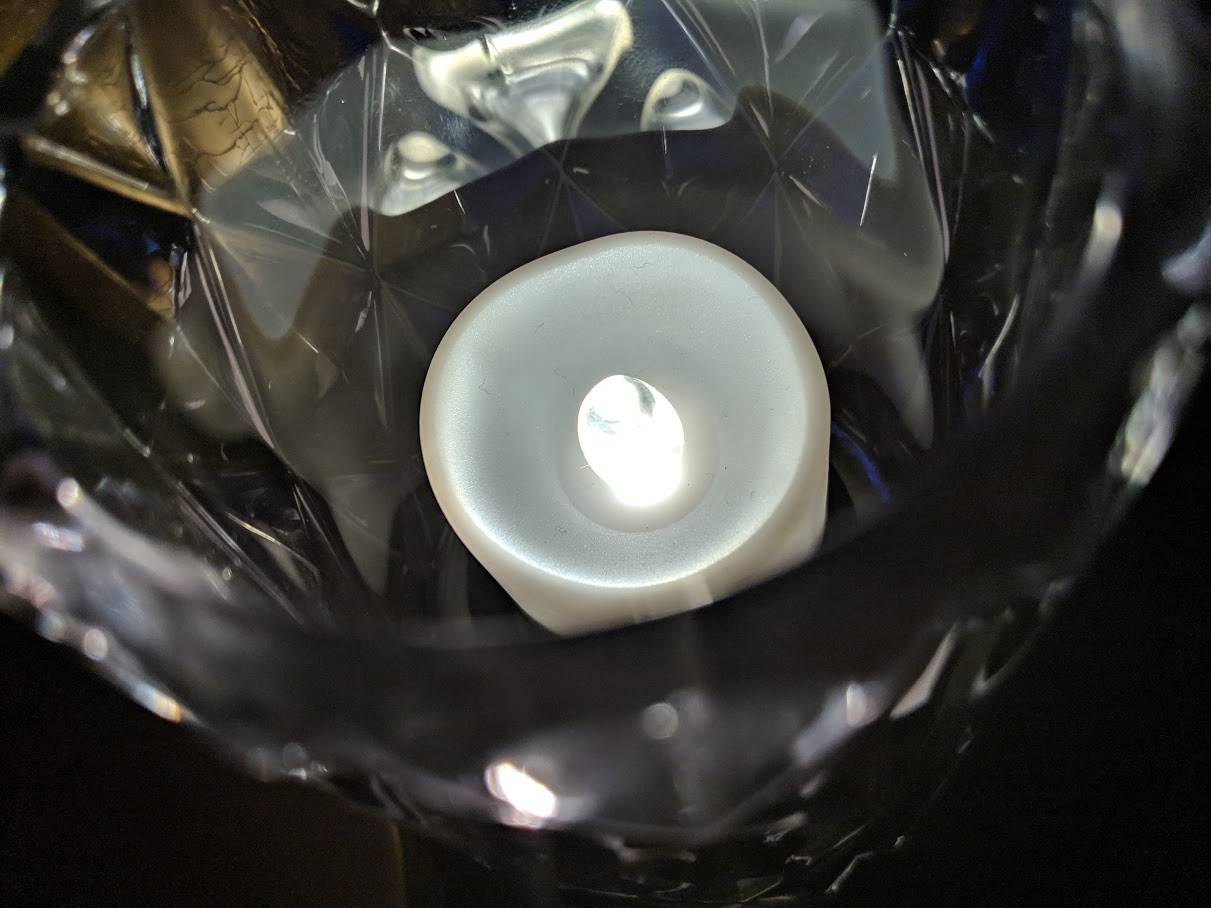
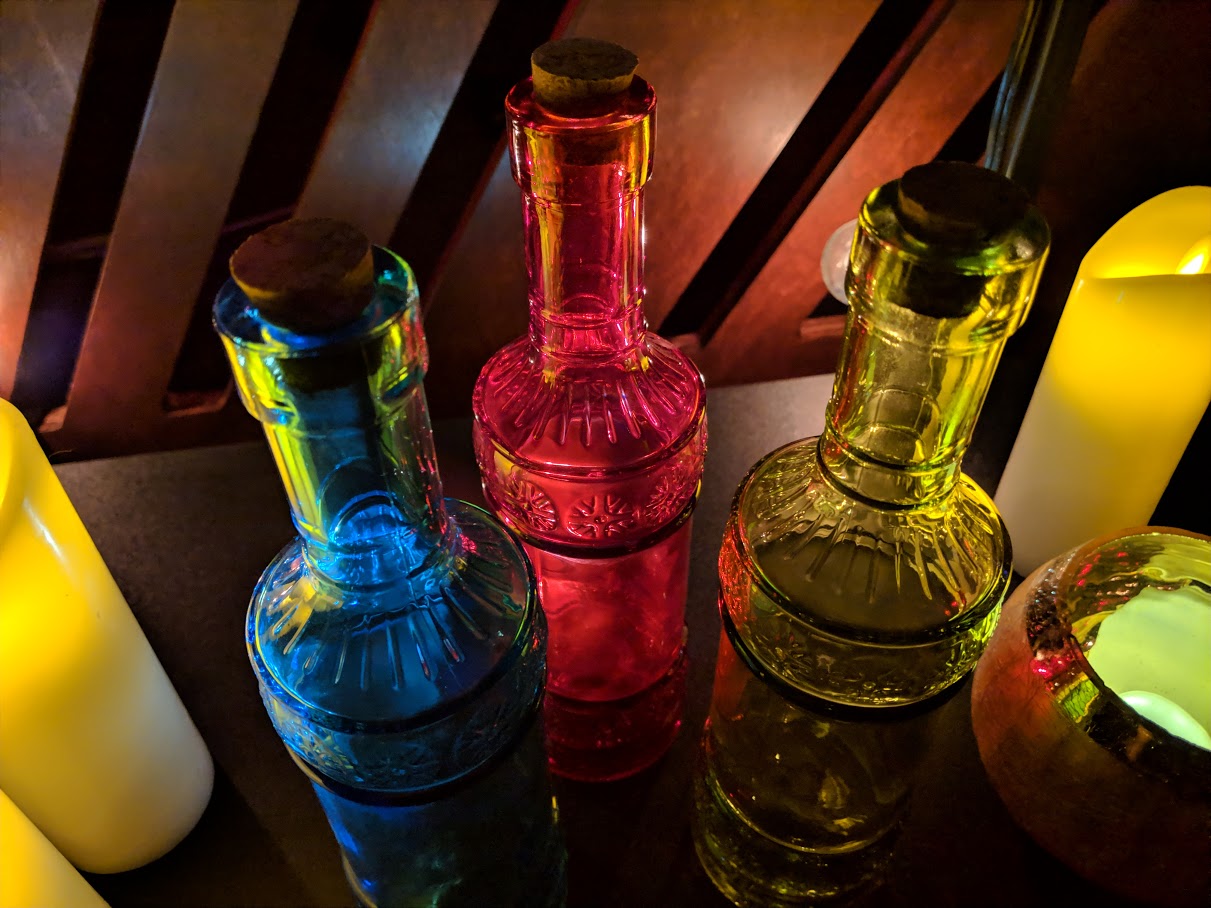
Right now, the Google Pixel 3 has arguably the best overall camera of any smartphone. It doesn’t have some of the hardware features like a dedicated telephoto lens or extra cameras modules to increase contrast. Instead, it uses a form of high-dynamic range (HDR) photography that combines multiple images into a single final frame with less noise, more detail, and better over image quality than a single capture. Recently, Google introduced its new Night Sight mode, which raises the stakes even more on the Pixel 3’s low-light capabilities—and it’s impressive. In fact, as a die-hard camera enthusiast, I find it almost annoyingly good.
But, Night Sight isn’t magic, so you can improve upon it, and not every smartphone has access to the tech. But, that doesn’t mean you’re stuck with grainy, ugly-colored night photography. Here’s a look at Night Sight, as well as how you can improve upon it and even emulate it with a different device.

What is Night Sight?
Every time you take a picture with a modern, high-end smartphone, you’re actually taking several images. The camera then takes information it needs from those images and smushes them together to try and preserve useful image data from each frame. This is called HDR and it’s standard operating procedure for smartphone cameras in 2018.
Google’s Night Shot goes beyond what the typical HDR photo captures. While some of the specific tech behind the capture mode are secret, Google says Night Sight combines multiple frames, some of which are long exposures that can be up to a full second long (the length of the exposure changes depending on the stability of the camera). Those long exposures let in more light, but also give the camera time to wiggle while the shutter is open, which causes camera shake and ultimately blur. To combat this, Google combines light captured from the long exposure with details from a shorter exposure in order to get an image that’s sharp, but also has better exposure.
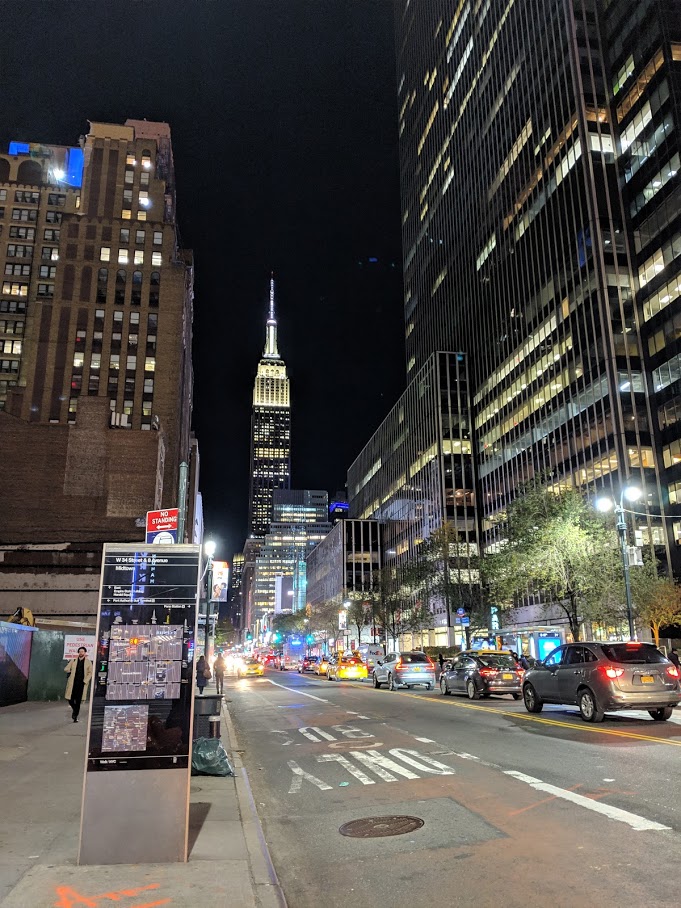
Night Shot is also designed to combat digital noise, which are those ugly, grainy artifacts that show up in photos you take in the dark. Typically, the hardware solution to solving noise is to use a bigger sensor with bigger pixels that can capture more light from a scene, which cuts down on the need to amplify the signal. Night Sight, however, uses clever software strategies. For instance, the camera can analyze multiple frames and observe when noise appears in one frame but not the others. It realizes it’s an artifact and not part of the scene, which helps to eliminate it.
There are downsides to Google’s Night Sight strategy, though. Snapping a shot, for instance, takes considerably longer than shooting a regular photo, especially after you’ve fired the shutter and the phone needs to crunch the image data together to make the final file. That also means you can’t really shoot bursts of photos in succession to try and capture multiple finished photos of a single scene.
But, if you have a subject that’s willing to sit still, the results really are impressive, at least for an unedited image.
If you currently have a modern smartphone, there’s a good chance the camera inside is rather excellent. And if you don’t have access to Night Sight at the moment,—it’s only available in Google’s Pixel 2 and 3 phones—you can use a little post-processing elbow grease to make your night shots look better. Here’s how.
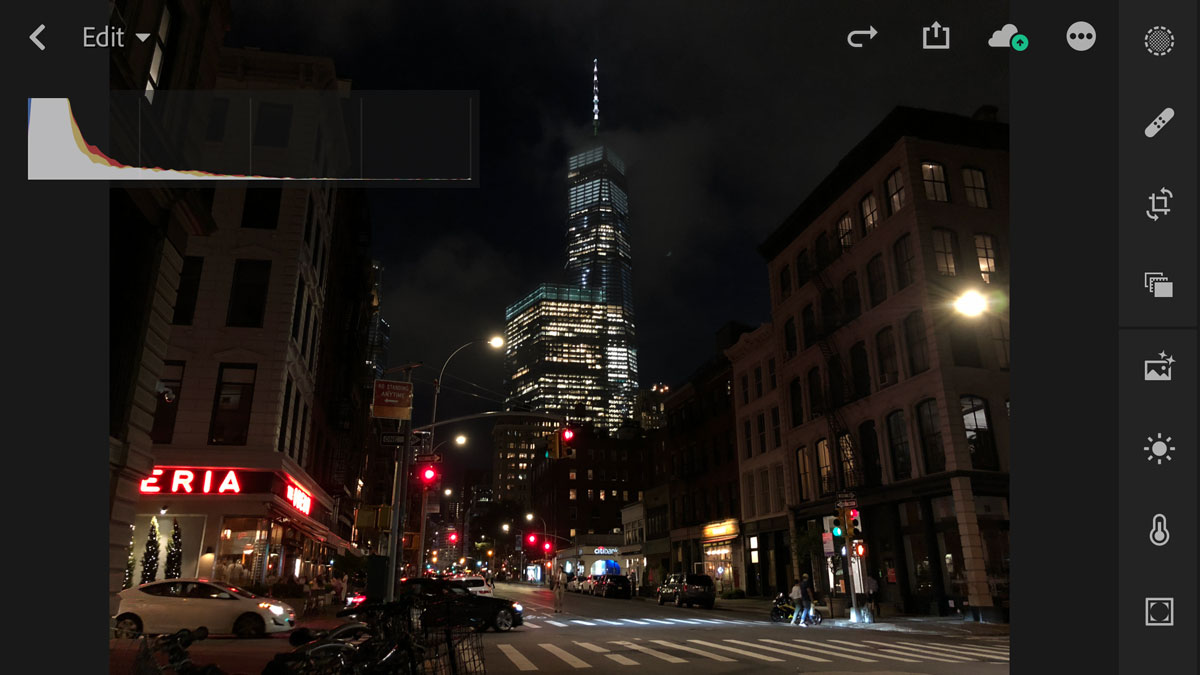
Get an editing app for your smartphone
Your basic camera app or photo roll feature will give you some rudimentary editing options, but to get better results, you’ll want something more robust. Personally, I think Adobe’s Lightroom CC Mobile (Android or iOS) is the way to go, even if you don’t want to pay for the $10 monthly subscription fee that gets you the desktop version of the software (as well as Photoshop CC). It has everything you need for our purposes in the free version. There are other apps that can accomplish these edits like Snapseed (Android or iOS) and Afterlight as well.
Get the exposure close before you press the camera button
You don’t need a fancy camera app in order to tell your smartphone camera to make a picture darker or brighter. if you’re using the native iOS camera app, tap and hold on the part of the frame where you want the camera to focus. This locks both the exposure and the focus. Once you see the square on the screen, you can drag your finger up and down in order to make the picture lighter or darker.
This is really handy for instances like a dark room with a few small, bright lights that want to get blown out with the camera’s stock exposure. Get the light close to what you want in the camera before you start editing and it will be less work and likely higher image quality.
Get the color right
One of the most impressive aspects of Google’s Night Sight is its ability to maintain color accuracy in low-light—it’s often one of the first things to suffer. You can tweak the color of your images later to make things look more realistic. Lightroom has an automatic white balance feature that might get you close, but it also has an eyedropper tool that will let you select a neutral surface in the picture and then try to adjust the rest of the image to match. So, if there’s a white wall or gray suit in the frame, you can select it and the software will try to adjust the photo so it actually looks neutral. This works better if you’re trying to correct for something like the notoriously orange color of tungsten bulbs, but will struggle with really wacky colors of like from things like neon.
Once you think you have the color right, close your eyes for 10 seconds and look again. Sometimes the correction you think was right looks all wrong after you take a short break from looking at it.
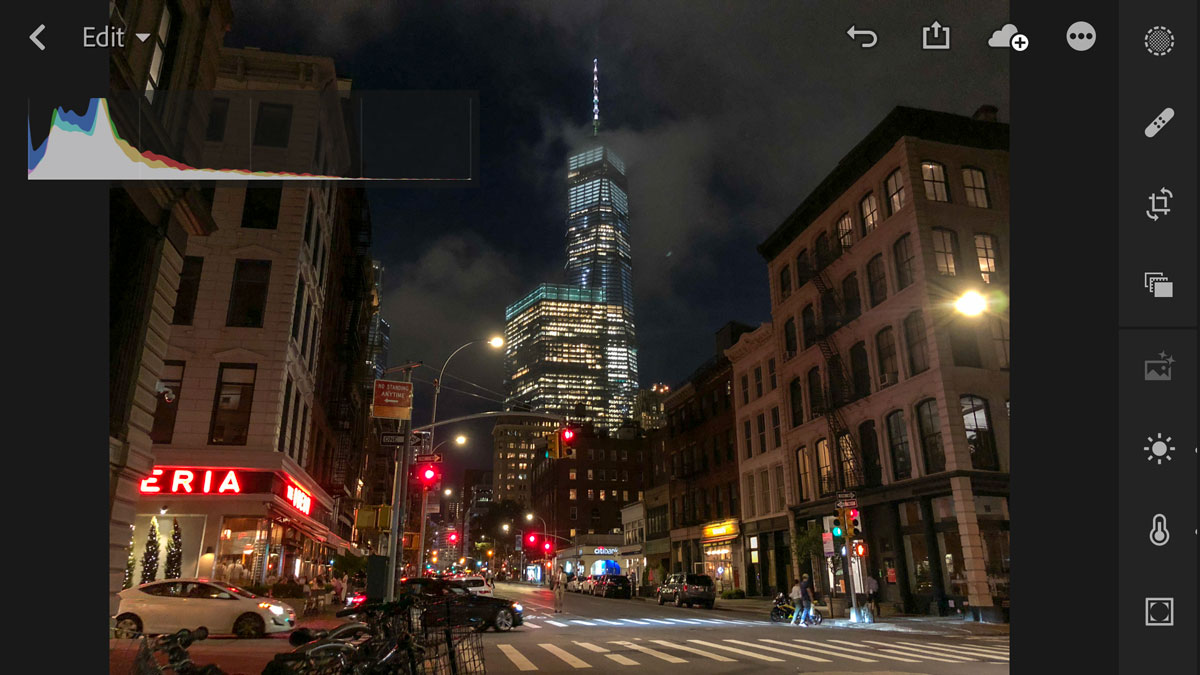
Tweak the exposure
Now that you’re in your editing app, you can increase the apparent exposure of the image. Doing this will always add extra noise since you’re amplifying a signal instead of capturing more data. The goal is to find a balance between brightness and noise. When you start to notice the color in the photo fading or the highlights start to blow out, it’s time to pull back.
Also, while the “auto” button is tempting, it will rarely give you an appealing result. Go ahead and press it to see what I mean. Most of the time it will give you a muted image that looks overly flat, and like someone look a screenshot from a video game.
Use noise-reduction
Smartphone cameras doe their best to reduce noise, but if the grain still sticks out, you can take matters into your own hands. Lightroom keeps the noise reduction feature under the Detail tab. As you slide it into effect, you’ll see that the graininess starts to fade, but that you also start to lose fine details. Add too much and the photo becomes smeary and can even look like a painting if you take it too far. If you’re just posting the photo to Instagram, it’s likely that you can push the noise reduction a bit since it will only appear on a small screen and the fine details get lost anyway. But don’t go overboard.
Be careful with sharpening
The last step of exporting an image is typically the sharpening, at least if you’re following a typical photography workflow. Unfortunately, sharpening an image with a lot of noise—or noise reduction—often just draws attention to the flaws. It will emphasize ugly artifacts and can cause halos around edges in the photo.
This also applies to other sharpening tools and sliders that increase midtone contrast. These are sometimes called “structure,” or “clarity.” These won’t fix a soft image and they often make things look a lot worse.
Finished products
if you’re judicious about your edits, you can get something that looks a lot better than what your current smartphone camera spits out. Sure, it’s probably more work than you’re used to doing, but it makes for better photos. And it’s also a testament to how good Google’s Night Sight mode really is at doing a lot of this work behind the scenes for you.
