
You don’t have to have manually converted the format of hundreds of files to know it’s annoying. And if you ever have to, we’re here to tell you your computer can actually do it for you.
Folder actions is a little-known Mac feature that dates back to the 90s. You can use it to set any folder on your computer to automatically do tasks like converting a file from one format to another or even extracting all the text from a PDF. All you have to do is drag documents to the automated folder. It’s called working smarter, not harder.
How to add an action to any folder on macOS
Start by creating a folder and then right-clicking on it. On the emerging menu click Folder Actions Setup, but note that on some devices you might find this option under Services. Dismiss the security pop-up by clicking Run Service, and you will see a list of tasks the folder can automatically perform for you. These actions are called scripts.
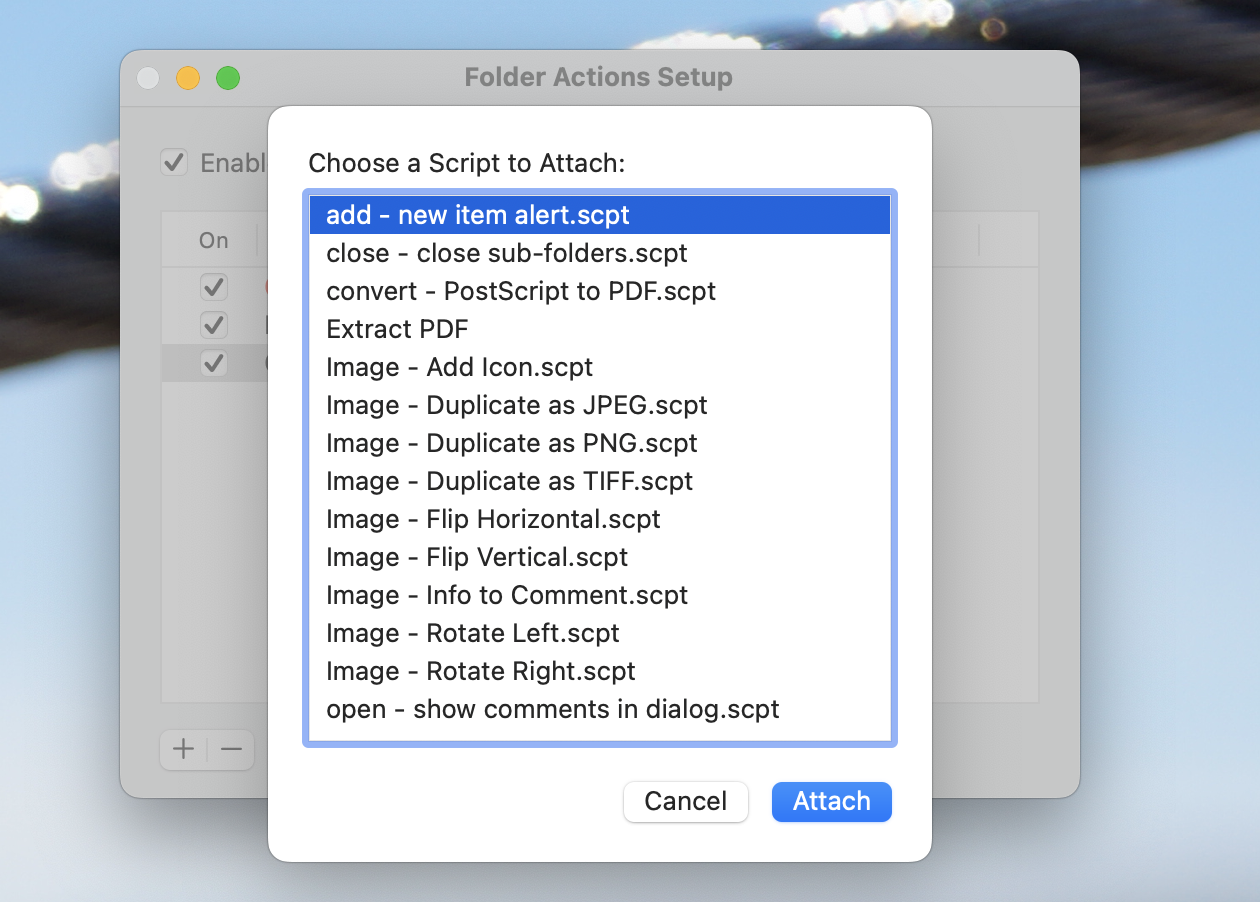
Pick a script and set your choice by clicking Attach. Back on the main Folder Actions Setup window, make sure to check the box next to Enable Folder Actions. And that’s pretty much it. You can close the setup window and your folder will start performing the assigned task as soon as you drop a file into it.
[Related: 7 tricks for making files easier to find on your Mac]
For example, if you choose Duplicate as PNG, whenever you drag a picture into the folder, a PNG version of that image will immediately show up. So there’s no confusion, macOS will automatically create two subfolders as well—one to save the original photos you drag in, and one to save the reformatted versions.
The remaining 12 actions Apple offers by default are also worth looking into:
- add – new item alert.scpt: Shows a notification when someone adds a new file to a given folder. This is particularly useful if you share a server or cloud-based storage with other users.
- close – close sub-folders.scpt: Closes the Finder window when you open a subfolder, which may prevent someone from snooping into folders you don’t want them to see.
- convert – PostScript to PDF.scpt: Converts a postscript file into a PDF.
- Image – Add Icon.scpt: Automatically creates an icon for any file.
- Image – Duplicate as JPEG.scpt: Creates a JPEG version of any image in the folder.
- Image – Duplicate as PNG.scpt Creates a PNG version of any image in the folder.
- Image – Duplicate as TIFF.scpt: Creates a TIFF version of any image in the folder.
- Image – Flip Horizontal.scpt: Flips any image in the folder horizontally.
- Image – Flip Vertical.scpt: Flips any image in the folder vertically.
- Image – Info to Comment.scpt: Adds information about the image, such as bit depth and size to the file’s comment field in Finder.
- Image – Rotate Left.scpt: Rotate any image in the folder counter-clockwise.
- Image – Rotate Right.scpt: Rotate any image in the folder clockwise.
- open – Show comments in dialog.scpt: A pop-up window will open with the folder comments every time you open the folder.
Most of these, as you can tell, are related to images. It’s a useful collection but very much only a starting point. The good news is that if you want to go beyond these automations, it’s not hard to build your own scripts.
Make custom folder actions with Automator
The simplest way to build your own folder actions is using Automator, a program you can find easily on your Mac via Spotlight search (command + spacebar). Open the application and click on New Document. On the emerging window, select Folder Action and then click Choose.
First, use the drop-down menu at the top of the window to pick the folder you want to apply your Folder Action to—open the menu, click Other… and choose the folder using Finder. Now you can create a new automation by dragging actions from the sidebar on the left. There are hundreds to choose from, but we recommend starting with the broader categories to the very left of the window, where you’ll find the Files and Folders, Photos, Movies, and PDF sections.
[Related: 5 tasks you can easily automate using macOS’ Shortcuts app]
For example, I can make an automation that extracts the text from any PDF and saves it as rich text by dragging the Extract PDF Text action from the panel on the left to the main panel on the right. If I save the script (go to File and then Save…) it will apply the action to the folder you chose.

There are dozens of different automations you could quickly build this way, including compressing any file into a ZIP archive, scaling any image to a given size, or converting video or audio to a specific format. These are just a few ideas, so you’ll need to dig in to get a feel for what’s really possible. If you are not sure about what one or more of these actions do, look at the bottom left corner of the Automator window. There you’ll find a specialized panel that will show you the details of each script as you select them on the sidebar above it.
And we’ve only touched on single-step automations—combining two or more scripts will create workflows with more intricate actions. And if you have some coding skills, you can try writing your own folder actions using the Script Editor program, which also comes pre-installed on your Mac—just use Spotlight search to find it.
Apple offers official documentation if you want to dive into the creation of your own scripts. There’s a lot of power there, and every second you invest in creating your own automated folders is free time you’ll be saving in the future.
