
We may earn revenue from the products available on this page and participate in affiliate programs. Learn more ›
Installing drawer slides is a task that can surprise new woodworkers with its difficulty. In theory, it’s super simple: screw the slides in where they need to go, and move on with your life. I believed that right up until the first time I tried it.
As I struggled to keep both slides at the proper height while trying to attach the drawer to the slides in a way that would keep it level and moving smoothly inside the cabinet, I realized how fantastically frustrating the job actually is. Many companies sell jigs and tools that will help with the process, but you can save yourself some cash and time by learning how to install drawer slides with just a couple of pieces of scrap plywood to use as spacers.
This method only works for side-mount drawer slides, though. If you’re using undermount, Jon Peters of Longview Woodworking has an excellent video that will show you how to build your drawers and install the slides.
Stats
- Time: 5 to 10 minutes
- Cost: $15 to $30
- Difficulty: easy
Materials
- Side-mount, full extension drawer slides that fit the length of your drawer
- 2 (¾-inch) plywood scraps, taller than the height of your highest drawer
Tools
How to install full extension, side-mount drawer slides
Always start with square drawers, whether you bought them, built them, or are doing repairs. If the boxes are wonky, installing slides will be a nightmare. Whatever the case, your drawers should be 1 inch narrower than the opening. It’s better to err on the side of a 16th of an inch smaller rather than too large, because most drawer slides have adjustable tabs that can close gaps, but they can’t get thinner.
1. Determine the height of the slides from the bottom of the cabinet. The easiest way to install drawer slides is flush with the bottom of the drawer. This way, you only have one height measurement to keep track of. The bottom of a drawer should sit about an eighth of an inch above the bottom edge of the opening it’ll sit inside—this will allow it to slide in and out without catching.
If you have more than one drawer, find this height for each one.
- Note: You don’t have to install the slides at the bottom of the drawer—they can go at any height. It’s a matter of design aesthetics. If you want to center the slides vertically, for example, you’ll just need to do some math to figure out how high above the bottom of the drawer the base of the slide needs to be.
2. Cut two plywood spacers to the height of the bottom of the highest drawer. The best plywood for this is ¾-inch because it’s a quarter-inch wider than the slides themselves, giving the drawer a lip to rest on (that’ll be important later). You’ll need two spacers, one for each side of the cabinet. Use a miter saw or table saw to make this cut square, and use a stop block to ensure that both spacers are exactly the same size.
- Note: If you’re planning to have the slides sit higher than the bottom of the drawer, cut a second pair of small spacers that are the height of the distance between the bottom of the drawer and the bottom of the slide.
3. Use the spacers to position the slides inside the cabinet. Set your spacers inside the cabinet to find the height of the slides.
- Note: If the slide should be higher than the bottom of the drawer, place the smaller spacer on top of the tall spacer.

4. Install the drawer slides. Place the slide on top of the spacer and screw the slide in place. Most side-mount drawer slides have bendable tabs cut into them—screw through those holes to start, because they will allow you to make micro-adjustments later if necessary.
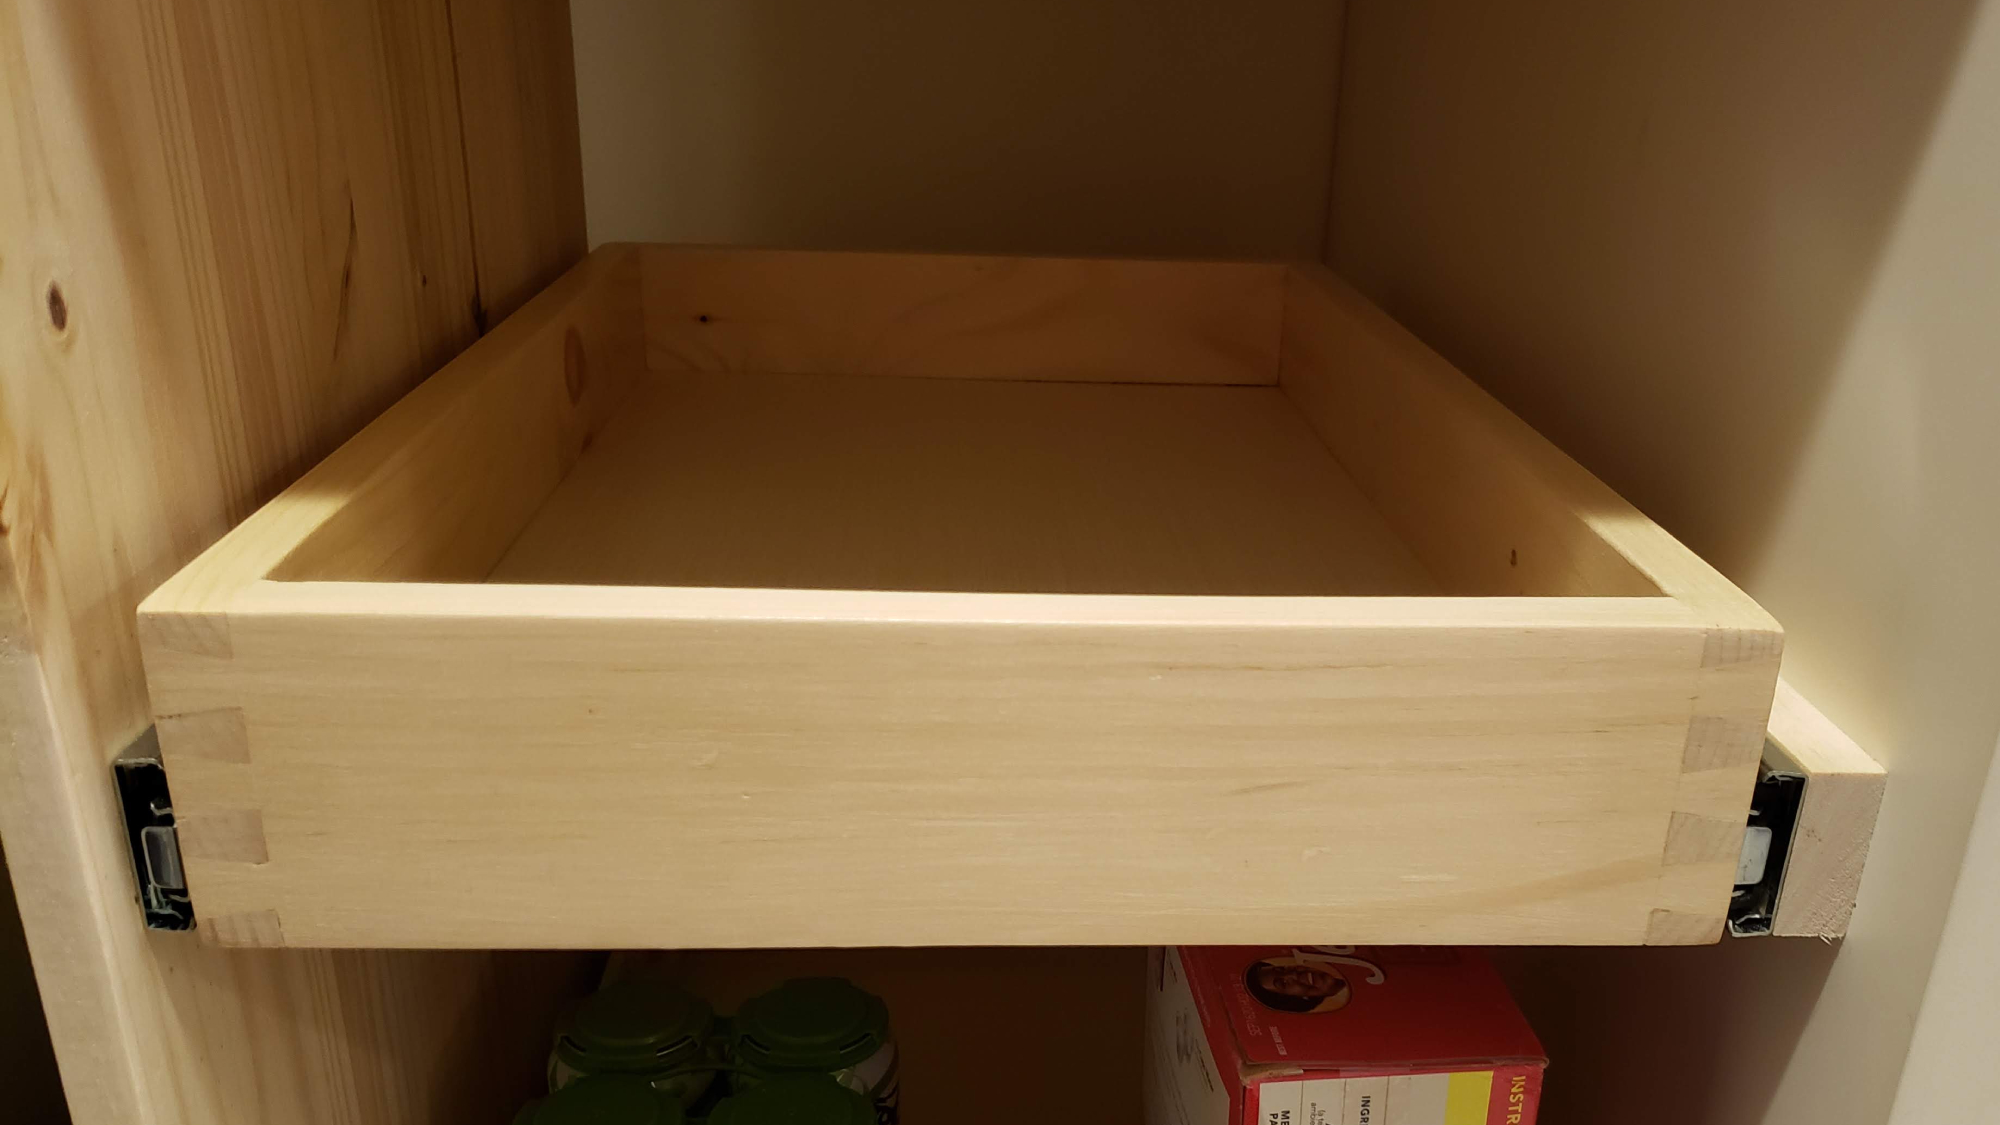
5. Attach the drawers to the slides, using the spacers as a shelf. With the drawer slides screwed to the cabinet, place just the tall spacer board inside (remove the shorter piece of plywood if you used one). Then set the drawer on the lip created by the ¾-inch spacer. Pull the drawer out of the cabinet 3 or 4 inches, then extend the drawer slide until it’s lined up where you want it. I usually position mine about a 16th of an inch from the front of the drawer box so there’s no chance of it interfering with the drawer face.
[Related: Build your own drawer organizer]
Screw the first hole of the slide into the drawer box.
Then pull the slide almost all the way out, so the back of the drawer box is still resting on the plywood spacer, and screw in one of the rear screws.
Your drawer is now installed.
6. Recut the plywood spacers and repeat Steps 1 through 5 for additional drawers. To finish any lower drawers, simply cut the plywood spacer down to the height of the bottom of the next-highest drawer, working through Steps 1 and 2 if you need a refresher. Then repeat Steps 3 through 5.
- Pro tip: Take the previously installed drawers out as you go so they’re not in the way—you can easily slide them back in when you’re done installing everything.
And that’s it. Once all of the drawers are in place, make sure they open and close properly, and use the micro-adjustments on the slides to fix any minor inconsistencies. Follow the manufacturer’s instructions for the specifics of those adjustments.
When the drawers are working the way you want, start building those drawer faces if you’re not working with finished drawers. That project is its own special brand of frustrating fun, but I can get you started with a bonus tip: Playing cards make great spacers.
