Sometimes the planters at your local hardware store just aren’t enough. They’re missing… something. Gravitas. Prestige. The satisfying scent of cedar, perhaps. Fear not—building your own planter box from cedar fence posts is a straightforward afternoon project, and can add a renewed sense of style to your landscape decor.
While you can build a planter box out of pretty much any wood (pine is popular because it’s affordable), cedar is great for a few reasons. First and foremost, it’s rot-resistant, so it will stand up to the weather, dirt, and bugs for years and years, even untreated. Second, cedar fence pickets in particular are relatively inexpensive and easy to work with. Finally, cedar actively repels many types of bugs, which is why this wood is used so often in closets. While the scent won’t keep all garden pests at bay, it can deter some, including houseflies, ticks, mosquitos, termites, and certain types of ants, according to the US Department of Agriculture Agricultural Research Service.
This particular DIY planter box is a straightforward and flexible project. The box I made is 12 inches square and 16 inches tall, but you can easily make one with a 16-by-16-inch or 24-by-24-inch footprint by modifying the dimensions below. Larger than that, and you’ll probably need to upgrade to a long planter box design.
Stats
- Time: 2 to 3 hours
- Materials cost: $30 to $50
- Difficulty: moderate
Materials
- 1 box of (3.5-foot-long) ⅝-by-3.5-inch flat-top cedar fence pickets (about 13 boards)
- Wood glue
- 3/4-inch brad nails
- Scrap of ½-inch plywood approximately 8 by 16 inches, with one flat edge
- (Optional) landscape fabric
Tools
- Miter saw
- Table saw
- Crosscut sled
- Brad nailer
- Level
- Speed square
- Corner clamps
- Clamps
- Strap clamps
- Orbital sander
- Sanding discs (120-grit)
- (Optional) scissors
- (Optional) staple gun
- (Optional) jointer
How to build a cedar planter box
1. Cut the fence pickets to rough length. Before properly squaring up the wood, always cut it down to rough length first. You can use a miter saw to trim the fence posts into sections, but I did it on my table saw with a crosscut sled instead because I already had it set up. Cutting the wood into shorter lengths before milling reduces the amount of material you’ll need to remove to get flat surfaces.
2. Joint the edges and trim the pickets to final length. For this project, I decided not to flatten the faces of the fence posts. They were pretty flat to start with, and I didn’t want to lose the rough, rustic look of the boards to the planer. I jointed the edges using a level on my table saw, and then trimmed the boards to final length with my crosscut sled.
The final cut list for this project is:
- 4 wide side panel legs (2.5 by 16 inches)
- 4 narrow side panel legs (2 by 16 inches)
- 8 wide side side panel boards (3 by 11 inches)
- 8 narrow side panel boards (3 by 10 inches)
- 4 top miter frames (1.5 by 15 inches)
- 3 base boards (3.5 by 11 inches) (you’ll trim these to fit exactly once you assemble the box)
3. Rough-sand all the boards. As I mentioned, I didn’t want to lose the rustic look of the fence posts. However, they were still quite rough and I was afraid that if I left them untouched, people would get splinters when planting. So I spent some quality time with my orbital sander and 120-grit paper smoothing out both faces of all of the boards. How long you sand is entirely dependent on your aesthetic preference, but I only did about a minute per face to remove any loose or jagged material. I did smooth the top miter boards and the legs a bit more than the other boards, though—they will be the ones people touch the most.
4. Separate the boards for the four side panels. The 11-inch panel boards go with the 2.5-inch wide legs and the 10-inch boards go with the 2-inch legs. Don’t forget this, or you’ll wind up with a box with a rectangular footprint instead of a square.
[Related: Benefit your neighborhood bats with this DIY bat box]
5. Build the side panels. Using a scrap of ½-inch plywood and a speed square, you can create a basic jig to align the boards. First, lay one leg on your assembly table, with the long edge flush against the flat edge of the plywood. Align the speed square along the same plywood edge, touching the top of the leg and extending into the plywood. Then smear wood glue on the leg, leaving about a ¾-inch on the edge farthest from the plywood.

Lay the top panel board onto the plywood, extending onto the glued section of the leg. You’ll need to leave enough space for the leg of the other panel as the panel legs nest together when assembled, so use one of the extra boards as a spacer—place it tipped on its side along the outside edge of the leg board inside the area you left clean of glue. Align one panel board to the speed square, flush with the top of the leg, and push it over so it just touches the spacer board. Once it’s positioned and square, brad nail it into place to hold the orientation. Then add the lower three boards using that top panel board and spacer for alignment, and nail those into place. Finally, flip the nearly finished side panel around and glue and brad nail the second leg to the other end of the panel boards using the speed square and spacer for alignment.
Repeat this step for the three remaining panels.
6. Add ledges to the inside of two side panels. Before assembling the planter box, add small ledges to either both wide panels or both narrow panels. It doesn’t matter which panels get these ledges, as long as they’re equal in size. The ledges will hold the boards for the bottom of the box, so they need to be opposite each other. It’s much easier to do this before assembly, so don’t skip this step.
I used the scraps I trimmed off when cutting the legs down to width. To attach, I cut the scraps down to 9 ½ inches long, then glued and brad nailed them into position.
- Note: I added two rows of ledges so I can adjust the depth of my planter box if needed. The first is 6 inches below the top of the panel, and the second is 9 inches below.
7. Assemble the box. This is an easy assembly, but pay attention. The most important thing to remember is that the narrow panels sit inside the wide panels. This is what makes the planter box a square—if the wide panels sit inside the narrow, you’ll wind up with a rectangle.
To assemble, spread glue on the inside edge of the legs where you positioned the spacer board in Step 5. Then interlock all of the panels together, standing them up on a flat surface like your assembly table or table saw. This will help keep the bottoms of the legs flush with one another so the planter box doesn’t wobble.
Once the boards are interlocked, add corner clamps to the top to hold everything square and in place. Then wrap the strap clamps around the outside of the box and tighten them. I used two straps, one about an inch from the top, and the other about an inch from the bottom of the panel boards.
Make sure all of your planter box’s corners are square. Measure from one corner to the opposite one, and then between the other two—both diagonals should be the same length.
- Note: If you don’t have strap clamps and/or corner clamps, use regular clamps.

8. Trim the boards for the base. The exact measurements will vary somewhat depending on how thick the boards were to start and how much material you sanded off. My boards were just under 10 inches long. Two I left 3.5 inches wide, and I trimmed the third down to about 2.5 inches. The boards should fit snug, but not so tight that they can’t slide in and out.
9. Cut the miters for the top frame. This step is essentially like making a picture frame to fit over the top of the box and hide all those ugly seams. The trick is to make it slightly smaller than the inside dimensions of the box. I left about a ⅛-inch interior overhang on all four sides so I didn’t need to achieve a perfectly flush alignment, which is hard to do with non-milled wood—heck, it’s hard to do with perfectly milled wood.
[Related: Every woodworker should know how to mill their own boards]
Cut the angles with a miter saw set to 45 degrees, or with a miter sled on the table saw. I used the latter option, again because I was already working with my table saw. First, I cut a 45-degree miter on one end of each board. Then I used a stop block to set the final length and cut the opposite miter for all four boards. This is a better way to ensure that all four are the same length than trying to measure and mark them individually.
Once all four boards are cut, glue them up with a strap clamp if you have one, or regular clamps if not, again ensuring that the frame is square.
10. Glue the top frame to the box. Spread glue along the top edges of the box and align the top frame. Try to keep it square to the sides, and the interior overhang consistent. Clamp the frame into place to let the glue dry.
11. Sand away any glue mess. Chances are that you’ve got some glue squeeze-out to clean up. Use 120-grit paper in your orbital sander and/or hands to finish sanding any areas of the box that need it, particularly around the joints. Don’t worry about the inside of the box—that will be covered in dirt or pots.
12. Insert the base boards. Slide the base boards into place. I didn’t glue or nail these in since there’s no way for them to fall out. This allows me to move them in the future if I need to change the depth of the box for any reason.

13. (Optional) Line the interior with landscape fabric. Cedar is a rot-resistant wood, but rot-resistant doesn’t mean rot-proof. If you’re planning to fill the box with dirt directly, consider adding some landscape fabric to the inside of the box to add a barrier between the dirt and the wood. Cut the landscape fabric to size with shears, then staple it in place with a staple gun.
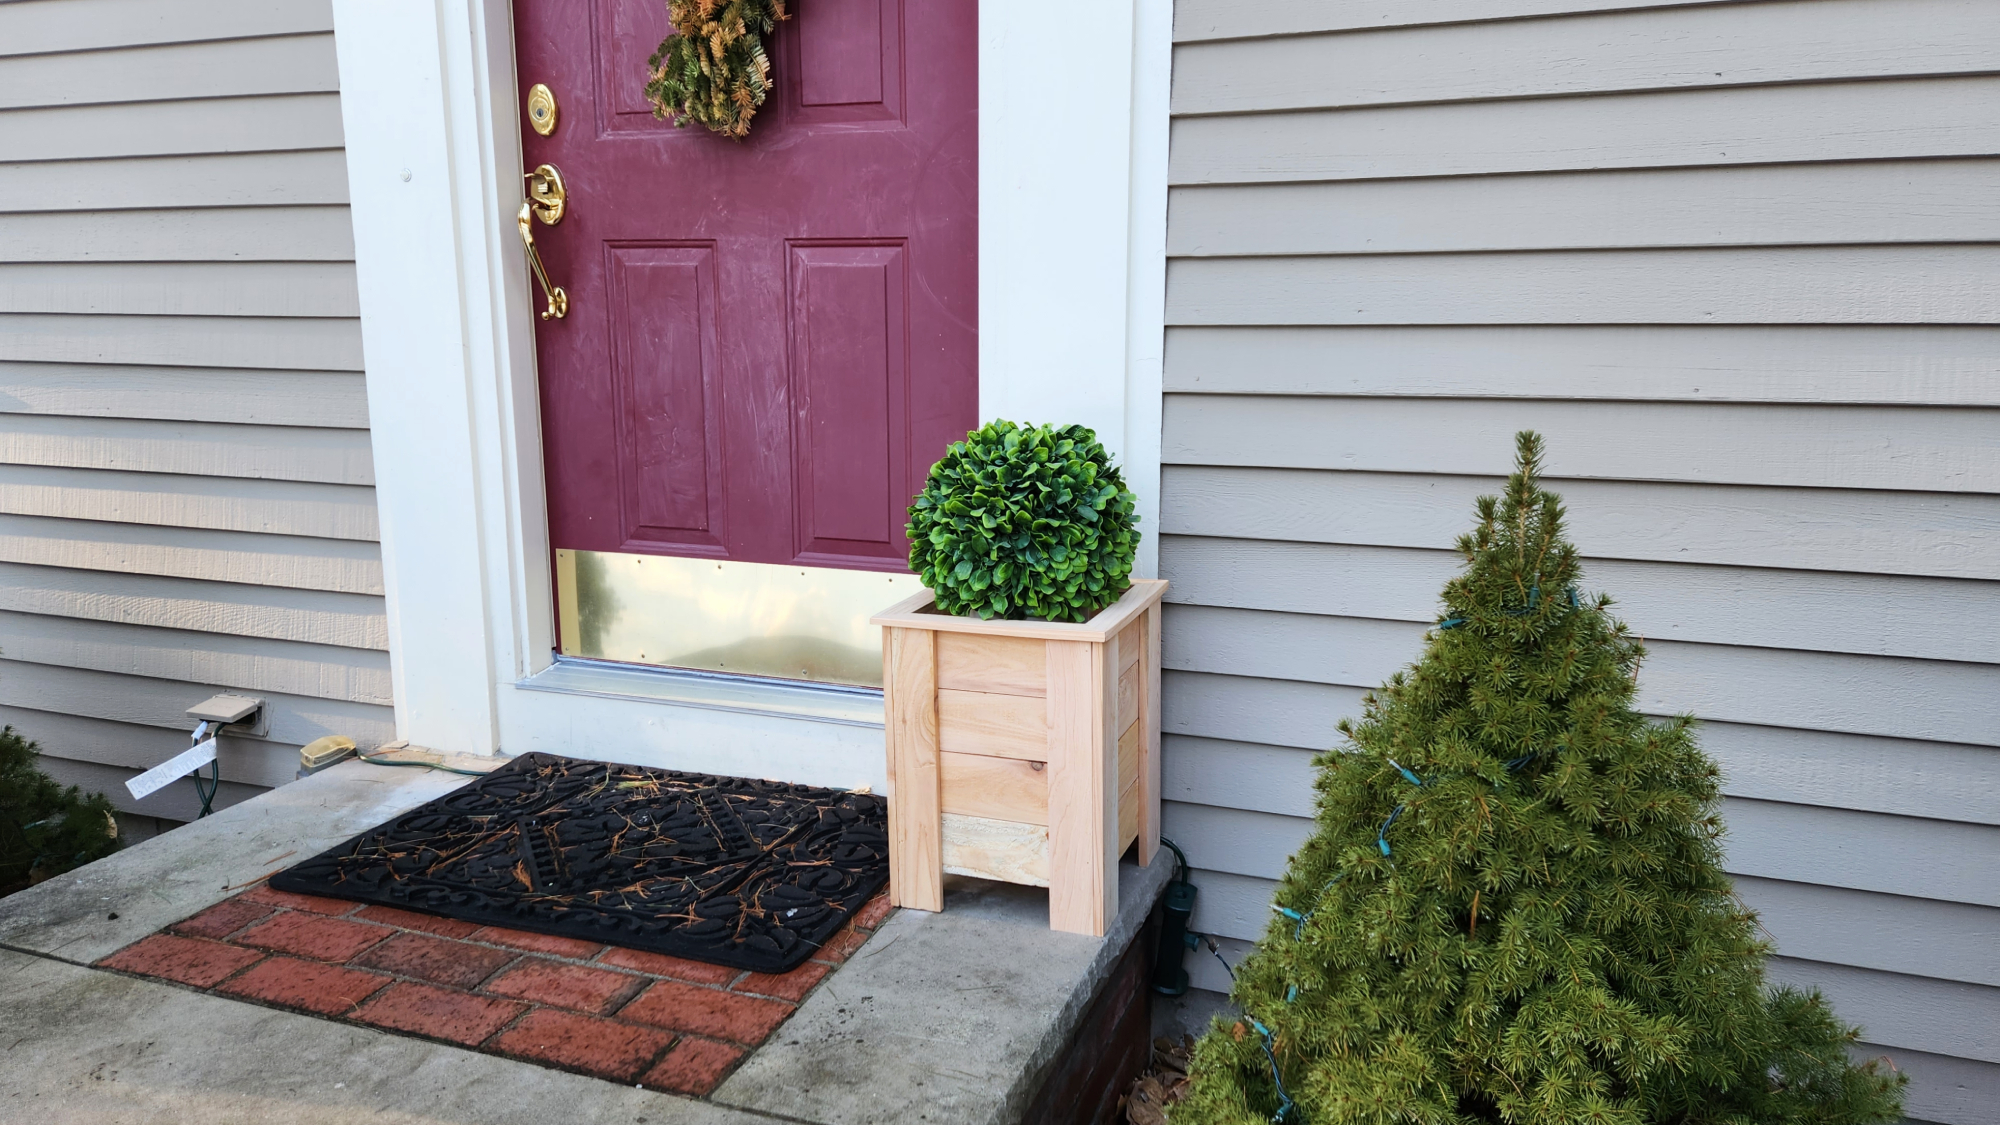
And you’re ready to plant! We are planning to sit existing pots inside the planter box because it’s easier and faster, but you can absolutely plant directly into the box itself—we may wind up doing that in the future.
Now all you have to do is figure out what plants are going to improve your curb appeal the most. Fortunately, the folks at the PennState Extension put together a guide on some best practices for container gardening. Please go forth and garden.
