We may earn revenue from the products available on this page and participate in affiliate programs. Learn more ›
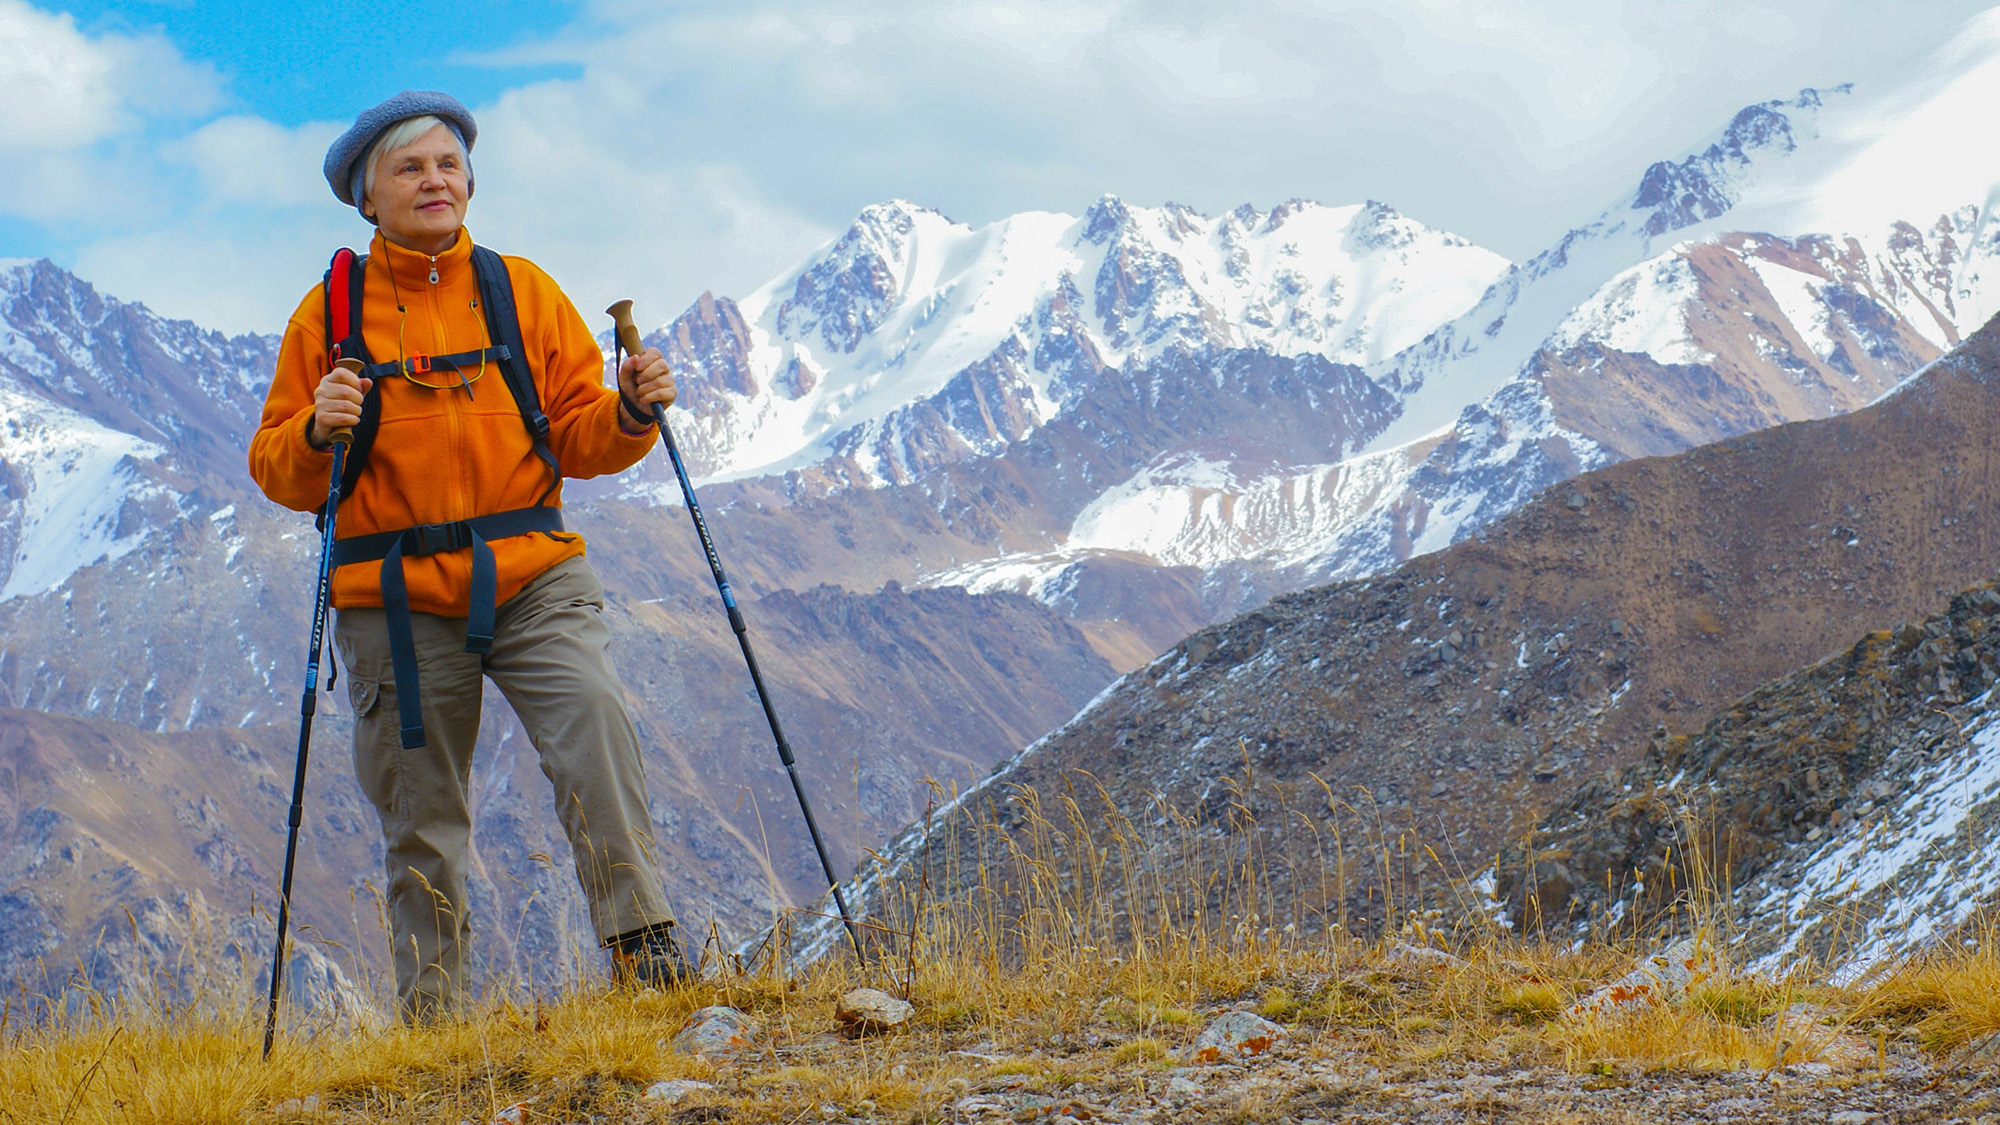
If there’s one thing hikers love to debate, is the practicality and functionality of the humble trekking pole. Some say it’s just an inefficient luxury item weighing you down, while others regard it as a truly useful tool that can improve balance and speed on the trail.
Whatever camp you’re in, science has proven time and time again that trekking poles have multiple benefits, and using them correctly on every hike can help you get the most out of them.
The science behind trekking poles
Hiking with trekking poles can provide plenty of physiological advantages. A 2020 review published in Wilderness & Environmental Medicine found that these tools can reduce the pressure and load on your lower joints by dispersing your body weight to your arms. This is especially true when hiking downhill, which means those with knee pain will likely find picking up a pair of trekking sticks incredibly helpful.
[Related: 10 time-tested essentials that can help you survive your next hiking trip]
And even if you have no joint pain, a 2000 study in Medicine & Science in Sports & Exercise found trekking poles can make your trekking experience more comfortable. Erica Little, a hiking guide and owner of Big Bend Boating and Hiking Company in Terlingua, Texas, explains poles also provide substantial balance and stability when hiking through mud, snow, or across moving water or uneven terrain, making your hike feel easier than it is. That feel-good sensation will last even when you’re back home—several studies have found poles to be helpful at reducing delayed onset muscle soreness during challenging uphill treks.
But these tools can provide more than better, more comfortable hikes. According to another study published in 2001 in Medicine & Science in Sports & Exercise, trekking poles could also help you hike faster and even increase the length and frequency of your stride. They could even help you burn more calories—a 2018 study by researchers at the University of Verona, in Italy, concluded that using your poles at an angle on flat terrain (a discipline known as Nordic walking) requires more energy than a regular walk because it invites your arms to aid in pushing you up or lowering you down.
Trekking pole technique is everything
Carrying a stick in your hand doesn’t mean you’re automatically in for a breezier hike. In fact, learning how to use trekking poles can mean the difference between just swinging the metal sticks around and actually benefiting from them.
For starters, trekking poles need to be at the right height, says Little. When you’re on level ground (or close to it), adjust your poles so that your forearms and biceps form a 90-degree angle when your hands are on the grips, and the tips are resting on the ground a few inches away from your little toes. This will offer the most comfortable position for your arms and the best leverage for pushing yourself up.
When hiking uphill, shorten the poles by a few inches—the steeper the slope, the shorter the poles should be. If your hands are above your shoulders before taking the new step, you won’t have the leverage or power you need to push yourself up, explains Gates Richards, associate director of wilderness medicine at the National Outdoor Leadership School.
When hiking downhill, lengthen your poles by a few inches to help keep you balanced and upright, while allowing your arms to better aid in lowering you with each step, Richards adds.
Whether you’re hiking up or down, Little instructs to keep your arms and poles close to your body, ideally a few inches away from your sides while the tips rest a few inches away from your feet. It’s critical that the position feels natural to you, she says: if you keep your arms too close, you’ll lose some balance and leverage, and if you plant the tips too close to your feet, the poles could become a tripping hazard.
If you’re still unsure about your technique, Richards says there’s one easy way to tell if you’re using poles effectively: If you’re making progress easier, then they’re working.
Pro tips for using trekking poles
Once you’ve got your body-to-pole orientation down, a few tweaks will ensure maximum comfort and effectiveness.
Start by using the wrist straps as intended: Slide a hand through each strap from the bottom up to get a little extra wrist support, says Little. Tighten the straps so they’re loose enough to easily slide your hand out again, but snug enough to keep your wrist from flexing too much.
Then, as you walk, alternate the swinging of the poles with your legs just like you would your arms when walking. This means planting the left trekking pole at the same time as you take a step with your right foot and vice versa.
On a steep uphill or downhill slope, if you need a little extra assistance raising or lowering yourself, you can also plant both poles ahead of you at the same time. This will provide a bit more stability and the combined power of both your arms.
Finally, stay safe by leaving extra space between you and the hikers in front and behind you. The tips of the trekking poles can sometimes get stuck between rocks and if the person in front of you stops abruptly to take care of it, you could collide with them. Likewise, it’s happened more than once that a hiker with trekking poles will reach back to adjust their pack without letting go of their sticks, creating a potential hiker kebab situation if the person behind them is too close.
Accessorize your trekking poles
When you purchase a new pair of trekking poles, they probably come accompanied by at least two sets of accessories. They’re both useful in specific situations, so don’t toss them out with the packaging.
The first one is a pair of rubber tips that fit over the metal points. They are multifunctional—pop them onto the ends of your poles to protect your luggage and its contents from getting stabbed while traveling. When hiking on rocky terrain or paved paths where you don’t need the traction offered by metal tips, these rubber protectors are excellent at silencing the irritating and repetitive tapping of metal on rock.
[Related: What to know before you go on your first multi-day hike]
The second accessory you’ll probably find is a pair of round, hole-peppered disks called baskets. They are designed for use in snow, mud, and sand—they’re like snowshoes to help keep your sticks on top of the soft stuff. “The bigger the basket the better. It’ll help your pole from sinking in too deep,” says Little.
Get the hang of it
If you’re new to trekking poles, you may find them awkward or unwieldy at first. That’s normal, Little says. Your first hike may feel a bit unnatural as you think too hard about when and where to place your poles with every step. Don’t worry, though: “It will become second nature,” she states.
As it does, you may choose to hike with one pole instead of two or ignore the wrist straps in favor of having the option to release the poles quickly in case of a tumble. Find what works for you and stick with it.
