🛍️ Amazon Big Spring Sale: 100+ editor-approved deals worth buying right now 🛍️
The latest on the energy sources that keep on giving, from solar power to wind farms.
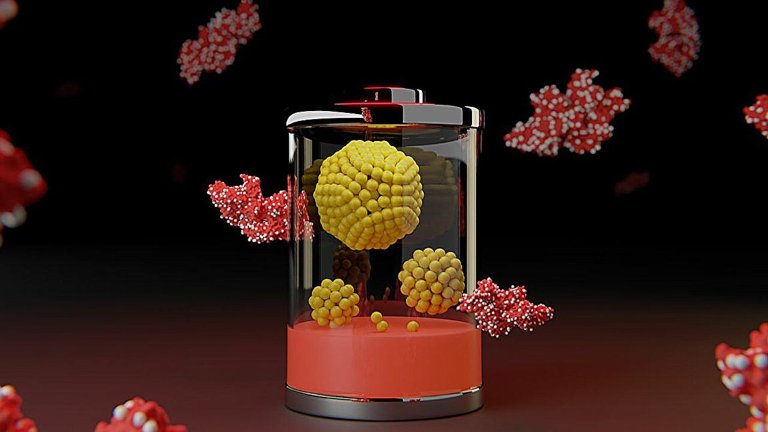
By Andrew Paul
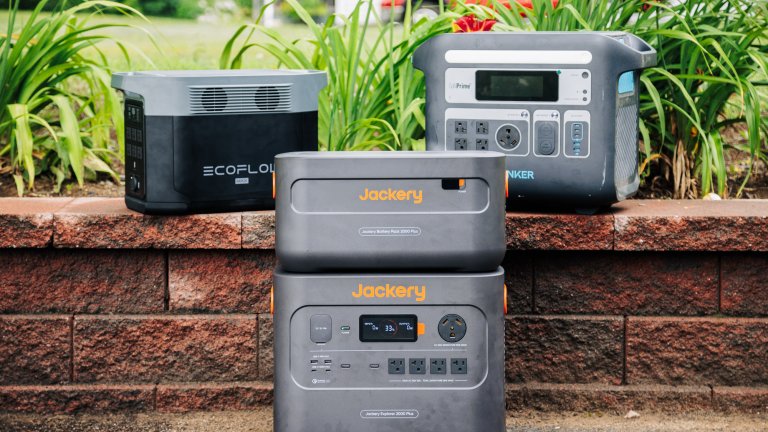
By Nick Hilden, Stan Horaczek
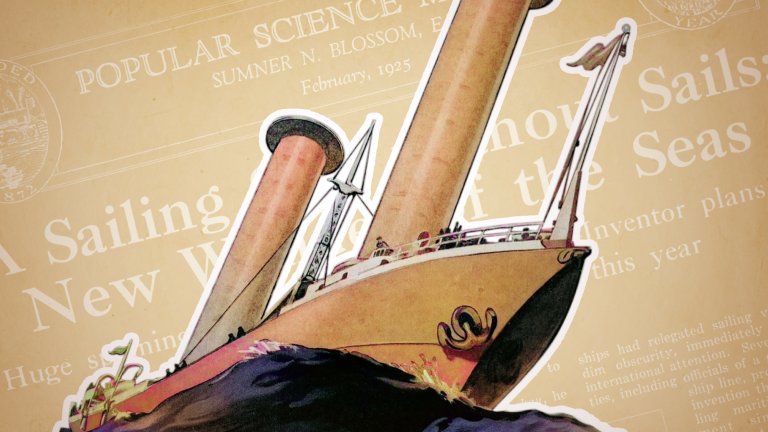
By Bill Gourgey
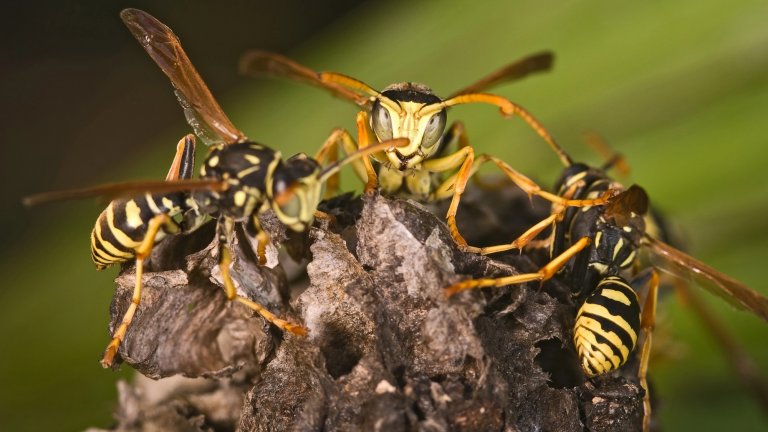
By Kristin Shaw
By Popular Science Team
By Nick Hilden
By Brittany Vincent, Brandt Ranj
Get the Popular Science daily newsletter💡
Breakthroughs, discoveries, and DIY tips sent six days a week.
Terms of Service and Privacy Policy.