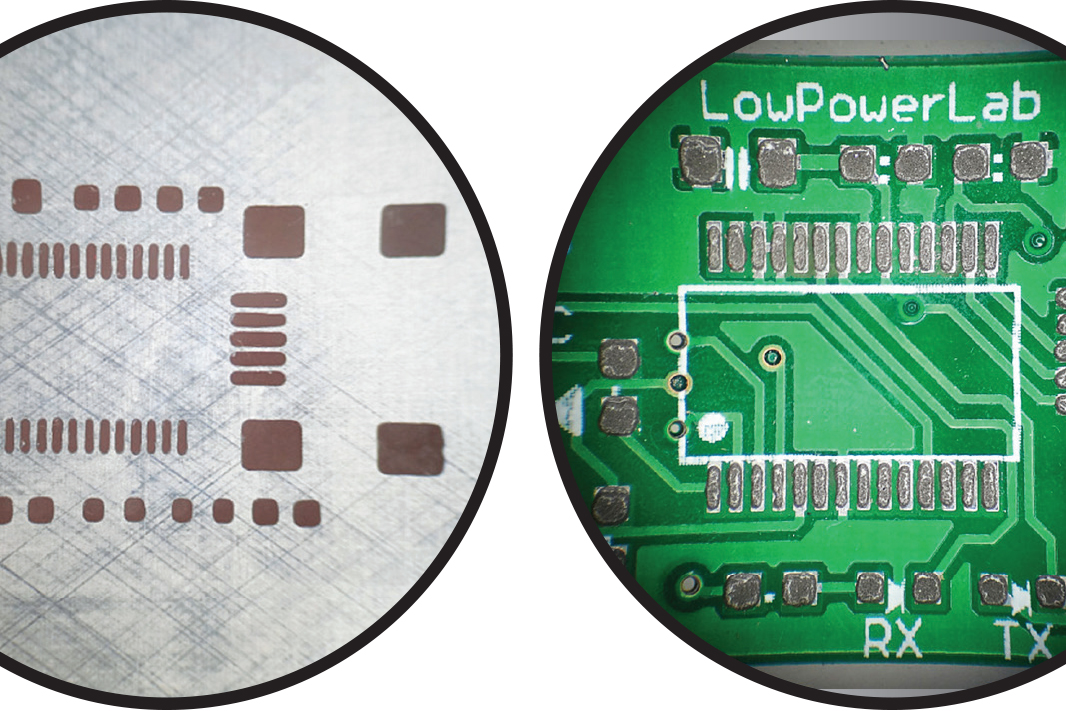

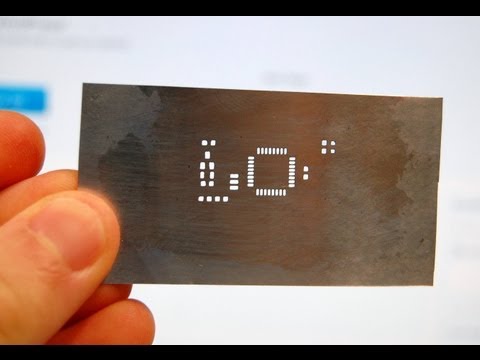
Taking an electronics prototype to the next level often means soldering tiny components onto a custom-printed circuit board. Solder paste applied without a stencil, however, can ooze, cause shorts, and end a project in flames. Systems engineer Felix Rusu devised a simple process to make robust soldering stencils from soda cans. Here’s how you too can save yourself from the expensive made-to-order variety.
Time: about 30 minutes
Cost: $20
Difficulty: 4 out of 5
Instructions:
1. Slice the ends off a soda can and cut the cylinder open. Flatten and warm the metal with a clothing iron for a minute. Rub off the interior and exterior coatings with acetone.
2. On a computer, ensure the holes in the stencil design are white and everything else black. Laser-print it with toner onto a transparency, and cut it to fit the aluminum sheet.
3. Attach the print face-down to the aluminum with sticky notes, and slip it between a folded piece of paper. Iron it for a minute, dunk it in water, and peel off all papers.
4. Fill any gaps in the transfer with permanent marker. Cover all exposed aluminum—except for the stencil design—with clear tape (that and toner repel acid in the next step).
5. Soak the stencil in one part muriatic acid and three parts hydrogen peroxide for eight minutes. The acid etches holes in the metal stencil; rinse it in water to stop the reaction.
WARNING: Beware of sharp edges, hot metal, and acid. Wear protective goggles and gloves.
_This article originally appeared in the November 2013 issue of _Popular Science.