Live streaming? Easy. Grab your phone, open Instagram, and go live. Doing it well? Harder—but doable.
Take my brother’s wedding, for example. He married his fiancée (from Alabama) in Ireland (in case my byline isn’t enough of a hint, we’re Irish) during the early months of the COVID-19 pandemic. Even in the best of times, there would have been a huge number of important friends and family around the world who couldn’t physically attend the event. But with travel and gathering restrictions in place in Ireland, limits on international travel, and other more individualized issues, more than three times as many people were prepared to tune in online as would actually be there. The livestream couldn’t be an afterthought—it was the main event for most people.
At some point, this is likely to be the case for you. Whether it’s a wedding, funeral, birthday celebration, holiday gathering, or something else, getting the livestream right will be crucial.
It’s all about the sound
The most important part of a livestream isn’t the video, it’s the sound. Just think of all the blurry, low-resolution YouTube videos and questionably-procured episodes of TV you’ve watched over the years. It’s much more important to hear the bride and groom make their vows than to see it happen in 4K HDR.
For the best sound quality, you’ll need a dedicated directional microphone placed close to wherever people will be speaking. The microphone built into your computer, webcam, or smartphone won’t cut it; it will pick up too much noise from the environment, and there’s no workaround.
You can get fancy and use wireless lapel mics or other more elaborate options, but it’s hard to beat a good USB microphone on a long cable. The two I recommend are the Blue Snowball and the Blue Yeti.
If you’ve ever listened to a podcast, watched someone stream on Twitch, or learned something from a screencast, there’s a large chance you’ve heard one of these two microphones in action. The Snowball costs less, at around $70, while the Yeti is a step up but costs $130. Crucially, both have different “pattern modes” which control the direction of their sound pickup. The cardioid pattern, which is the one you should use, only picks up sound from sources directly in front of the microphone. In other words, put the mic on the dinner table in front of the speaker, and even if the crowd around them hoops and hollers, you’ll still get decent audio.
And if you’d like to shop around a little more, PopSci‘s reviews team has compiled a list of the best mics for streaming, if you want to take advantage of their expertise.
OK, video matters too
With a good audio setup, you can get away with a lot of video sins. Seriously: You can connect a Blue Yeti directly to your smartphone (you may need a USB-C-to-USB-A or Lightning-to-USB-A adapter, depending on your phone) and have a livestream that’s far better than most one-on-one Zoom calls.
Still, you can make things even better without a huge amount of effort.
First up: the camera you’re recording with. You can connect a modern DSLR or a mirrorless camera to your computer and use it as a webcam, but I don’t recommend it. They’re not designed for recording long, continuous video, so they can overheat, run out of battery, or fall victim to a number of issues. If you know what you’re doing, it can work, but for most people, the bump in video quality will be offset by a lot of extra stress and failure.
Ultimately, the best camera will be your smartphone. You can, as I suggested earlier, wire a mic straight in, but it’s better to use your phone as a webcam connected to a computer. There are quite a few apps that let you do this:
- Camo Pro: This is what I went with. It started as an Apple-only service, but you can now use it with Android and Windows devices as well. It’s also one of the most expensive options, at $5 a month, $40 a year, or $80 forever. However, the Camo Studio app gives you a huge amount of control over the video feed, which I wanted.
- EpocCam Pro: This is a less-expensive option at $8, and it works with any iOS device connected to a PC or a Mac.
- DroidCamX Pro: This is only $5, and it connects both Android and iOS devices to Windows or Linux PCs.
Whichever option you go with, I’d recommend using a USB connection rather than wireless. For live, one-time events, you want the simplest setup possible—you won’t want to wrangle a fickle WiFi router that’s struggling to handle loads of guests. Go with a 3- or 6-foot cable and you’ll have lots of options for where to place the camera.
[Related: Gear to make better movies on your smartphone]
You can hold your smartphone yourself, but a stable tripod is better. If you already have one, you can get a tripod mount for your phone. Otherwise, any phone tripod will do—as long as you can place the smartphone where you want. Worst comes to worst, prop it up higher with a chair.
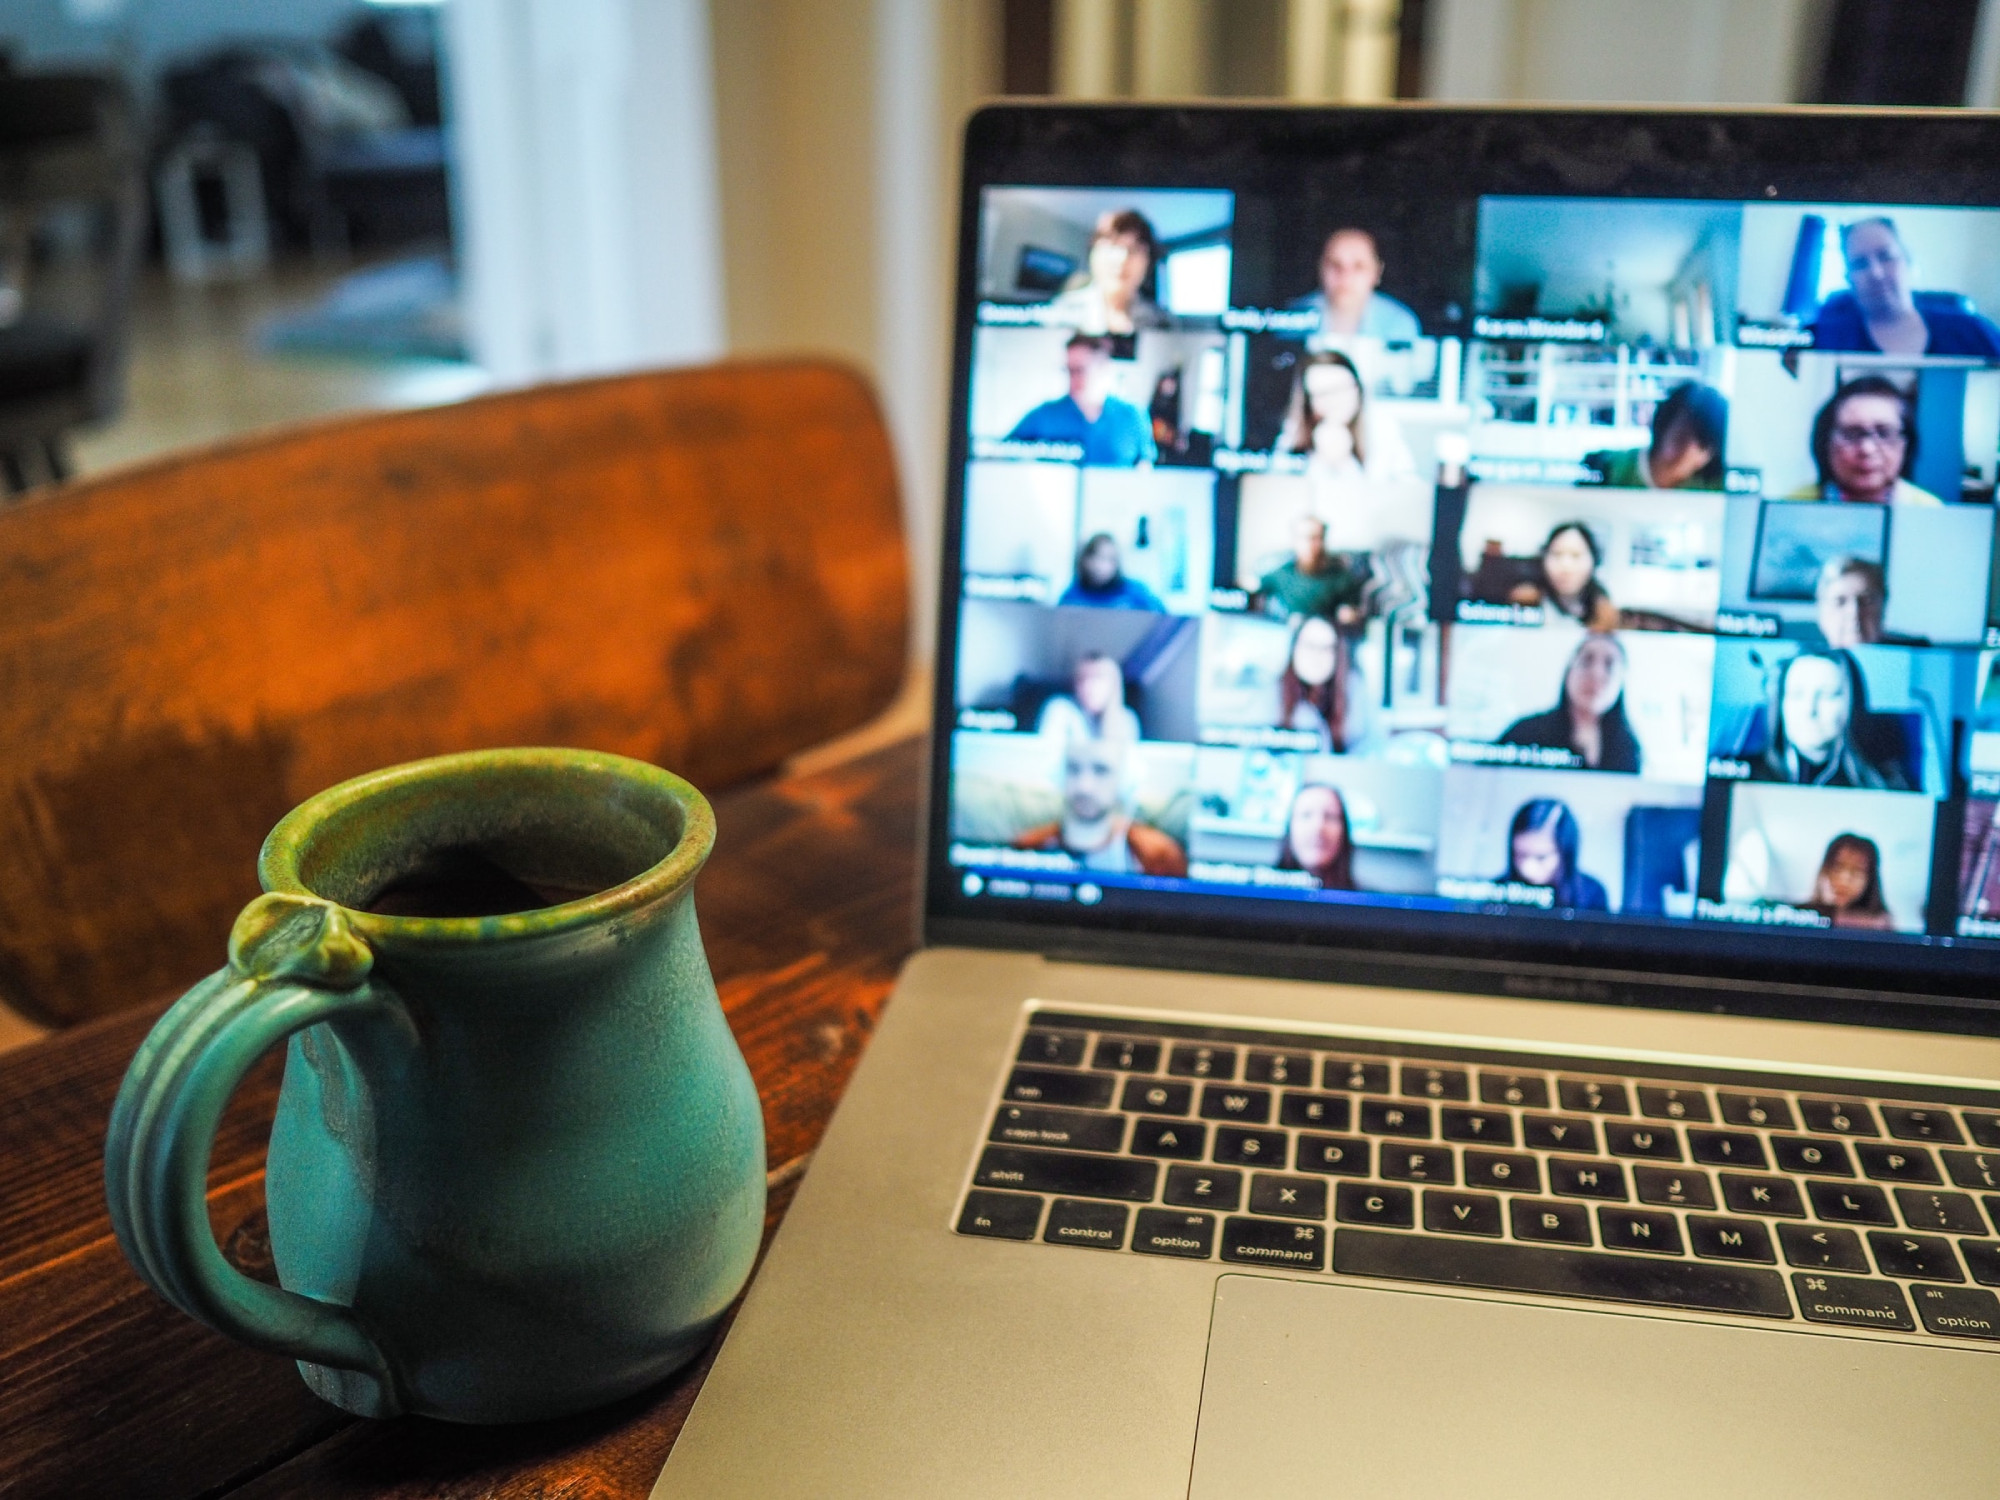
Choose your streaming platform
With the hardware side of things set up, it’s time to broadcast to the world. There are plenty of streaming options, and which one you choose depends on what features you need and where your audience is.
I went with Zoom’s Video Webinar. It was overkill and pricey, at $40 a month for up to 100 attendees, but Zoom’s offerings have changed since then. Now, you can host a 100-person event on Zoom One Pro for $15 a month, or livestream to 300 people for $20 a month. There’s a free version, but you can’t stream for more than 40 minutes. Zoom Webinars are now $80 a month for a minimum of 500 attendees.
Overall, Zoom gave me a lot of control over how people viewed the stream, most people were already familiar with it, and I needed something bulletproof since my brother is only getting married once. As a bonus, I was able to record a local copy of the event and see everyone’s in-person and Zoom chat reactions.
If most of your audience or guests are on Facebook, YouTube, or Twitch, those platforms’ livestreaming options are good, but you may have to jump through some hoops to get set up. Don’t count on them on short notice.
Also, be aware that no matter where you host the stream, you are probably running afoul of copyright laws if you play any music. For a private event, copyright owners are unlikely to notice or shut everything down mid-event, but don’t use the tips in this article to broadcast a bootleg concert to thousands of people. And they can still punish you afterward.
Test, test, test
The time to test everything (and I mean everything) is not the day of the event. Instead, make sure everything is working at least a day or two beforehand so you can fix any of the (almost inevitable) bugs, problems, and other weird issues.
A non-exhaustive dry-run checklist includes ensuring that:
- The internet is fast enough to stream from
- You have a way to send the guests a link to the livestream, or that it’s scheduled in advance
- All the guests know how to access the livestream and have the right app installed
- The microphone and camera cables are long enough that you can position them where you want
- The microphone is positioned and angled correctly
- You’ve selected the correct audio and video sources for the stream
- You have a charger for the computer you’re running things through
- The lighting is good enough—if it isn’t, turn on more lights or face a window
- There’s no dancing or anything else planned that could take out all the cables or the tripod
- Your computer won’t automatically go to sleep
- Scheduled updates aren’t going to start breaking everything
- If you’re recording the event, you’ve ticked the right checkboxes and have enough hard drive space
In other words, thorough troubleshooting and preparation should ensure things go off without a hitch.
Going live
When the day of the event rolls ‘round, you should be confident that it’s going to go well, the online guests should know what to expect, and there should be no last-minute scrambles.
With that said, make sure you give yourself enough time to set everything up (if you can’t leave it set up from the tests you did the day before).
Some key things to bear in mind as you get ready to start the stream:
- Make sure everyone involved knows there’s a livestream and where the microphone is located. You don’t want someone standing way off to the side as they speak. In particular, inform any celebrants, family members who missed your multi-hour set up procedure, and anyone else who is expected to speak but wasn’t involved with planning the livestream. They may need a reminder to speak to the e-guests.
- Put your smartphone, if you’re using it as a camera, in Airplane mode. That’ll stop uninvited robo-callers from ruining everything.
- If you can, set the stream up so that any guests who join are automatically muted and can’t un-mute themselves. On Zoom, this means clicking Participants, followed by Mute All when you set up the livestream, and then, under Mute all current and new participants, unchecking the box next to Allow participants to unmute themselves.
- Set up the stream so your video feed is the main one on everyone’s screen. For Zoom, hover your mouse cursor over your video feed and click Spotlight for Everyone.
Finally, try to relax and have fun. Setting up a livestream—especially if you haven’t done so before—can be stressful, but you’ve got this.
This story has been updated. It was originally published on November 25, 2020.
