Gear
News, roundups, and reviews of the technology that shapes the way we live.
Latest in Gear


Sponsored Content
Send large files without wondering whether anyone opened them for $30

Sponsored Content
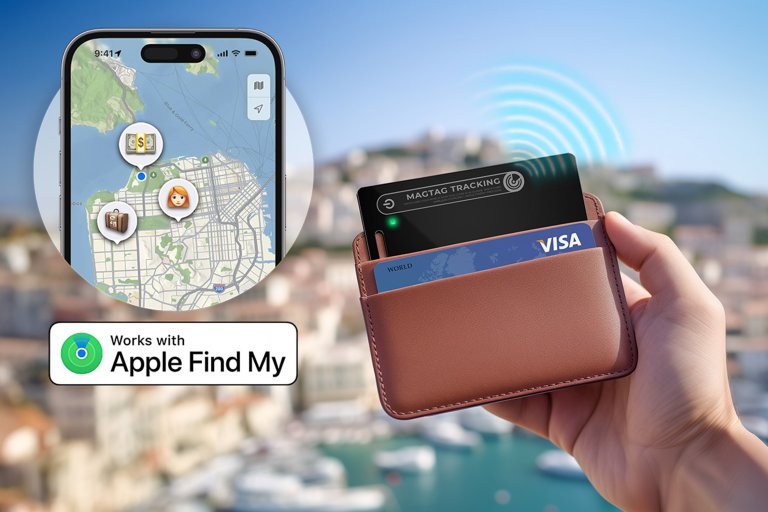
For a limited time, get this portable tracker card for only $23.99

Sponsored Content
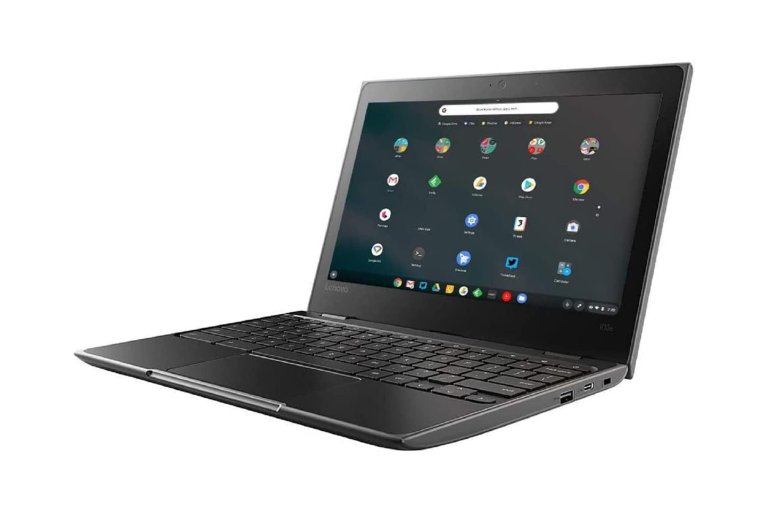
If you live in Chrome, this refurbished Chromebook is only $60

Sponsored Content
Get 3 months of Xbox Game Pass Ultimate for $70
Sponsored Content
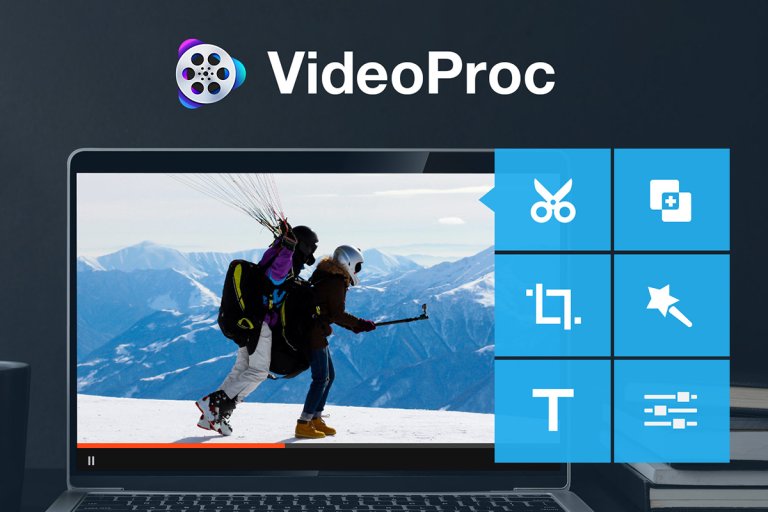
Rescue shaky, low-resolution videos with AI for $36
Sponsored Content
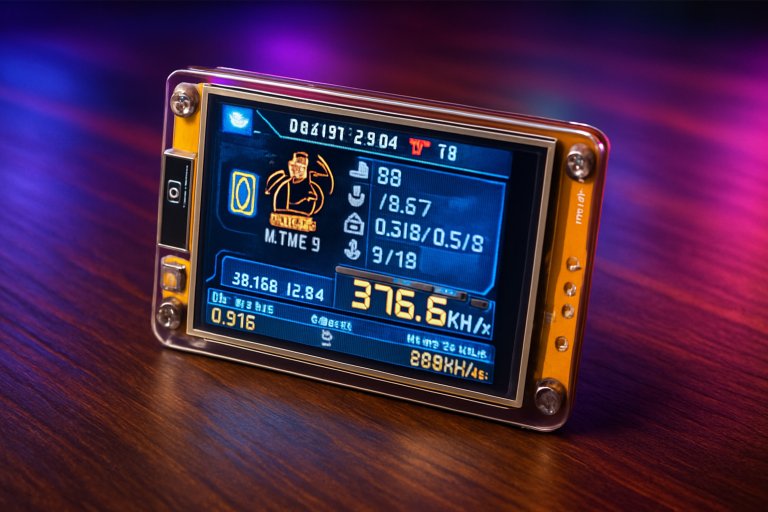
This pocket-sized Bitcoin miner is 60 percent off right now

Sponsored Content
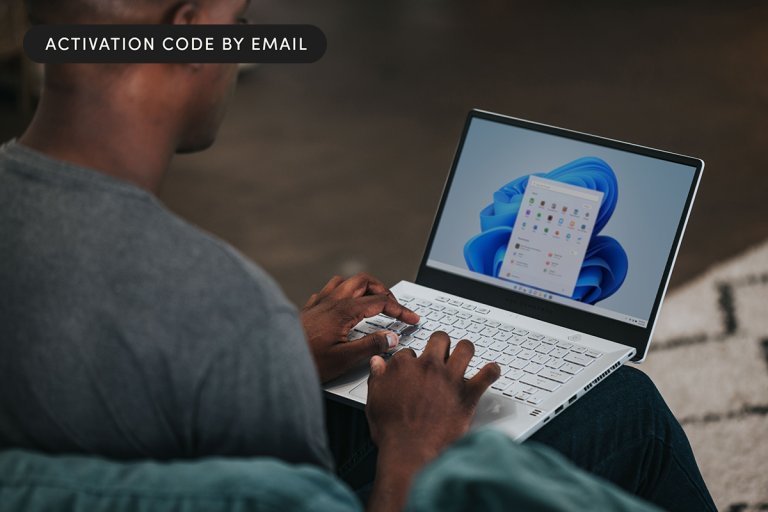
Work online or off with Microsoft Office Professional 2021 for $35
Sponsored Content