You’ve probably seen them—sensors watching from the corners of rooms in office buildings, shopping centers, and public bathrooms. If you observe them closely, you’ll likely notice a small LED that turns on when you move and shuts off when you stand still. These are passive infrared (PIR) sensors, the same technology that turns the lights back on when you walk into your office after hours or activates alarms based on the changing heat signatures in a room.
While great for standard lighting and security applications, hobbyists can use these sensors to control a wide range of electronics. Don’t worry if you don’t have a microprocessor or any experience with this kind of tech; you can have fun and improve your life with PIR sensors no matter your skill level.
Microcontroller not required
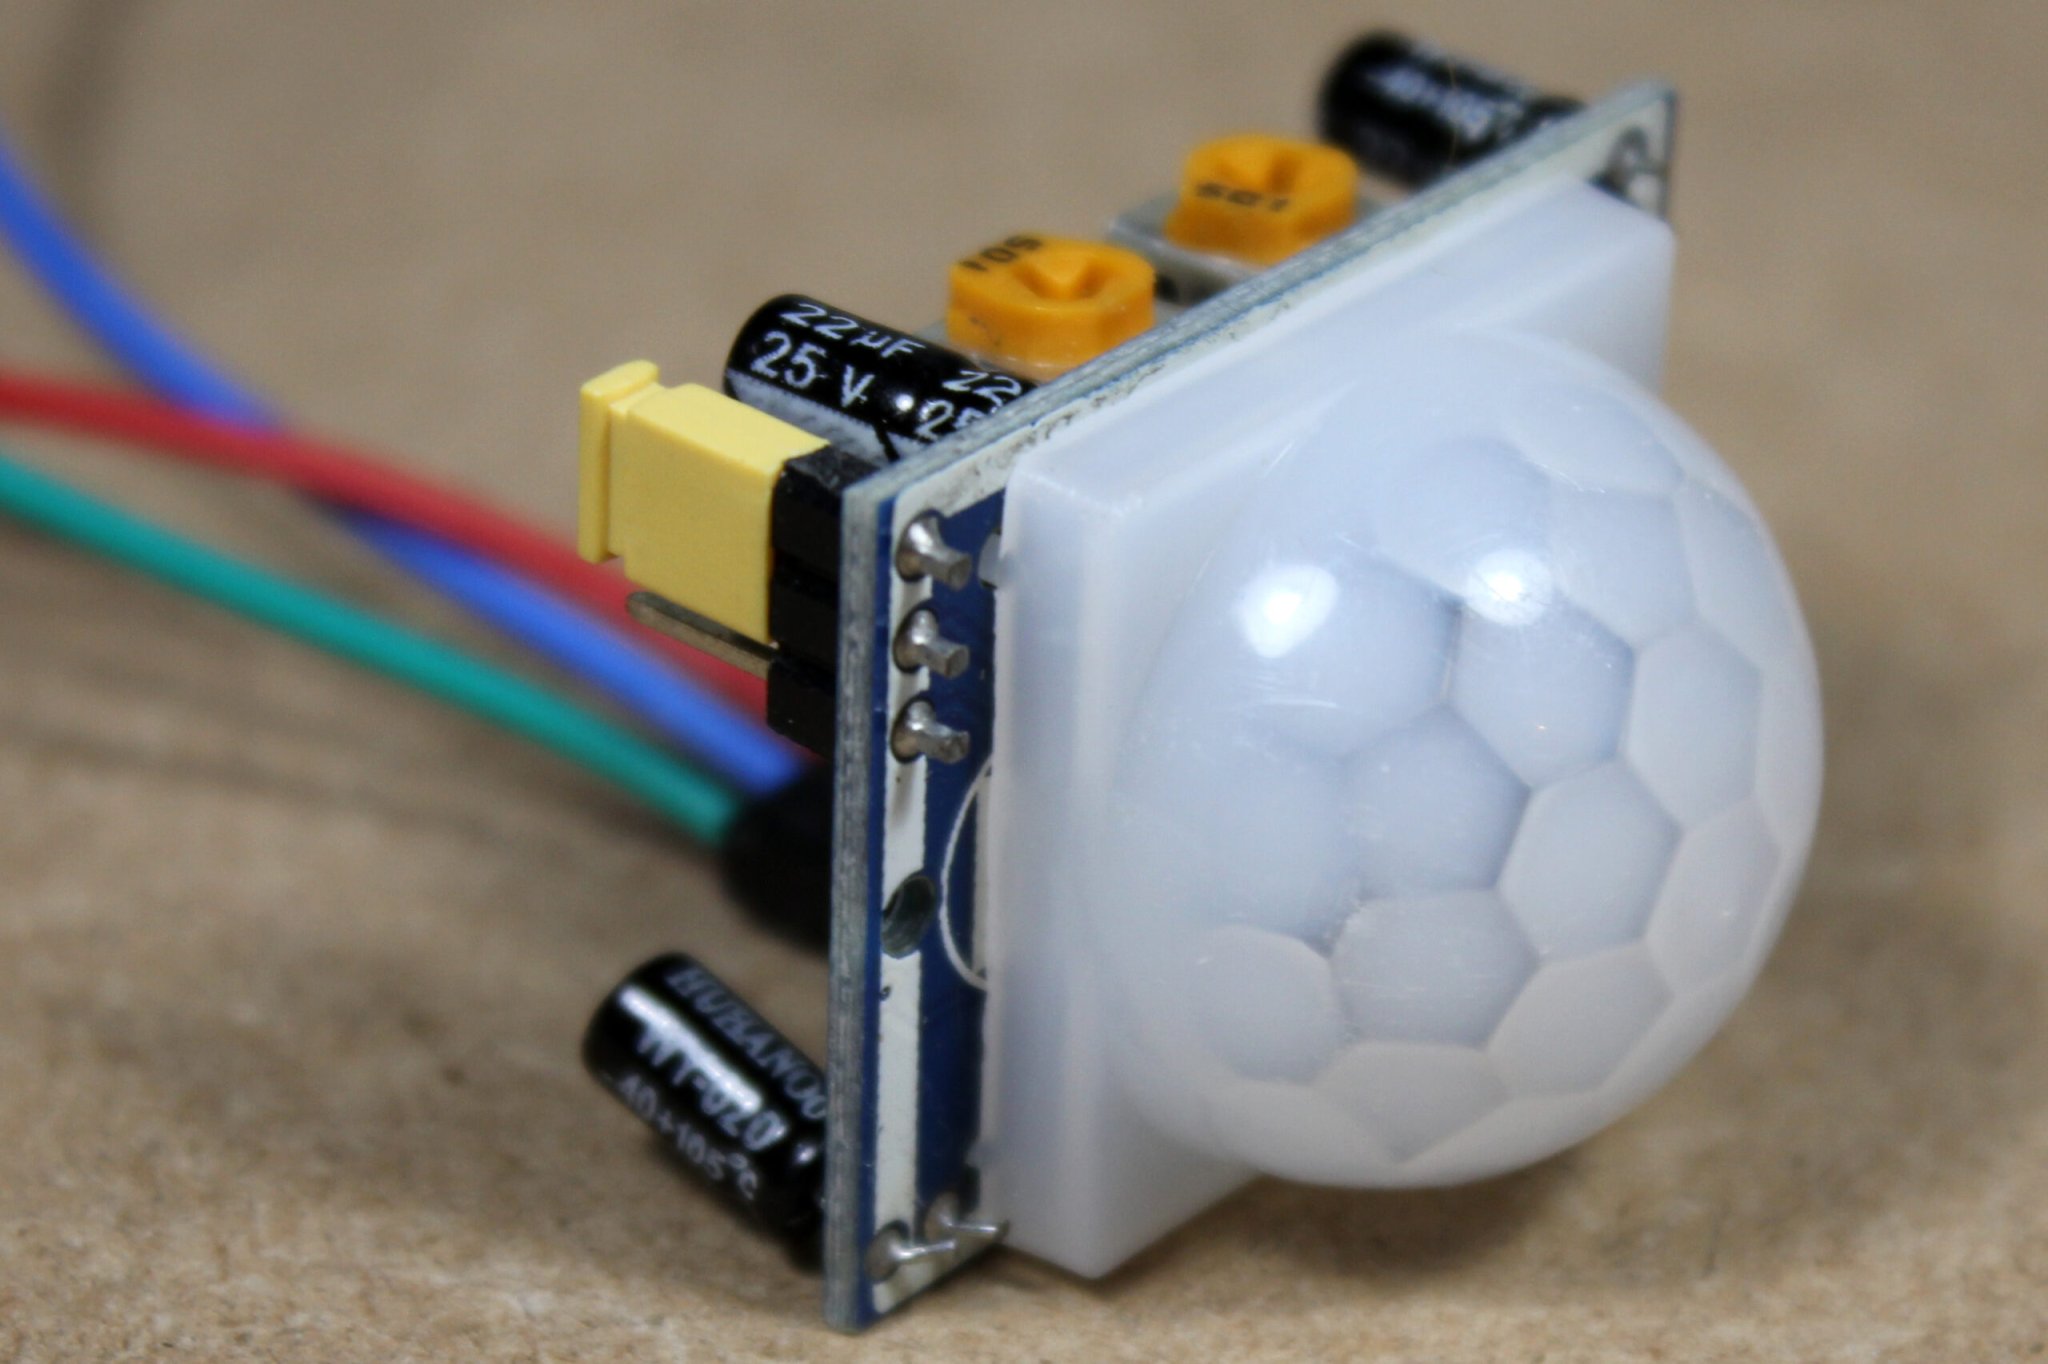
While PIR sensors can be used with Arduino and other microcontroller boards, those best-suited for hobby use (the kind with a white golf ball-like semi-sphere lens, electrical connectors called headers, and a pair of potentiometer knobs) are smart enough to perform simple tasks without any programming.
Connections normally include ground (GND), voltage connector (VCC), and output (OUT) pins, though depending on the model, you may have to remove the semi-sphere lens to see which pin is which. The ground, as you would guess, connects to a ground, or negative, wire, while the voltage connector links the sensor to an appropriate voltage source. Then, simply wire the output pin to whatever you want the sensor to trigger.
But just like your office lights don’t turn on and off as you move, the sensor’s work can continue beyond the moment it’s triggered. That’s where the potentiometers come in. These can be set to keep the device on for a certain length of time, typically anywhere from a few seconds to a few minutes.
For example, if you have a fan you’d like to keep running when someone is in the room, you can set your PIR sensor up for a long shutoff delay. This will keep a breeze going without any tricky programming.
Extra abilities with Arduino, Raspberry Pi, and more

If these sensors can control fans, lights, or other electronics by themselves, you can only make them stronger by hooking them up to a microprocessor development board such as an Arduino. To do this, connect the ground to a negative wire that’s shared with your board, and the voltage connector to an appropriate power supply. The output pin can then be wired to an input pin, starting whatever action you have programmed your device to do. Then, with a wave of your hand, or upon entering the room, you’ve got action.
After mastering a few basic sensor tasks, you could easily link your PIR sensor to a microprocessor, using the set-up to track household activity, create your own alarm system, program a smart assistant to greet you when you arrive home, trigger Christmas lights, or take photos with a Raspberry Pi-based camera.
PIR sensors are fascinating devices with a variety of uses, including keeping your fan whirring, your humidifier running, or your attic light shining. Another cool application for a PIR sensor sans microprocessor: this automatic camera trigger setup. It uses an opto-isolator to operate the camera, but no extra “intelligence” is needed, making it easy to build. Here’s how I did it:

Camera Motion Trigger with PIR Sensor and Opto-Isolator [3D-Printed]
