For a lot of us, checking our Gmail inbox is a daily ritual, and Google’s email client comes packed with labels, filters, stars, and other features meant to help you sort and manage your messages as quickly as possible. But those are just surface-level—you can go deeper.
Experimenting with Gmail’s layout is a powerful, but often overlooked way to boost your email productivity. It can surface the most important messages first, help you avoid inbox clutter, and give you a different perspective on your mountain of emails.
1. Sort unread emails to the top
Deal with your unread messages before anything else by clicking the cog icon (top right) in the main Gmail interface to open the Quick Settings menu. Then scroll down to the Inbox type heading and select Unread first. This will separate unread emails from everything else, putting the messages you haven’t opened yet at the top.
After Gmail creates this divide, click the three dots in the top right corner of your inbox to choose how many unread emails appear on screen at once (up to 50). From the same menu, you can also select Hide section when empty to have it disappear when all your emails are read.
You can also type “is:unread” into the search box at the top of the page to sort by unread Gmail messages. This will display everything from your inbox and archive that you haven’t opened yet, in reverse chronological order, while hiding all your other emails from view. It also won’t change the layout of your main inbox, so it’s a good option if you just want to have a quick look instead of making a lasting change.
2. Show important emails first
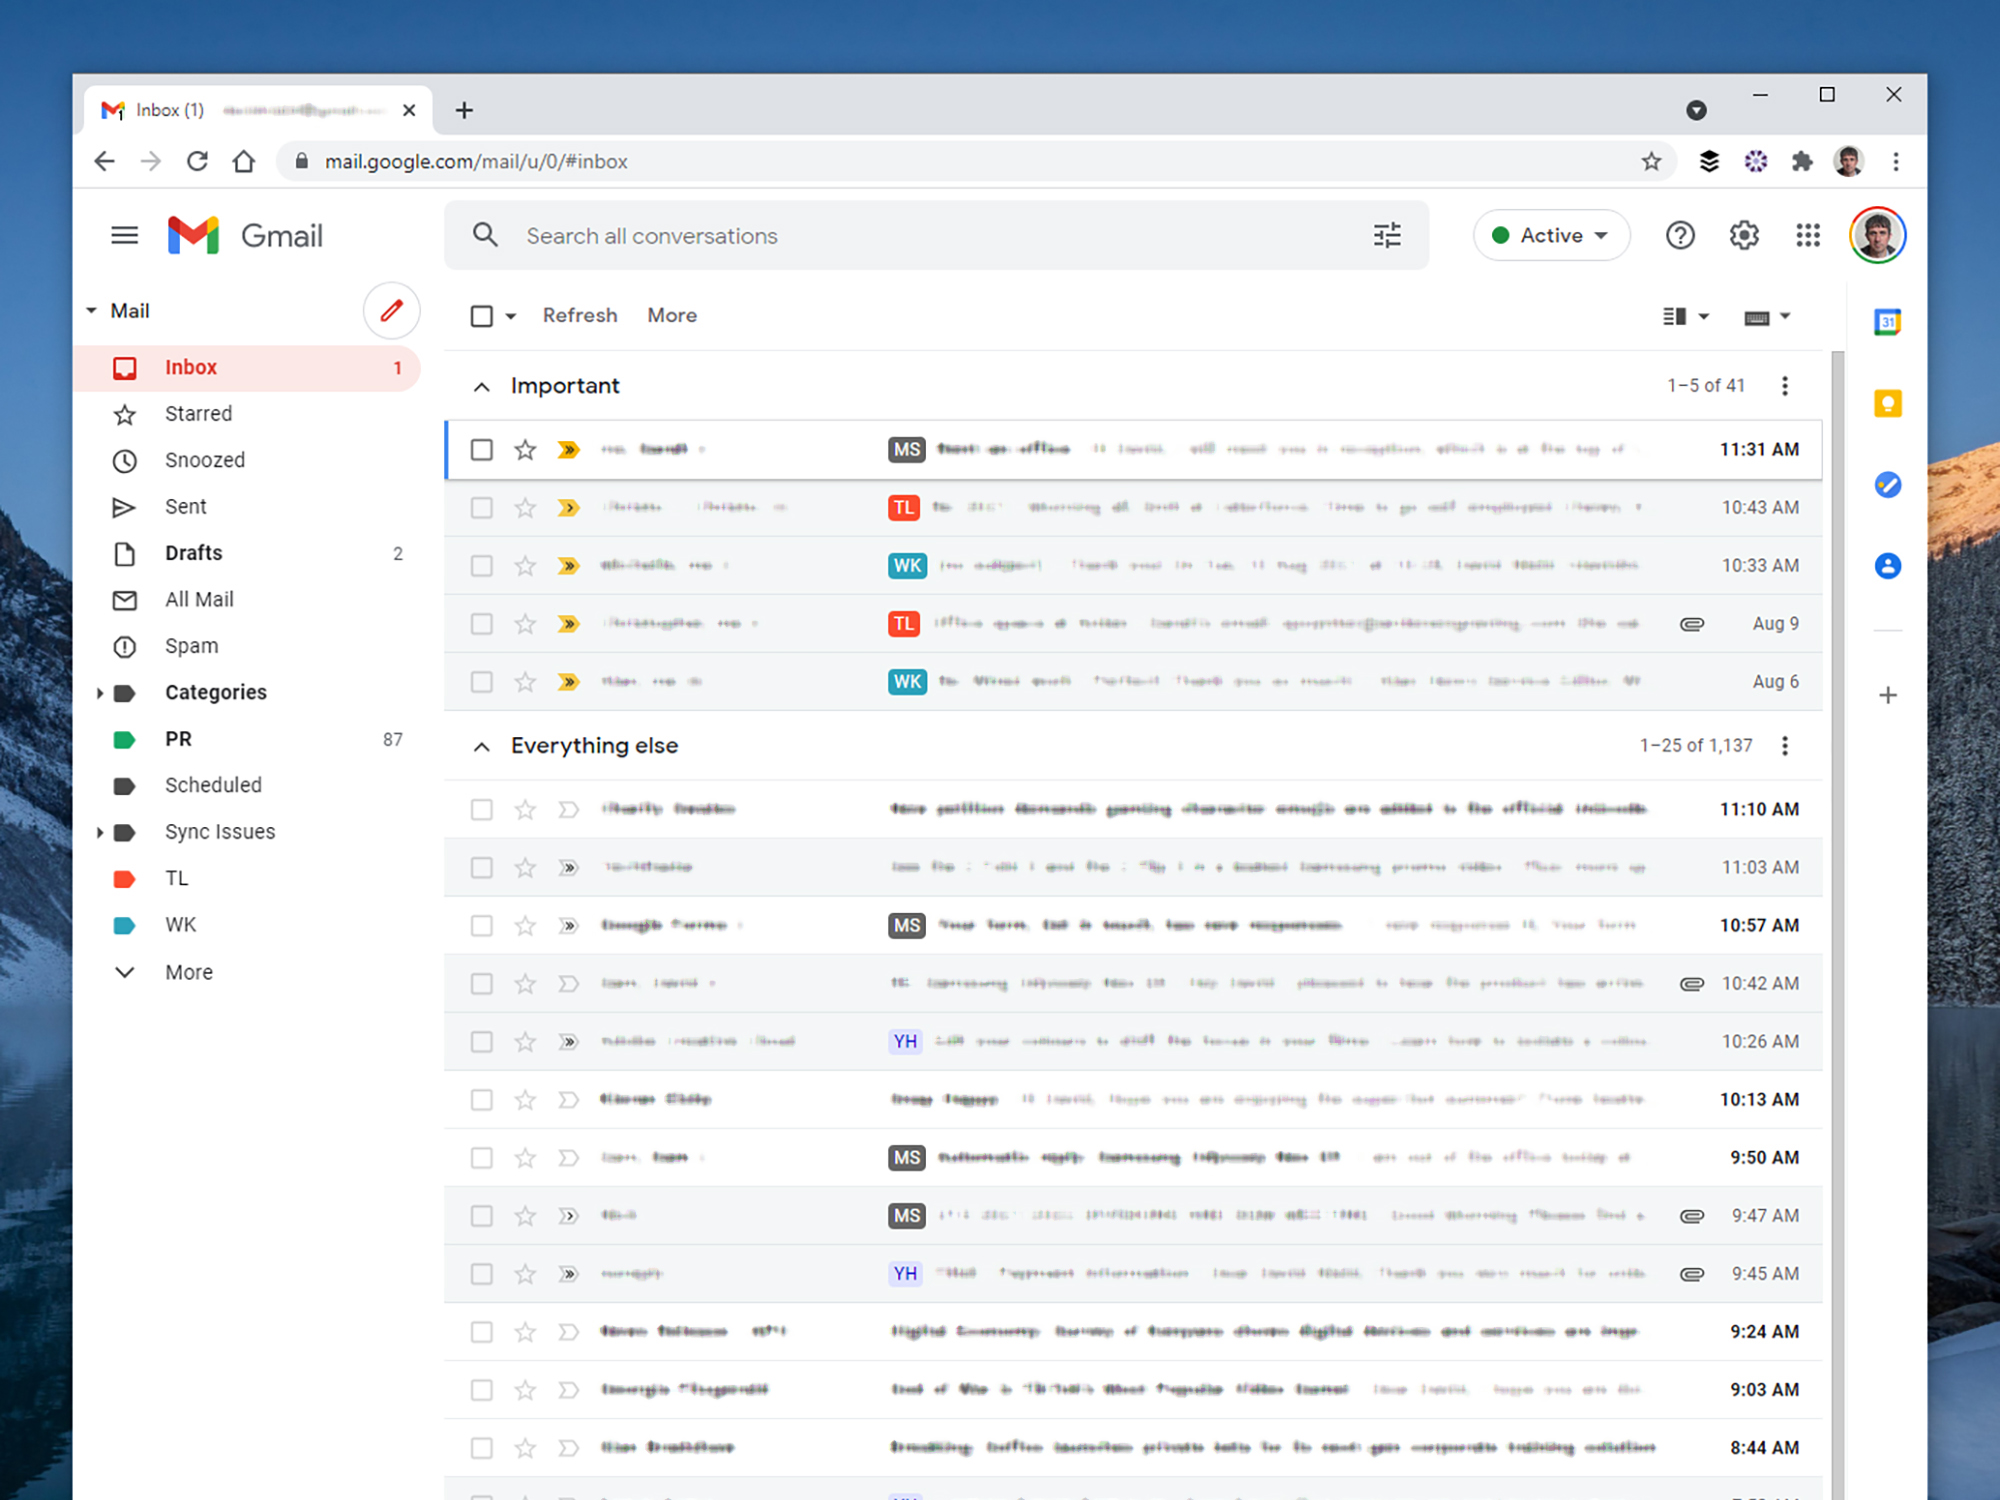
If simply sorting by unread isn’t enough, you can choose to have Gmail bring the most important emails to the top of your inbox. Importance is judged by Google’s artificial intelligence algorithms, and those algorithms are based on indicators such as who you email most frequently and the keywords inside your messages. Emails that Gmail thinks are important have a small yellow arrow next to their subject headers.
Click the cog icon (top right) in the main Gmail interface, scroll down to Inbox type, and choose Important first. Emails deemed to be important will appear in the top section, in reverse chronological order, and everything else will show up below. Click the three dots (top right) to choose how many important emails appear on screen at once, and whether or not the section should be hidden when it’s empty.
Irrespective of your inbox layout, you can run an “is:important” search to see all the important emails in your Gmail account, in reverse chronological order, without changing how everything looks. You can also click the arrow markers to the left of email subject headers to mark the messages as important or unimportant.
3. Display starred emails first
You might not have realized how comprehensive the stars system in Gmail is: Click the cog icon (top right), See all settings, and make sure you’re in the General tab. Scroll down to find Stars, and you’ll see there are 12 types to choose from (you don’t have to use them all).
Make your choices and click Save Changes to lock them in. Back in your Gmail inbox, click the cog icon again, find Inbox type, and select Starred first. All the messages you’ve put a star next to will go right to the top of your inbox. They will appear in reverse chronological order by date, with each star type from a given date grouped together. Click the three dots (top right) to set how many starred messages appear on screen at once.
[Related: 4 tips to bring your Gmail inbox to zero]
You can search for starred emails too, which won’t change the layout of your Gmail inbox. Run a query for “is:starred” to see everything with a star next to it, or use a search like “has:orange-star” to find specific star types (hover over the stars in the General tab of Gmail’s settings to see what their individual labels are).
4. Switch to the Priority Inbox
Another alternative Gmail layout is the Priority Inbox: This splits your inbox into sections that include important, unread, or starred emails. You get to choose the sections and how they’re arranged.
To do so, click the cog icon on the main Gmail interface (top right), go to Inbox type, and select Priority inbox. Click Customize just underneath, and you can decide how many sections show up on screen, as well as what gets put in them.
One of the most useful sections is Important and unread, which shifts every, well, important and unread email up to the top of the conversation list (click the three dots in the top right to choose how many emails are shown in each section). Any label you’ve set up in Gmail can be used to fill out one of your sections.
5. Tweak the default setting

You can make adjustments to the default Gmail layout too, which uses tabs at the top of the inbox to split your emails into categories. If you’ve never explored these options, they’re worth experimenting with to see which setup suits you best.
Click the cog icon (top right) from the main Gmail interface, find the Inbox type heading, locate Default, and choose Customize. From there, you can pick which tabs show up on screen—from Primary, Social, Promotions, Updates, and Forums—and Gmail will try to sort your messages into these tabs as they come in.
[Related: Dig up any old email in your inbox, even if it’s in the trash]
Based on our experience, this sorting works pretty well, but Gmail can occasionally get a category wrong. You can always drag emails between tabs to tell Google where a certain type of email should go, and this should improve its future classification decisions.
6. Opt for a multi-pane view
Traditional email clients usually show your list of messages alongside the body of the currently selected email, and Gmail can do this too. Click the cog icon in the top right corner of the interface and scroll down to the Reading pane heading. Here you can choose between No split, Right of inbox, and Below inbox. After you make a choice, Gmail may ask you to reload the page.
Using “right of inbox” as an example, as soon as you select an email, it will appear in the pane alongside your inbox and you can keep browsing the message list on the left while you read. This layout can save you some time jumping between individual emails and your main list of messages, and should make it easier to triage emails as they arrive.
If you don’t currently have any of your conversation threads selected, the second pane will show the amount of free storage space in your Google account, which is shared between Gmail, Google Photos, and Google Drive.
This story has been updated. It was originally published on August 10, 2021.
