If you’re ready to start planning your first multi-day hiking trip—or your first long one in a new destination—the process can seem daunting. After all, there’s so much to consider. Where will you hike? What sort of terrain can you expect? What gear will you need? What will you eat? Just take it one step at a time and you’ll be blazing a new trail before you know it.
If you fail to plan, you plan to fail
“Plan ahead and prepare” is the first principle of Leave No Trace for a reason: if you neglect to do so, your trip is practically guaranteed to be a rough ride. Imagine arriving at a park trailhead just to discover you have to have a permit you can only apply for six months in advance. Or getting a day into a hike only to realize how demanding the terrain is and that you’re not physically fit enough. Or that the weather changed and you didn’t pack a rain jacket. All of these scenarios, and more, could ruin an otherwise enjoyable trip.
Fortunately, a little research, planning, and preparation are often all you need to avoid many uncomfortable backcountry situations, explains experienced backpacker and guide Kirstie Mullikin from Explorer Chick, an adventure travel company that offers women-specific hiking trips around the world.
[Related: Hike farther and faster with these training tips]
Start by checking park or regional websites or calling ranger stations to see if you need permits or passes, and when you need to obtain them, Mullikin says. While you’re at it, find out if any hiking areas are closed due to dangers like avalanches or rock slides, what wildlife you should be prepared to encounter, and what you’ll need to bring to go to the bathroom.
Next, use weather trends and forecasts to inform your packing, including what layers you might need, whether you’ll require safety gear like microspikes on snowy passes, and if you should prepare for rain.
Depending on the trail and the area you’d like to explore, you may need to start the planning process months in advance. Grand Teton National Park, for example, requires hikers to apply for backpacking permits six months before their trip. But state parks and national forests may require no permit at all, or you may be able to pick one up the day you start your hike.
Pick a trail
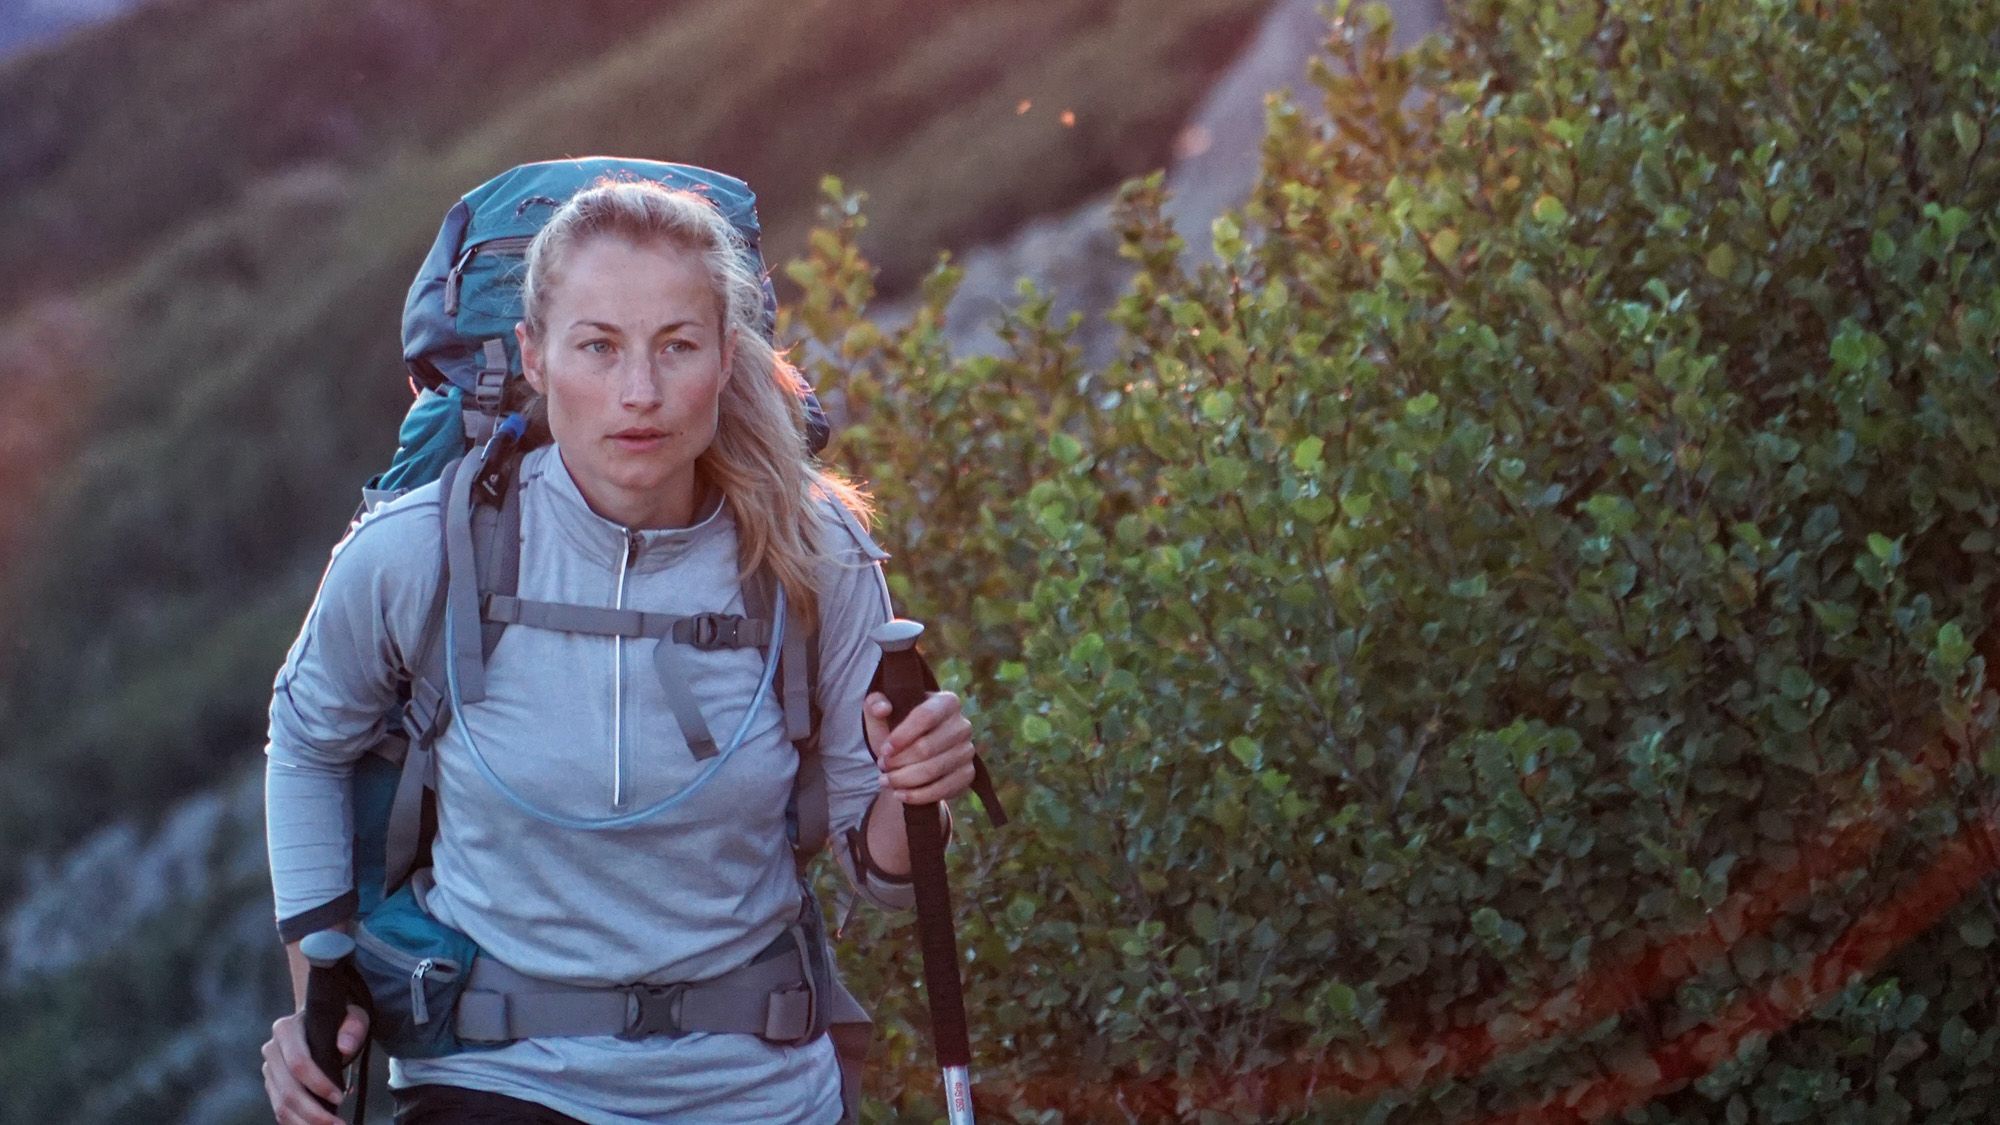
Between national and state parks, as well as public land like national forests, the options are practically endless when it comes to deciding where you’ll hike. But if you’re new to trip planning, stick with a route that’s close to home, Mullikin suggests.
A hike within a few hours’ drive of your bed and shower will not only make the trip seem less formidable, but much easier to cut short if you realize you went in underprepared. You’ll also likely be more comfortable in familiar territory, especially if you’re inexperienced.
To find great spots nearby, ask around at local gear shops, search online, or use apps like AllTrails to get ideas and details. But choose a route carefully and take into consideration your personal physical fitness. Look at the length of the trail, elevation gain, altitude, and the time you have to complete the trek to decide if you have the skills and ability to successfully tackle the terrain.
Get fit
Speaking of fitness, you’ll need to prepare your body for the rigors of the trail. Depending on your current level of athleticism and the difficulty of the route, you may want to start training a few weeks or months ahead of time.
Start by simply hiking any accessible trails near you, preferably where there’s some solid elevation gain, maybe 1,000 feet over 2 miles or so, Mullikin recommends. If that’s not an option, stairs are the next best thing, she says. So hit the bleachers or make the StairMaster at your local gym your new best friend.
As your fitness progresses, start adding weight to a backpack until you are carrying however much you expect to be burdened with on your hike. For most new backpackers, that’s usually around 30 pounds, Mullikin says. “That way, you don’t get to the first day of the hike, put your pack on, and say, ‘Oh my goodness, what have I done?’”
Pack smart
As your departure date approaches, start thinking about gear. Your research regarding weather conditions, terrain, and destination will inform much of your packing list, like whether you’ll need a four-season tent, what layers are required, and whether you’ll need bear spray. Mullikin says she always starts with the 10 essentials: shelter (which includes a tent or hammock, sleeping bag, and sleeping pad when backpacking), clothing, food, water, navigational tools, fire starter, a first aid kit, a repair kit with a knife, illumination in the form of a headlamp, and sun protection like a hat and sunscreen.
After you gather the necessities, make sure it’s all in good working order. If you rent or buy new gear, know how to use it. Pitch your tent in the backyard and practice using your stove. If you borrow gear or are using items you already own, test them before you leave home and repair or replace any gear that has holes or needs to be washed or waterproofed.
Finally, turn your attention to clothing, Mullikin says. Bring enough to keep you comfortable, but don’t overpack. Clothing, she explains, is an area where most people go overboard. She usually brings one set of clothing for day use and one to sleep in and doesn’t pack much more unless rain or snow is expected and she may need to change out of soggy clothing. Use the weather forecast to inform your clothing selection and always bring a rain jacket, just in case.
Eat right and hydrate
Lastly, plan your meals and make sure you replenish what you use during the day, Mullikin instructs. For most people, depending on their current calorie intake, that’s around 3,000 calories a day for a multi-day hiking trip—more if it’s cold outside or your route is especially aggressive in terms of elevation. So check calorie content as you make or purchase backpacking meals, but also consider other nutrients like protein, fat, and vitamins, she explains.
[Related: Tips for picking the best hiking trail]
Pack snacks, too, like dried fruit and vegetables, protein bars, and treats—Mullikin’s favorite is peanut M&M’s—to munch on between meals and when sitting around the campfire. Many hikers tend to overpack food and snacks, she says, but it’s better to have too much than too little. Until you gain enough experience to know what too much looks like, err on the side of abundance.
The same goes for water. Bring more than you think you need and research whether there will be places to fill up along the way—like spigots at developed campgrounds or natural sources you will need to purify—or if you’ll need to carry all of your water for the duration of the trip.
Once you’ve researched, prepared your body, packed, and are ready to hit the trail, do so with confidence and enjoy your time in the great outdoors.
