We may earn revenue from the products available on this page and participate in affiliate programs. Learn more ›
The cooler is an indispensable part of your summer months spent outdoors. It’s a constant sidekick ready to dole out refreshing beverages and cold snacks whenever and wherever you need them.
But what if you’ve been packing it wrong all this time?
While most of us are content to pour a bag of ice into a cooler, drop in a few cans, and call it a day, there are techniques that can help you maximize your cooler’s performance and ensure perfect portable refreshment every time.
It starts with the cooler itself
Naturally, the better the cooler’s quality, the better the results. A cheap foam cooler grabbed at a grocery store is certainly convenient, but you get what you pay for. There are two factors to consider when selecting a cooler: The length of time you need the cooler to perform and the distance you’ll have to carry it. Hard coolers are a better option for longer trips because they tend to have more insulation, but that bulk can add weight. A soft cooler is better if you need to carry it to a far-away campsite or beach because it’s lighter to carry and more flexible. The downside is they might not offer as much insulation.
Don’t just grab that cooler and go
But the biggest step in cooler prep is the one most people commonly overlook. Preparation is everything when it comes to maximum cooler effectiveness. For starters, you can freeze your water bottles the night before so they help keep the cooler cool while staying ice-cold for much longer. In fact, any snack items you can freeze beforehand will assist.
The experts at Yeti also point out a vital first step that few people likely take. Before you load up your cooler, pre-chill it. Most of us grab a cooler from a hot garage or attic and fill it with ice, not realizing that the heat trapped inside will start melting the ice almost immediately. Yeti recommends adding a bag of ice or a few frozen water bottles hours before packing, then storing the cooler in a cool, shady spot until you’re ready.
A few other handy ways to take your cooler game up a notch
- Separate food and drinks if possible. People are more likely to reach for drinks than sandwiches, and the constant opening and closing of the lid can draw in more hot air, which can thaw your food more quickly. If you can, have a separate cooler for food (one that is well-marked) and another for drinks.
- You can add your own extra DIY insulation, especially in soft coolers, by filling up the outer pouches with bags of ice. This way, you have ice on the inside and extra cold coming in from the outside.
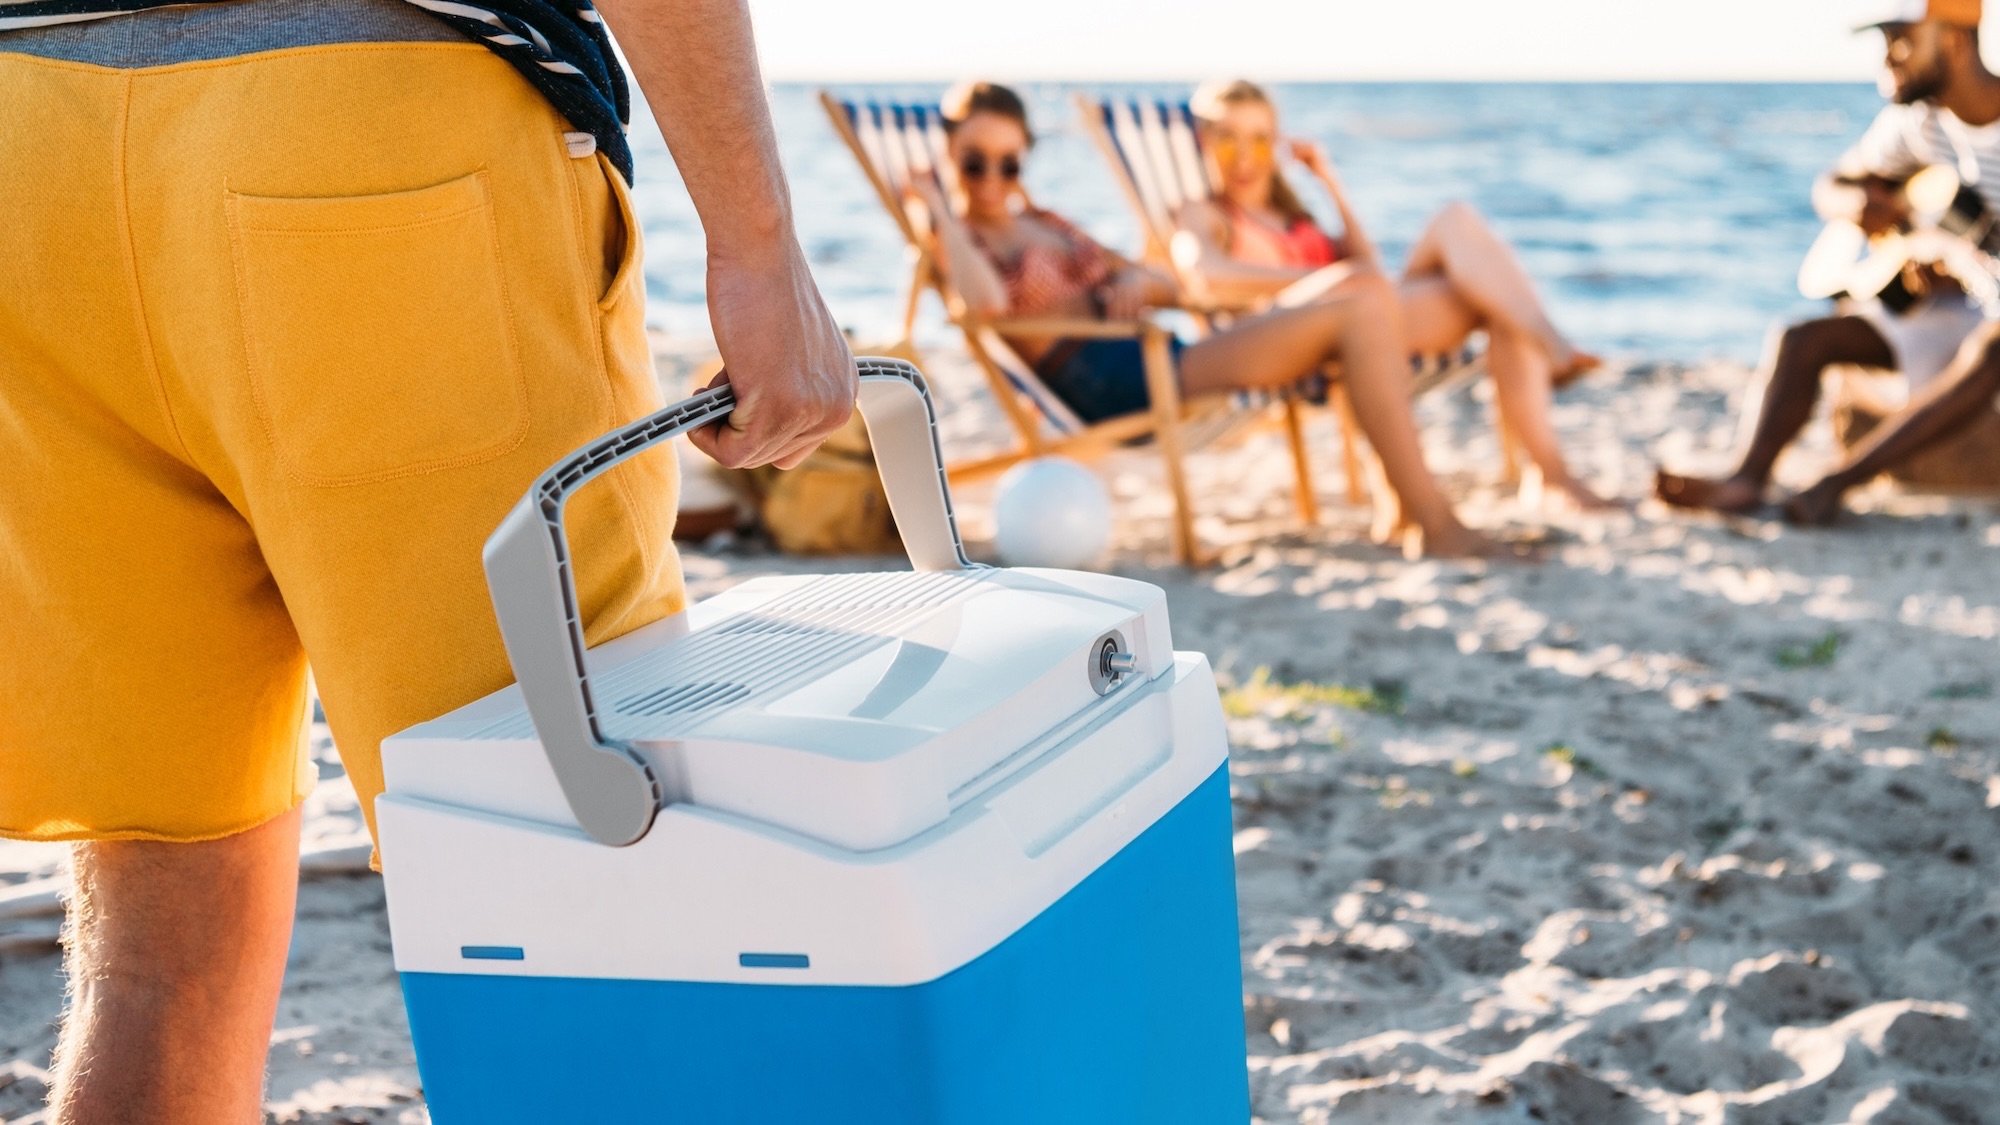
- If your cooler is going to be sitting in hot sand at the beach all day, consider getting a mat, towel, or even a small portable stool to keep it on so it’s not in direct contact with the sand and will perform better, longer. (And if you’re going to sit there, as well, don’t forget the appropriate sunscreen.)
- Use all the space you have available. Packing your cooler tightly prevents air gaps, which can accelerate the thawing process.
Now go forth and chill.