We may earn revenue from the products available on this page and participate in affiliate programs. Learn more ›
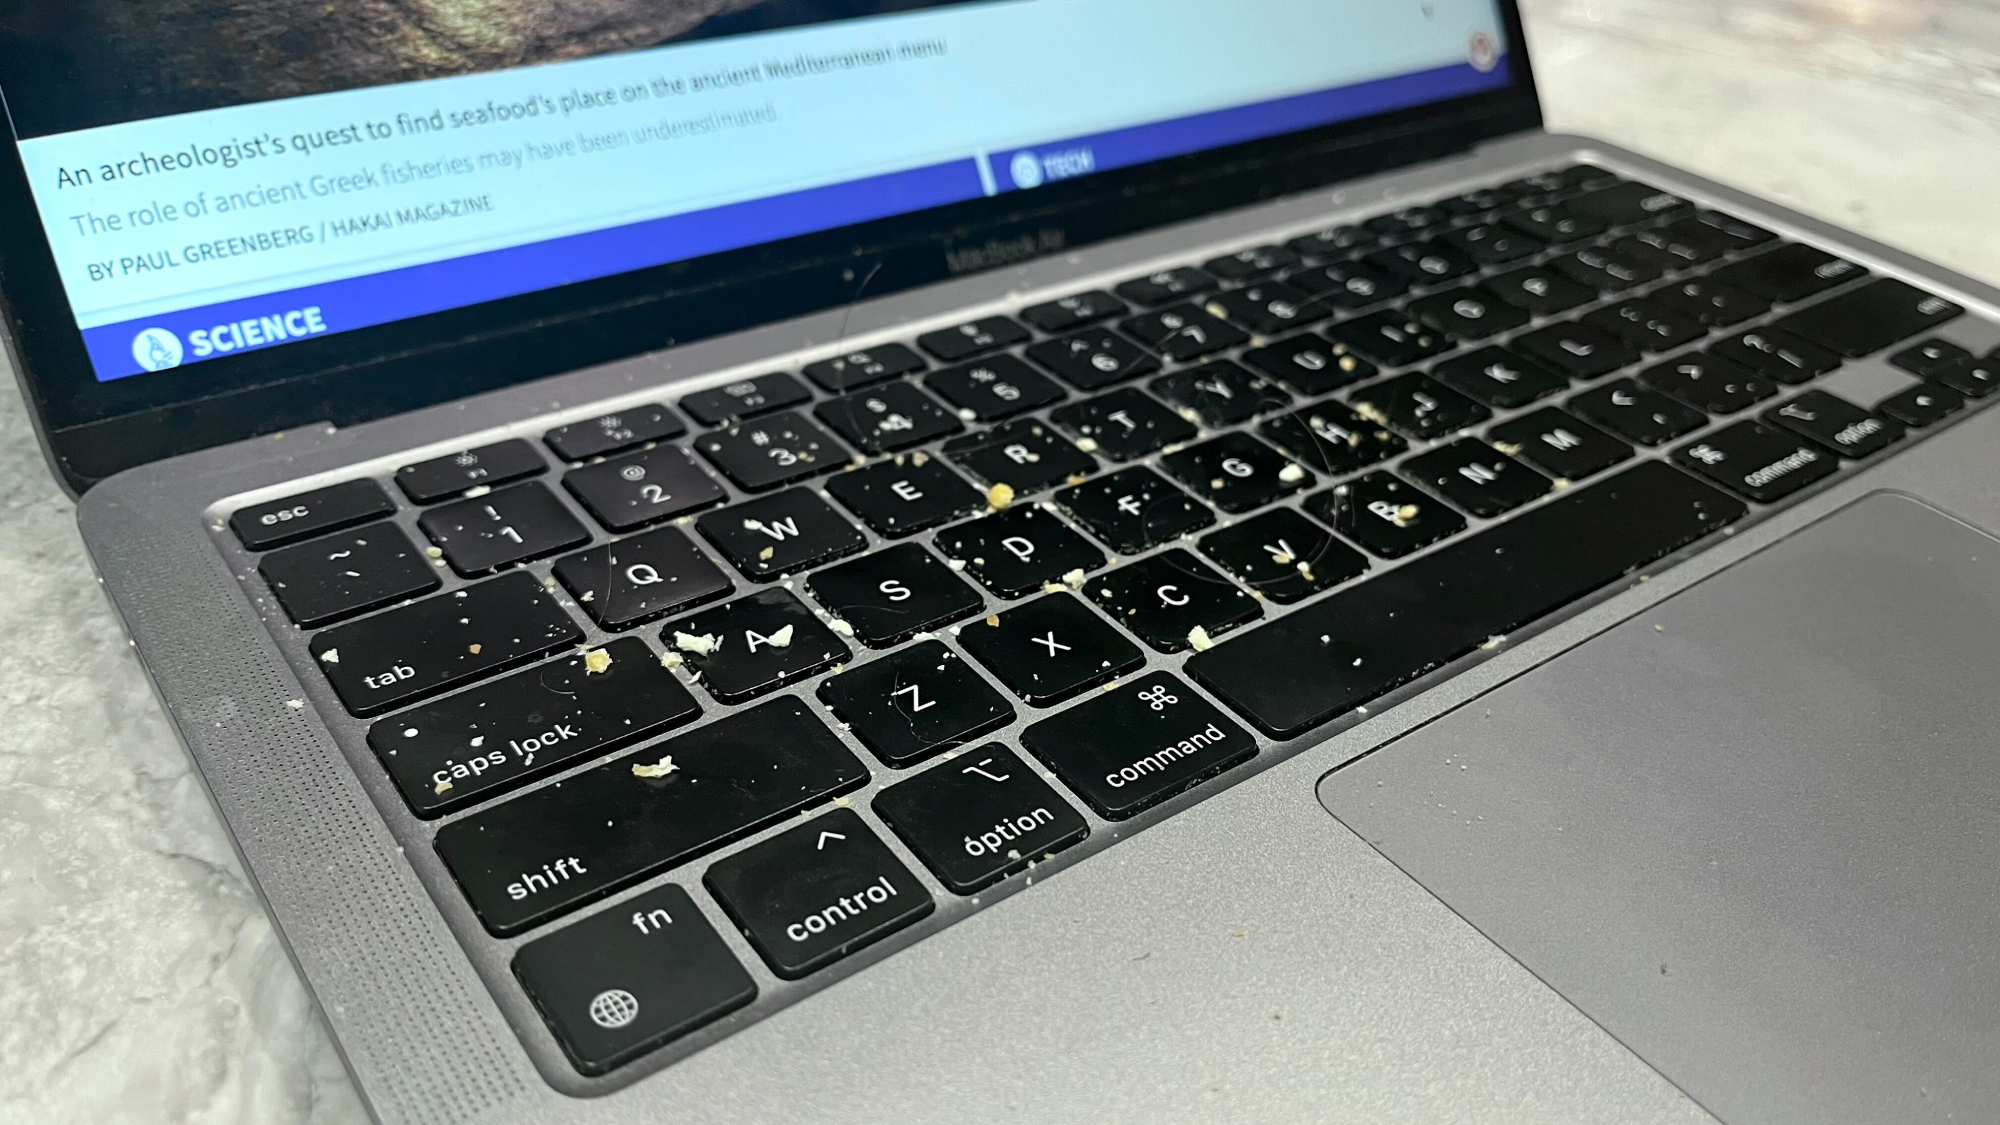
Most of us don’t take good care of our keyboards. We eat over them, we spill things on them, and—worst of all—we never clean them. A keyboard remains a sticky, dirty, disgusting mess until one of the keys stops working or someone nearby comments on how nasty it is.
Fortunately, this cleaning process is not actually that hard to do. Think of it like a thorough dental cleaning, but for your computer, and stop being that person with the messy workstation. Take charge of your life and start with a fresh, clean keyboard.
First, shut down your machine
It’s always best to disconnect your keyboard before you start the disinfecting process. Nobody wants liquid cleaning products near their hard drive when the computer is on. With a laptop, that means turning the entire machine off. If you have a desktop computer, you can just unplug the keyboard from your computer.
Shake out your less-than-clean keyboard
With a good grip, stand over a garbage can and carefully turn your laptop or keyboard completely upside down. Then, gently shake your device so any dried-up crumbs or pieces of food will fall out, thanks to the handy force of gravity. This debris removal is an important early step because it gets the big, bulky stuff out so it won’t get in the way of your more precise scrubbing later on.
[Related: Clean the grossest nooks and crannies with this DIY slime]
Start blasting with compressed air
Just like any piece of furniture that sits in one place for a long time, the spaces between your keys and other keyboard components are going to gather dust. These particles, combined with any minuscule food crumbs, are nearly impossible to remove with gentle shaking alone. That’s where compressed air comes in. Compressed air, which is exactly what its name implies, comes in a can and can be purchased at any office supply store, superstore, and online. These cans are fairly cheap, but are a crucial, powerful tool for anyone trying to clean a keyboard—they can blast dust out of that random corner you didn’t even know you had.
When using compressed air, Apple recommends tilting your keyboard at a 75-degree angle so it’s nearly vertical, but not quite. Spray the compressed air into the keyboard and rotate the keyboard or laptop 90 degrees four times so the air hits as many areas of the board from as many angles as possible.
Get scrubbing

Now that you’ve gotten all the dust and debris out, you can focus on those grimy, perhaps slimy, keys. Yes, it’s that time. For this, you’ll need a cotton ball, some Q-tips or another brand of cotton swab (they’re best used for cleaning, not sticking in your ears), and some basic isopropyl alcohol, also known as rubbing alcohol. You can buy all of these items at most pharmacies and grocery stores.
First, dab a small amount of alcohol onto the cotton ball and carefully clean each key. Then, for inter-key cleaning, switch to the Q-tip with a bit of alcohol. The small size of the cotton swab helps ensure the alcohol only goes onto the keyboard surface, not into it. Just be careful not to put too much alcohol on the Q-tip.
From experience, for extra scummy keys, you will need to scrub pretty hard. You may even have to go back to some keys for a second scrub.
The alcohol will likely get rid of most bacteria and germs that may have gathered on your keyboard. But if you want to be extra sure, you can finish with a multi-purpose cleaning wipe as well. Alcohol, because of its low boiling point, evaporates very quickly, which is another reason it’s so useful for cleaning keyboards—the area will dry within a few seconds.
Consider removing the keys themselves
Usually, the combination of shaking, spraying, and scrubbing is good enough. But if your keys are sticking or you’re convinced there’s still some dirt under the keycaps, you can sometimes remove them. This technique depends on the type of keyboard you have and how it was put together. It’s helpful to have an electronics repair toolkit if you are going to attempt to remove them.
Remember to clean your keyboard more often
Frequency is key. Just like brushing and flossing your teeth, the more often you clean your keyboard, the less likely it is that dirt and scum will have a chance to build up. While once a day is probably excessive, once a week is easily doable.
The bacteria is probably not that bad—for you at least
Even if you never clean your keyboard, the bacteria that build up are probably normal, friendly bacteria—the same kind that gather on your phone and other items you touch every day. And you likely won’t get any new diseases from your own keyboard. But an unclean keyboard is an easy way to spread disease-causing bacteria, especially if you are sick and other people are using the device as well. A good cleaning once a week will limit the risk.
This story has been updated. It was originally published on March 10, 2017.