cat sits next to scratching post
And you're done! If necessary, use treats, toys, or catnip to entice your cat to approach its new furniture. Sarah Fecht
SHARE
cat and tools
These building materials are cat-approved Sarah Fecht

Over the years, I have wasted a lot of money on cat accessories that turned out to be junk. Sure, every cat owner dreams of bringing home one of those three-tiered, carpeted towers with adorable cubbyholes for the fur babies to play in. But what you can’t see in the picture is how easy it is for an overenthusiastic jump to send the entire habitat crashing to the floor, while your cat scrambles away terrified, silently vowing to never go near that thing again.

Even something as simple as a scratching post can be unsturdy, too short, and/or too expensive. Essentially, these things are just carpeting attached to a wooden or cardboard post—so why is it so hard to find a good one at a decent price? With limited options in the store, my husband and I set out to build our own.

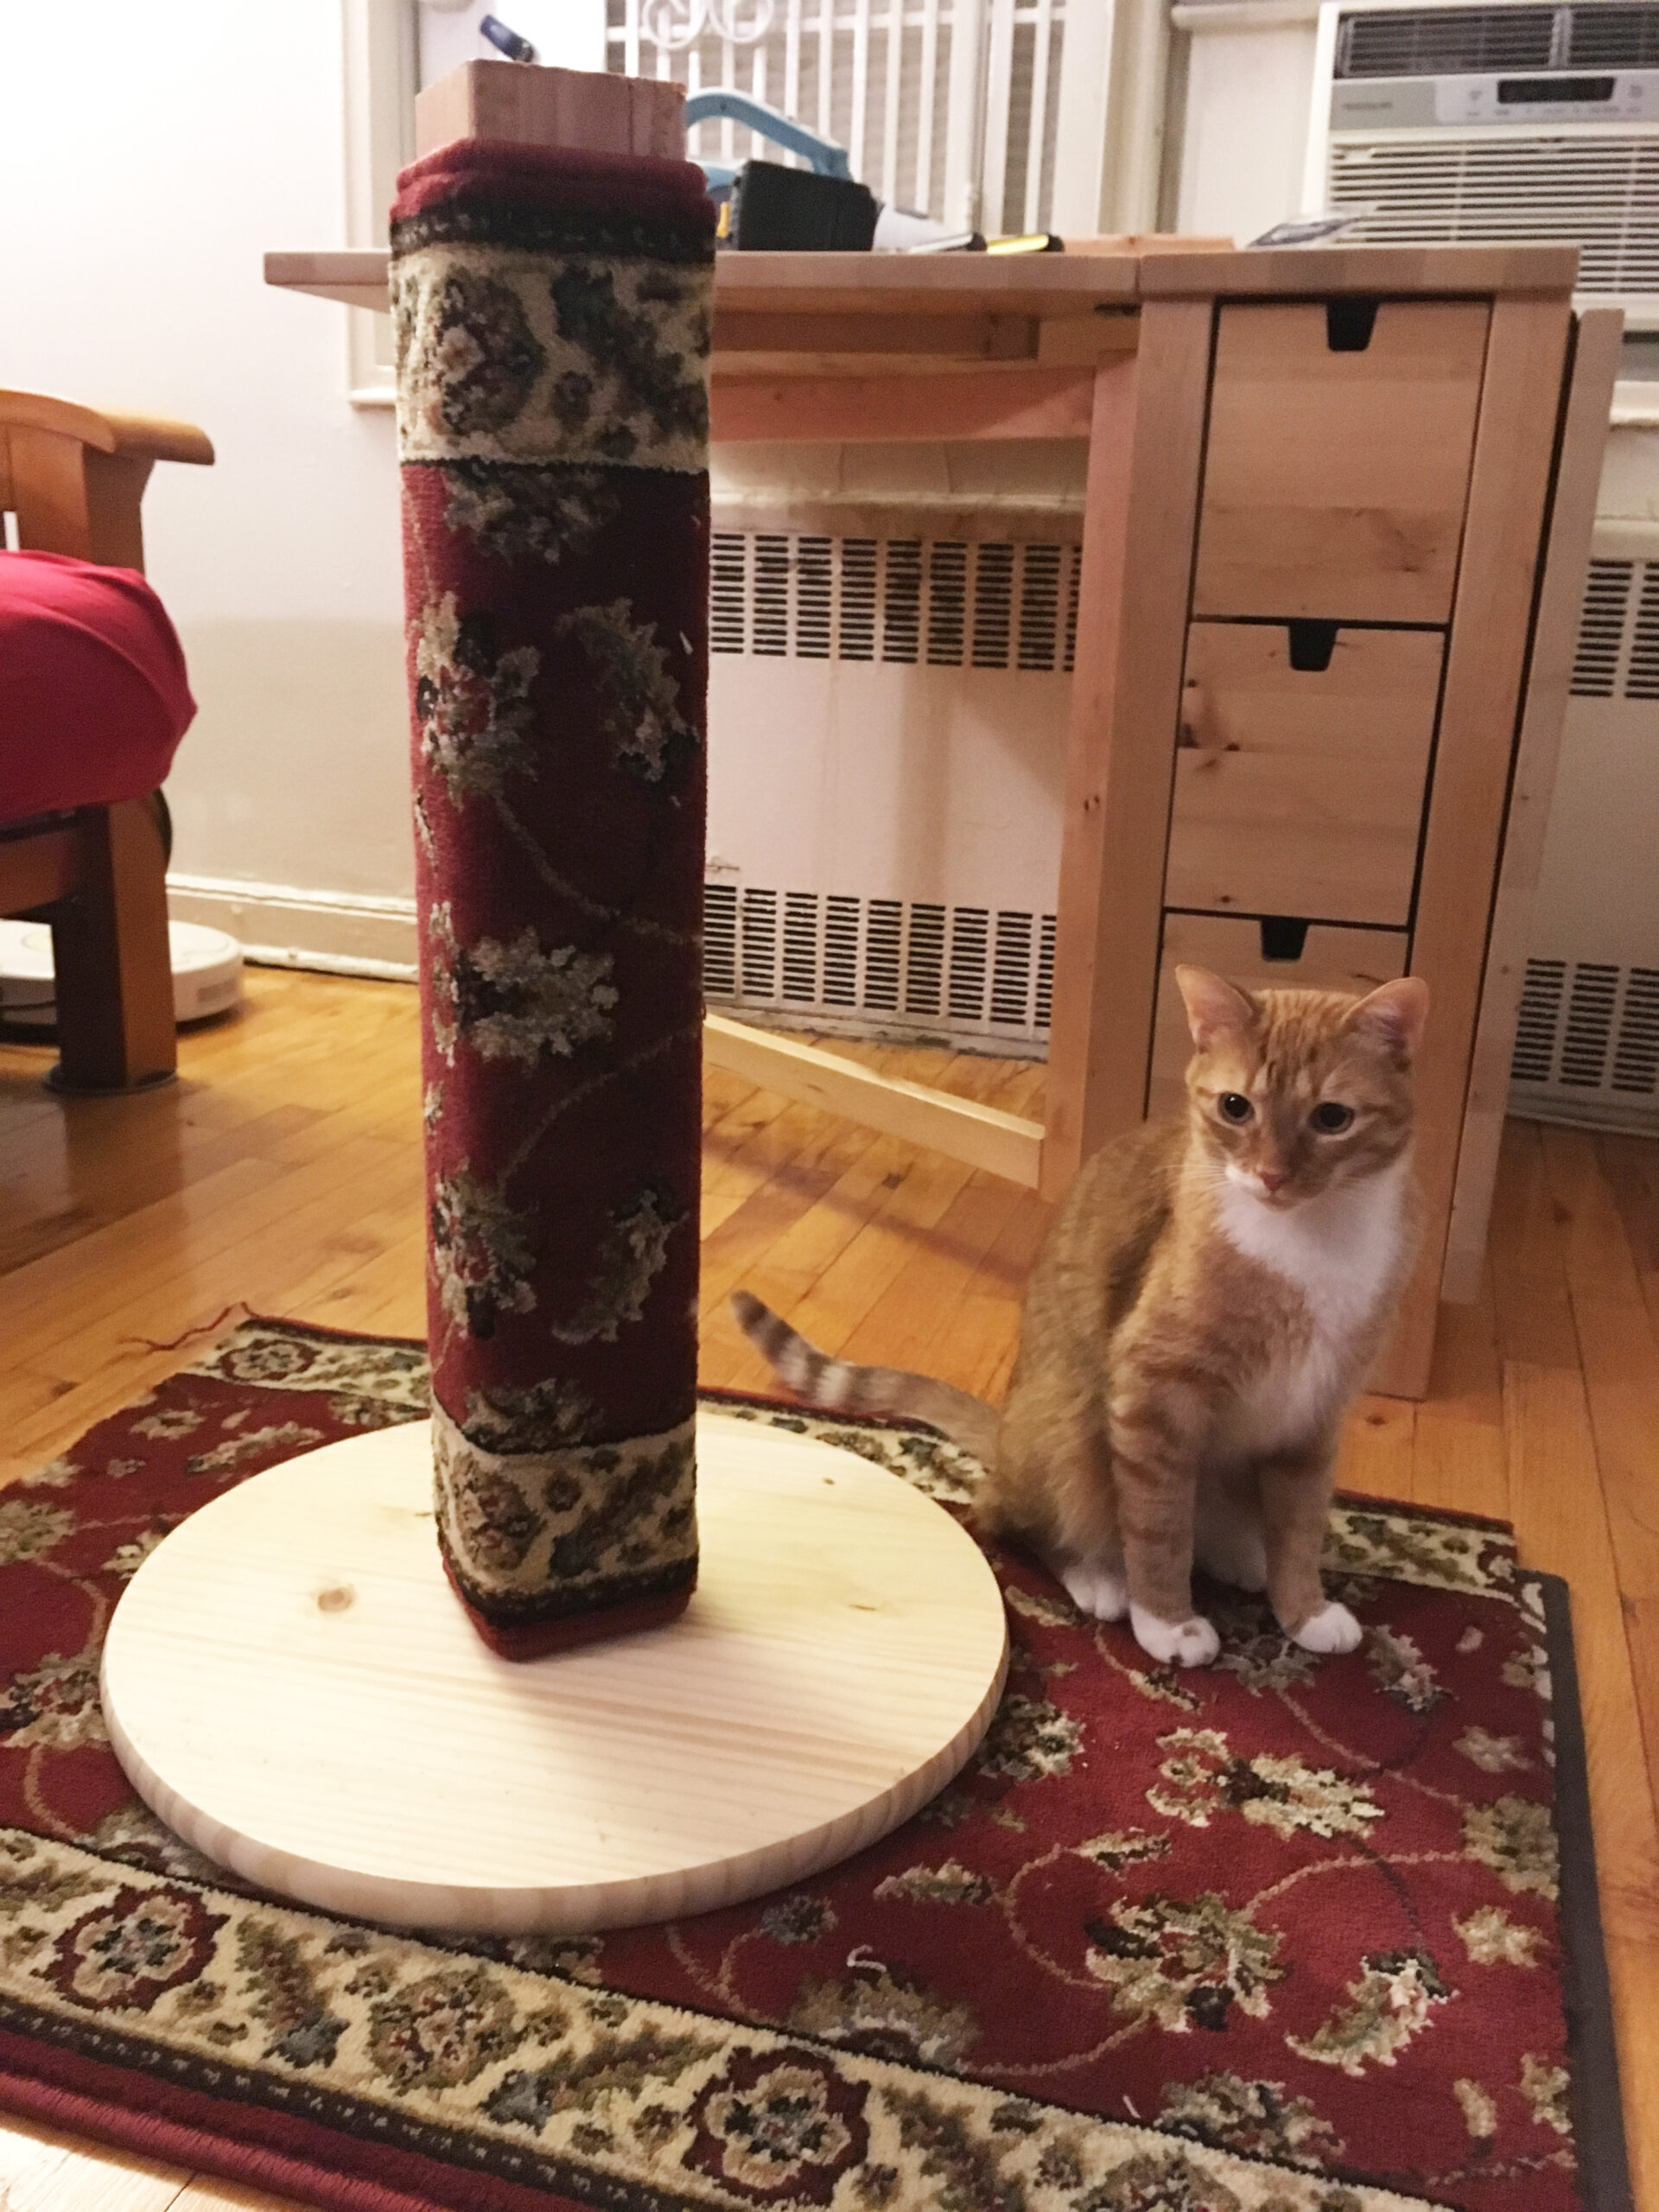
For our first try, we simply attached a wooden post (a leftover bit of 4×4 that Home Depot gave us for free) to a wooden base ($4). The cats love it, and it’s held up for a year or two now, but it’s getting a little worn out. For this latest one, we decided to get fancy and add a bit of carpet. Here’s how we did it.

Project Stats

  • Time: 2 hours

  • Cost: ~$10

  • Difficulty: Easy

Tools

  • Drill

  • Staple gun or glue

  • Hammer

  • Box cutter or scissors

Materials

tools and materials
You only need a few basic supplies to build your own cat scratching post. Sarah Fecht
  • Wooden post. Cats like to be able to stretch while they scratch, so make sure the post is longer than your cat. I used a 4×4 that’s 27 inches long.

  • Wooden base. This should be heavy enough to support the post. I found a nice round piece at the hardware store for $4, but plywood may work as well. You’ll probably want it to be at least 16 inches square.

  • Two 3-inch wood screws

  • Carpet (optional). I used less than 1 square foot of a carpet runner to cover just the vertical post. Avoid carpets with a loop pile, which can unravel quickly when a cat scratches.

  • Padding (optional). If you have hardwood floors, you’re probably going to want to cushion the bottom of the wooden base. I used adhesive felt pads, but another option would be to hot-glue any leftover carpeting to the bottom of the base.

bottom of post

Step 1

Your scratching post will be held upright by two screws that will go through the base and up into the post. Find the center of the bottom of the post, and mark two spots where the screws should go. Ours are each an inch from the center.
bottom of base

Step 2

Find the center of the base, and mark the corresponding holes. Since the holes on our post are two inches apart, these holes should be two inches apart as well.
drilling holes

Step 3

Drill pilot holes in the post and the base.
stapling carpet to the post

Step 4

Begin stapling the carpet to the post. You’ll want to place the carpet about midway along one side of the post, and staple up and down along the edge of the carpet. (Note: My carpet sample didn’t cover the full length of the post, so I left the top few inches bare. Since one of our cats likes to scratch wood, it actually works out.) Important: The long edges of the staple should follow the long edge of the post, so that when the post stands up, the staples will be vertical. This will reduce the risk of your cat hurting itself on them. Alternatively, you could glue the carpet onto the post, but keep in mind that your cat has a very sensitive sense of smell. It’s also more difficult to get the carpet to lay flat if you use glue.
stapling carpet to post

Step 5

Roll the post over to continue wrapping the carpet around it. Pull it taut, so that it lies as flat against the wood as possible, and attach it to the post with two staples along each of the top and bottom edges. Do the same for the other sides.
cutting the carpet

Step 6

When you get back to where you started, measure and cut the carpet so that the two edges will lie flush.
post wrapped in carpeting

Step 7

Staple along the edges of the carpet to finish off the post. You can also carpet the base if you want, but I didn’t for aesthetic reasons.
hammering staples

Step 8

Before you move on, use a hammer to make sure those staples are as flat as possible. A few light taps should do the trick.
screws poke out of base

Step 9

To help line up the pilot holes on the base and the post, start by drilling the screws up through the base until they just poke out the top of the pilot holes, as shown above. Caution: cats may attempt to sit on these. Insert the tips into the pilot holes of the post, and screw the two pieces together.
felt pads on base

Step 10

Make sure your screws go in all the way, so they don’t scrape up your floors. For added cushioning, I placed adhesive felt pads around the bottom of the base.
cat sits next to scratching post

Hand it over

And you’re done! If necessary, use treats, toys, or catnip to entice your cat to approach its new furniture.
cat using scratching post

Success

George needed no persuasion—as soon as we set the post upright, he walked right up and started using it. Mission accomplished!