“No matter how long you’ve lived at your current home, there’s probably a daunting DIY project you’ve been putting off: Hanging up art prints. And attempting a gallery wall—even one filled with museum-quality framed prints like those at online emporiums like Fine Art America—only ratchets up the anxiety.”
“One of the most important things is not to be intimated,” says David Kassel, owner of ILevel, an art placement and picture-hanging service in Manhattan. “Remember that you’re not doing anything structural or permanent. Any holes you put in the walls are completely cosmetic; any ‘error’ that you make can be fixed. There is no right and wrong.”
And when it comes to aesthetics, Bevil Conway, PhD, a neuroscientist who studies vision and color—and is an artist himself—says that what people consider “pleasing” to the eye is almost entirely cultural, not biological.
With that in mind, there are a few expert-approved photo gallery wall rules you can follow to make the result super-striking. Think of these guidelines as “logarithms that explain innate aesthetics,” says Kassel.

Decide which wall to use
Hallways are perfect for a photo wall. That’s because these walls are typically more narrow, and gallery walls thrive in closer quarters due to their smaller format prints. “Hallways also allow you to carry your gallery wall on for as long as the hallway is, making it easy to add onto it as you go,” Shea says.
Kassel says there are a few spots to avoid hanging a photo collage. Skip bathrooms and kitchens, where condensation can cause water damage to frame mats and photographs. And never put framed photos in direct sunlight, even if the frame is supposed to be UV-safe. “Plexiglass, especially, degrades over time,” he warns. “Keep photos away from windows to extend their life.”
Choose your photos
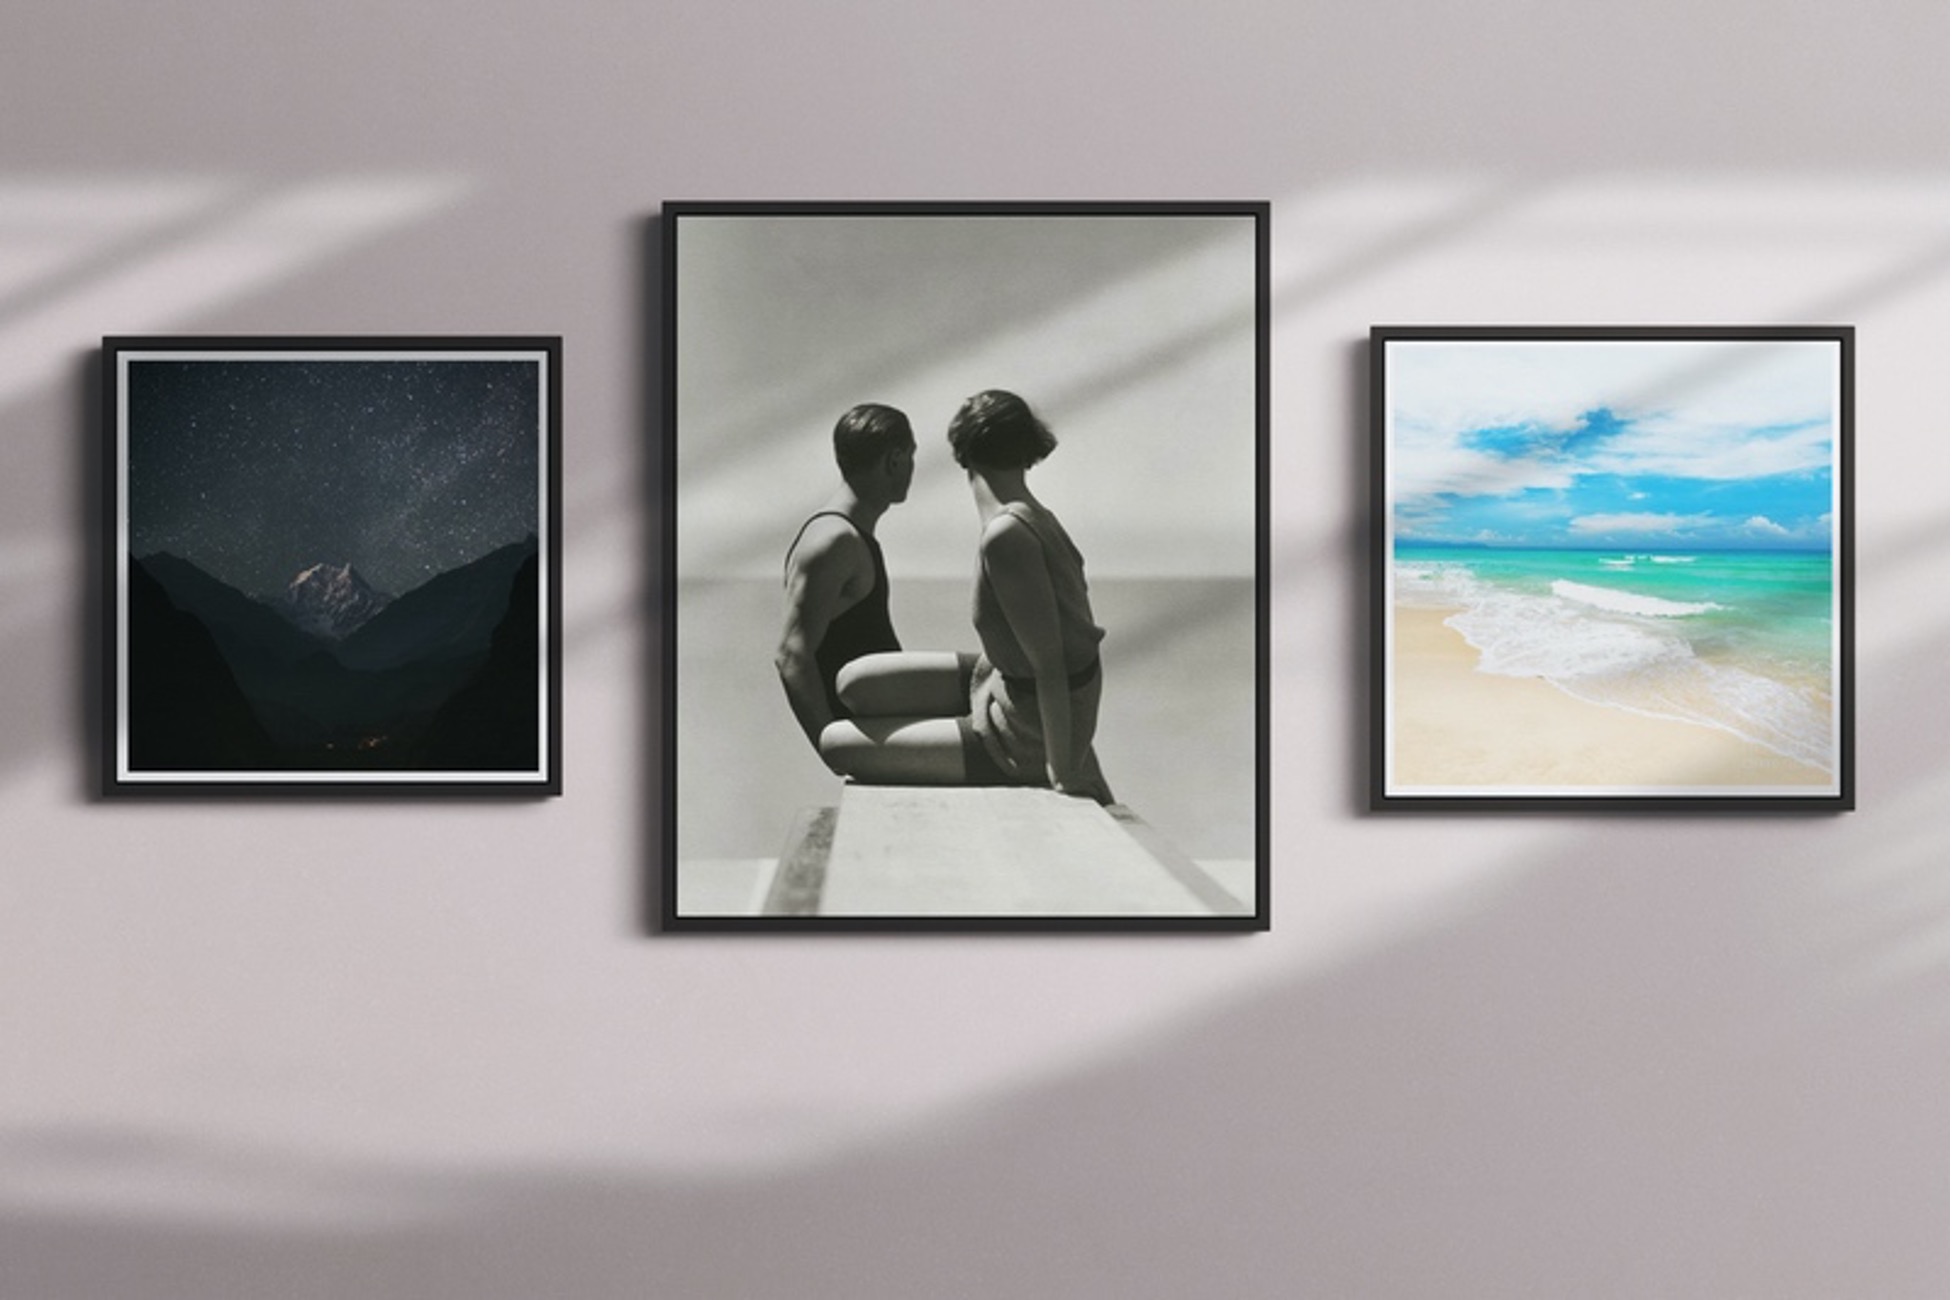
Clients usually call up Kassel because they can’t edit down the thousands of photos on their phones. Luckily, he says any photo can work on a gallery wall, from family trips to old pictures of grandparents or even a landscape. If you’re looking for inspiration (or need to fill your bare walls), browsing the photography section of a site like at Fine Art America can jump-start some decorating decisions.
When planning a family photo wall, strive to show a variety of people and make sure one person isn’t over-represented. “You’re looking for a balance of personalities and an even distribution,” he says.
He suggests focusing on the number of pictures you want to use. As a general rule, if a wall is 3×4 feet, you can fit seven photos on the wall. Kassel suggests a mix of sizes to create visual variety:
- One 16×16 frame containing a 12×12 photo, with a 2-inch mat
- Three 8×10 frames containing 4x 6 photos, with a 2-inch mat. (You can hang these horizontally or vertically.)
- Three 11 x 14 frames containing 8×10 photos, with a 2-inch mat
Your eyes (and brain) get bored by rigid and predictable patterns, says Conway. “What tickles the brain is things that are surprising and unexpected,” he says. “Those things violate your brain’s predictive machinery. The balancing act is to create something that isn’t too radically surprising, which can feel so unfamiliar that your mind won’t engage with it, versus something that is too predictable that it becomes banal.”

Pick a style
There are two types of gallery walls: grids, which tend to be more formal, and salon styles, which are looser. You can always keep expanding salon-style walls as more photos and milestones are added, says Kassel.
“In rooms that have lots of rectangles already, we may change it up and create a gallery wall that doesn’t have a perfect rectangle around the edges to mix it up a bit,” says Shea. Conway likens it to a knock-knock joke. “If there’s no variation in output [like the rectangles] it’s boring,” he says. “Our brains are wired up to care about things that are surprising. And if it’s not surprising, we don’t slow our eyes down, and we don’t care a blip.”
On the flip side, Shea says that in rooms that are all over the place, a more precise gallery wall may make sense to bring some order. That’s because if a room is already busy, it’s too much for our brains to focus and take in the content of a salon-style gallery wall. “Our brain has fairly strong conventions that have a rooting in how visual information is encoded,” Conway says. “A grid says, ‘Look at me, look at these individual elements.’”
Tie them all together
Grouping items by color and content will do the heavy lifting for you, says Shea. “We’ve done everything from artistic gallery walls that are from a specific photographer or genre of photography down to a chronologically plotted family tree dating back to the 1800s for one client,” she says. “The trick is not just to have a hodgepodge of pieces and to put some thoughtfulness into what you’re putting up and why.” To easily find themed pieces to fit your gallery wall narrative, search the photo selection at a site like Fine Art America.
For a calming effect, stick to gallery wall color story that pairs with the existing hues in the room, like the walls, window treatments, rugs, pillows, and throws, suggests Shea. For a more arresting effect, Conway suggests using complementary colors, since humans are hardwired to stop and take notice when they see contrast.
“If you’re not someone who naturally can choose colors that work together, black and white photography makes for a classy and timeless gallery wall that will work in any room,” Shea notes. “It’s always the safest bet if you’re not confident!”
Take out a tape measure
“Measure, re-measure, and measure once more,” says Shea. Jot down wall dimensions, along with each frame’s exterior dimension, so that you can plot them using software such as SketchUp Pro or Photoshop. You can even use Excel if you don’t have design software. In a pinch, graph paper works, too.

Lay it out before you hang
Place your pictures on the floor in a general layout before plotting them on software or graphic paper, suggests Shea. And don’t forget to consider all the angles. Look at your wall from different points of view—like when you enter, or from different seating areas in the room—to make sure the scale feels right.
And while there’s no “correct” way to lay out your wall, Shea likes to aim for a configuration that aligns the border edges all the way around, forming a rectangle. Kassel suggests leaving at least two inches between frames. He prefers groupings of odd numbers of pictures, so things look more natural and less “perfect.”
Once you’re happy with your configuration, take your measurements from your software or paper to the wall. Just remember to account for each frame’s individual mounting point. If you mount one and it’s not exactly where you intended, re-measure the gap and simply re-mount.
Install it right
Think you can just stick a nail in the wall and call it a day? Not so fast. Kassel recommends hanging a wired frame on two hooks to prevent them from shifting around. Even better: Use two D-ring picture hangers so your frame lies entirely flush against the wall. They’re ideal for securing heavier pieces.