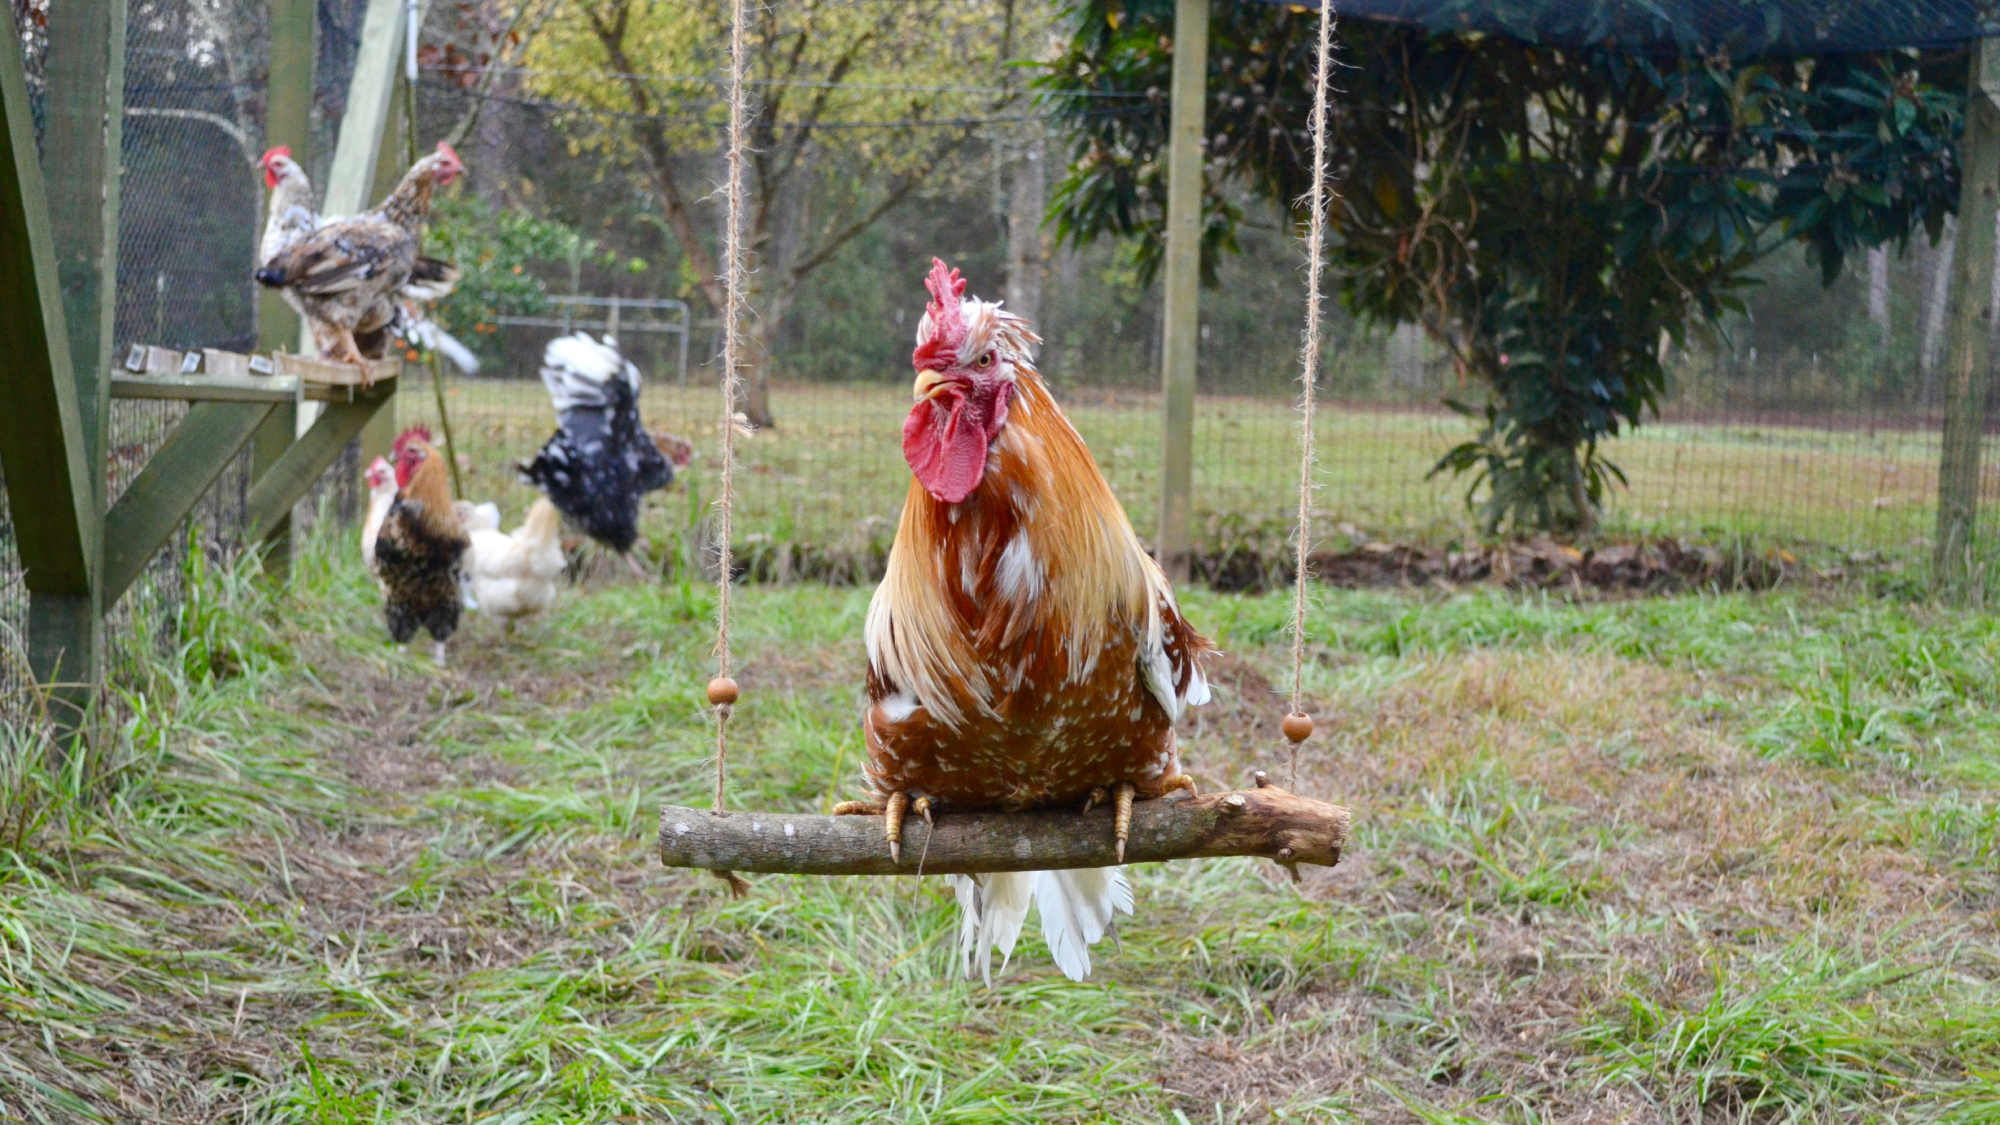

As much fun as eating cornmeal and screaming endlessly is, chickens can get bored too. Don’t laugh: bored chickens can cause more havoc than you might think. “They can start to develop abnormal behavior such as feather-pecking other birds excessively,” says Dana Campbell, an animal behavior scientist at Australia’s Commonwealth Scientific and Industrial Research Organization. You don’t want that in your coop.
Thankfully, providing enrichment for chickens is surprisingly easy, and can be as simple as adding a rustic wooden swing to their stagnant environment. This kind of structural enrichment has the added benefit of being incredibly entertaining to watch; you have not lived until you’ve seen a chicken turn a coop into a playground as it swings back and forth, clucking curiously. Plus, you can make one from materials you probably already have.
Stats
- Time: 10 to 30 minutes
- Material cost: $7 to $30
- Difficulty: Easy
Tools
- Drill
- Level
- (Optional) yarn needle
- (Optional) hand saw
Materials
- Rope
- Branches
- (Optional) wooden beads
- (Optional) sandpaper
- (Optional) eye hooks
How to build a chicken swing
1. Find some branches. I gathered some branches that had already fallen off of trees and cut down an invasive Chinese tallow for others. Chickens can hang onto sticks of varying sizes, but mine had a diameter of about 2 inches. I also cut my branches to about 1.5 feet in length to accommodate the size of my Swedish flower hens, but some beefier chicken breeds might need a little more room. You may not need to trim your branches at all, or may find it easier to snap them by hand.
2. Drill holes in the sticks. Where you put these holes also depends on how big your chickens are, but I made swings for several different breeds and drilled holes about an inch and a half from either end of each branch. You’ll want your drill bit to be slightly larger than your rope so it can slide through. I used a 9/32-inch bit for my swings.

3. (Optional) Sand the branches. If there are any particularly splintery or uneven areas of your branches, you can sand them down so the chickens can get a better grip with their talons. In the wild, chickens often roost in trees, so there’s no need to sand the branches to be totally even. It might actually be more enriching to err on the side of natural instead of using perfectly smooth sticks.
4. Cut the string. The length of your rope will depend on where you’re hanging the swing from and how close to the ground you want it to be. Typically, chicken swings are hung no higher than 3.5 feet or so off the ground, but they can certainly be lower to accommodate your chickens’ ages, perching preferences, and familiarity with swings.
[Related: Eurasian jays show masterful intelligence in human psychology test]
Measure from the place you plan to hang your swing to how high above the ground you want it to be, then add a few inches so you’ll have plenty of room to tie the rope off securely.
5. (Optional) Add some beads. After you cut the rope, but before you attach it to the branch, you can slide some wooden beads on to give your chickens some extra enrichment—your birds may spin the beads or find them visually appealing. Even if you don’t have the most curious chickens, these swing accessories will also spice up your coop decor. Once the beads are on, tie a knot below them.

6. Thread the rope through the drilled holes. This is where a yarn needle can be particularly helpful, especially if you’re using a type of rope that has a tendency to bunch up, like jute. When the rope’s through the holes, tie a double knot securely at the base of one of the holes. Use a level to make sure the branch is even, then tie a knot underneath the other hole.
7. Hang the swing. I tied the top of my rope to the rafters in the coop, wrapping it multiple times and tying it tight with several knots. Since chickens don’t weigh much, this is plenty secure. But if you want extra strength, drill holes into a beam inside your coop, screw in a couple metal eye hooks, and tightly tie the rope to the hooks. Make sure the hooks are the same distance apart as the two holes in the branch.
8. Let your birds get to swinging. It may take time for your chickens to try out their new swing, so don’t worry if your feathery friends don’t immediately appreciate your work. You can help them get used to it by hanging the swing closer to the ground at first and gradually moving it up as they get more comfortable. Gently placing your birds on the swing and rewarding them with tasty mealworm treats can help them adjust as well. And while you can certainly teach an old bird new tricks, your best chance of raising avid swingers is to introduce the birds to a swing when they’re young. This project can always be downsized from branches to twigs to get juveniles well on their way to being swinging chicken prodigies.

