Even if you conscientiously save your data to the cloud, having remote access to computer files on your home or office machine can be a game-changer. Maybe you’re sitting in a hotel room and need to run a program on your home PC. Or you’re out and about and want to run a desktop app on your phone.
That’s where remote desktop tools come in. Once configured, these programs allow you to securely connect to a computer from another device. You’ll be able to fully control your computer from any location, and it’ll almost be like actually sitting down to the real machine from afar. Just a decade ago, you’d need a degree in computing to wrap your head around the ins and outs of remote access programs. Now, as we’ll demonstrate, you can manage these tools with just a few clicks or taps.
Apple and Microsoft tools
Apple and Microsoft both have their own remote desktop tools. Depending on what you want to do, though, these options shouldn’t necessarily be your first choice. For example, Apple sells a fully fledged Remote Desktop program for a hefty $79.99, but it’s really aimed at information technology professionals and network managers. If you’re a home user connecting to one Mac from another, opt for the simpler Screen Sharing option instead—it won’t cost you anything.
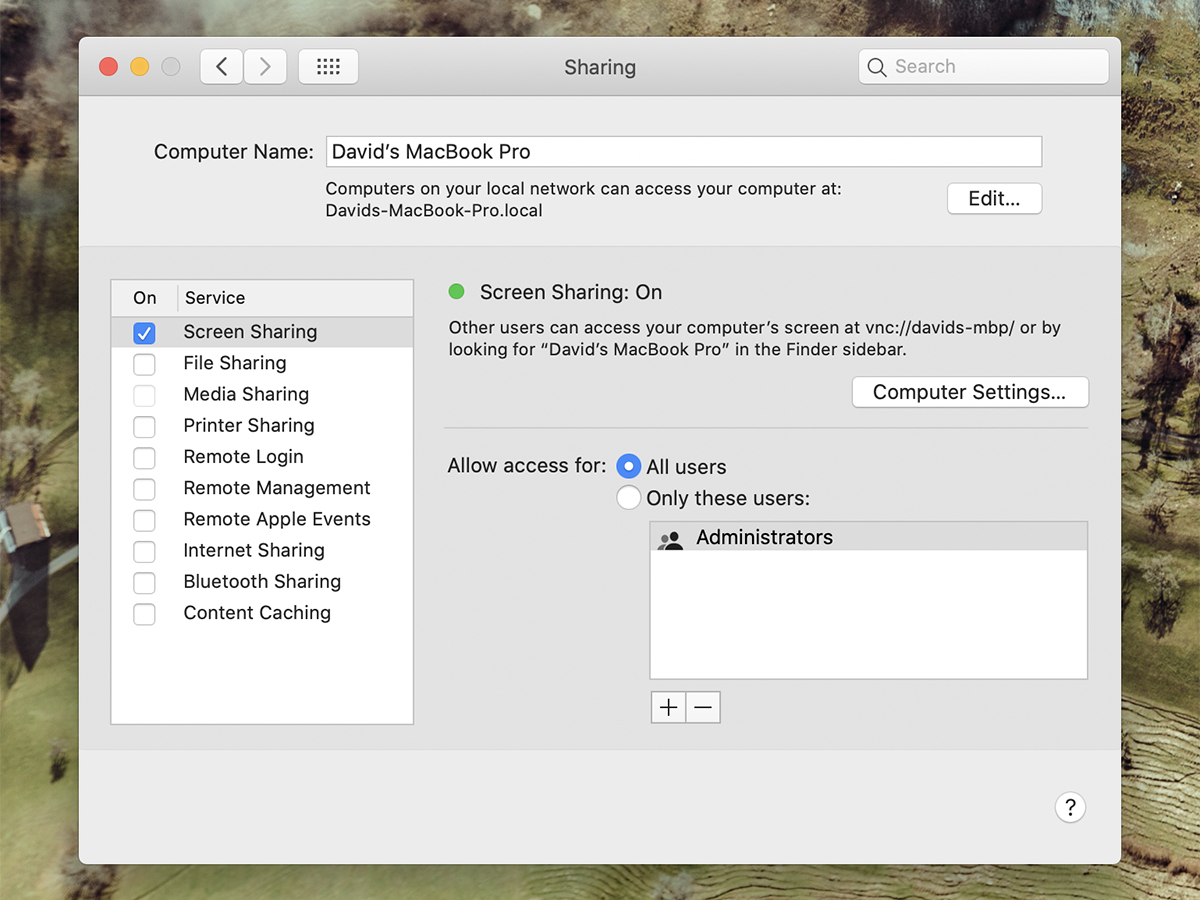
To set it up on macOS Ventura, open the Apple menu, go to System Settings, click General, hit Sharing, and turn on Screen Sharing. With that set up, click the info button (an “i” in a circle) to decide who can share your screen. If you’re still using macOS Monterey, the steps are slightly different: from the Apple menu, go to System Preferences, Sharing, and tick the box next to Screen Sharing.
Once you’ve set this up, you can access your original Mac from any other macOS machine that’s signed into the same iCloud account. Just open Finder and go to the Shared section of the sidebar. Find your home computer in this section, click it, and choose Share Screen.
While Screen Sharing works great for Mac devices, it complicates the process of accessing your Apple computer from any other operating system. While you can hook up to macOS from Windows and other devices using this method, it will require some advanced network tweaking—and isn’t really worth the hassle. Instead, consider using a third-party remote desktop tool instead. We’ll get to those.
Microsoft makes its own Remote Desktop tool free for both Windows and macOS, but there’s a caveat: You can only connect to a Windows machine running a Professional or Enterprise version of Windows. You tend to find these systems on office devices, not personal ones, which will count out most home users. Of course, if you have installed one of these pricier versions of Windows, you can use the Remote Desktop Connection program to configure access. Otherwise, we’d recommend using a third-party option.
Third-party tools: Google Chrome and TeamViewer

While Apple and Microsoft offer pricy remote tools aimed at IT professionals, anyone can use the free remote-access option Google built into Chrome. You gain access through your Google account, and the tool employs the same syncing technology that keeps your passwords and login information available in Chrome on multiple platforms. You can get Google’s remote tool for your browser, as an Android app, and even for iOS and iPadOS devices.
Connecting to a computer only takes a few clicks or taps. Open the web app on the computer you want to access remotely, and click Share my screen. On the next page, make sure you select Remote Access from the left-hand sidebar and click the download button under Set up remote access. As you set it up, you’ll need to give your computer a name and a PIN to access it.
[Related: Where to find, edit, and remove everything your browser knows about you]
Next, turn to the device from which you plan to access your original computer. If you’re on a different computer, launch the web app, and your original machine will appear under the My Computers listing. Click on it, enter the PIN you set earlier, and you’ll be up and running. The remote machine will open a remote access window, within which you will see your original computer’s desktop screen and be able to interact with it via the remote mouse and keyboard. You’ll also see options to perform tasks such as creating a new window, changing the size of the desktop, and sending a Print Screen command to copy the screen. You can access these options from the icon at the very top left of the remote access window: click it to open a drop-down menu.
If you’re on a phone or tablet, you’ll use a similar process to gain access to your original machine. When you fire up the Chrome Remote Desktop app for Android or iOS, you’ll see a list of computers where remote access has been enabled. Tap on any of them to enter the PIN and connect. Drag down from the top of the screen to access mouse and keyboard controls.
Another free and easy option is TeamViewer, though you can pay to add more devices (starting at $84 a year). First, download the app onto the computer you’ll want to connect to. Then open it and choose the option marked Installation to access this computer remotely (the other option is for accessing the computer while somebody else is using it). TeamViewer will guide you through the process of setting your computer up for unattended access, which basically involves giving it a name and a password. Your linked computers connect to each other through a TeamViewer account, which is free to set up and lets you see your devices wherever you sign in.
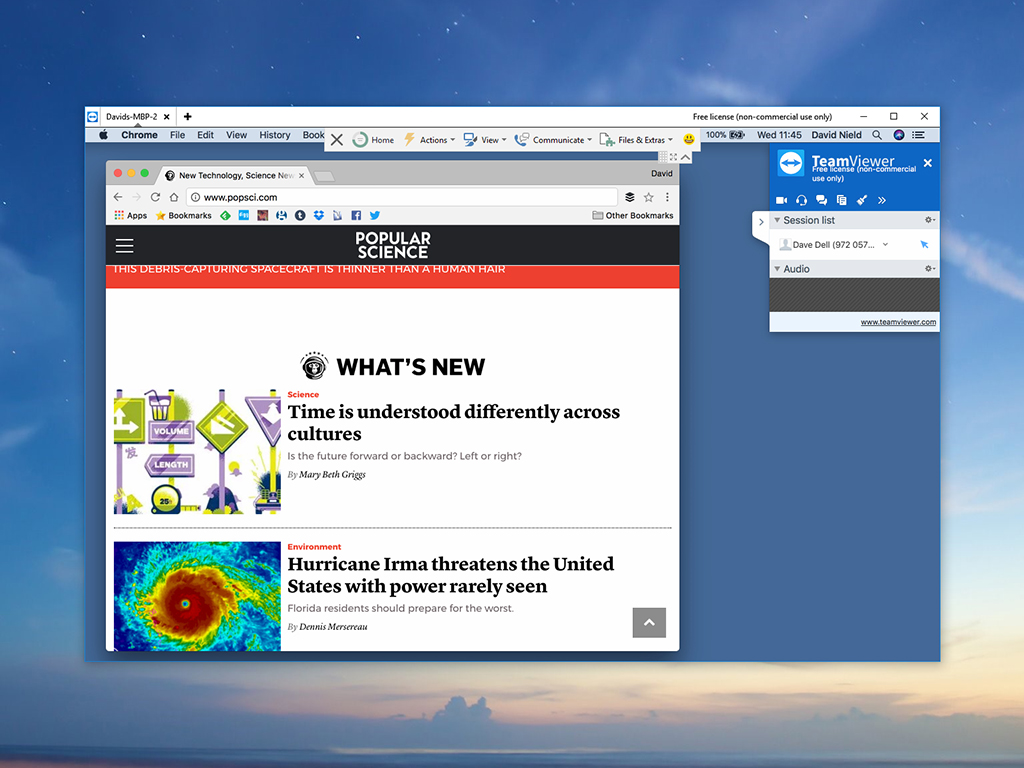
Next, install TeamViewer on the devices you want to connect from. This time, you’ll want to connect rather than set up unattended access. As soon as you sign in with the credentials you just created, the original computer should appear. You can connect by entering the password you’ve already set up. Along the top of the connection window, you’ll see all the controls you’re going to need, including options for transferring files between computers and setting the screen resolution and quality. You’re essentially live-streaming your desktop, so reducing the quality a little might lead to a smoother experience.
File-syncing services
If you only need access to your files rather than to the whole computer, you can opt for a much easier setup. Several programs will happily sit on your main computer and upload your key files to the cloud, as well as letting you download those files to any other device.
Windows makes its built-in OneDrive available for macOS, Android, and iOS. Initially, OneDrive gives 5GB of free space for your files, but you can get more by paying extra. The cheapest upgrade level is $1.99 a month for 100GB of space, and it goes up from there.
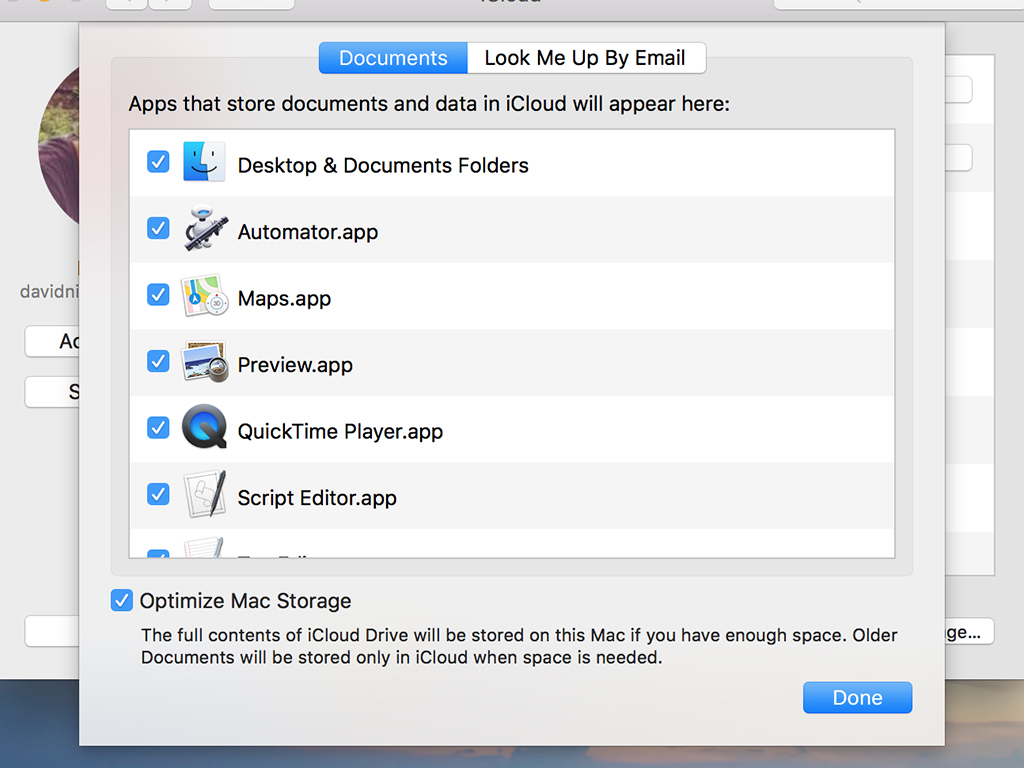
Apple bakes iCloud into macOS and iOS and also offers a basic client for Windows (at the moment, no Android app is available). Users get 5GB of space for free, and upgrades start at $0.99 a month for 50GB of data. You can use iCloud to sync and back up any files you’d like.
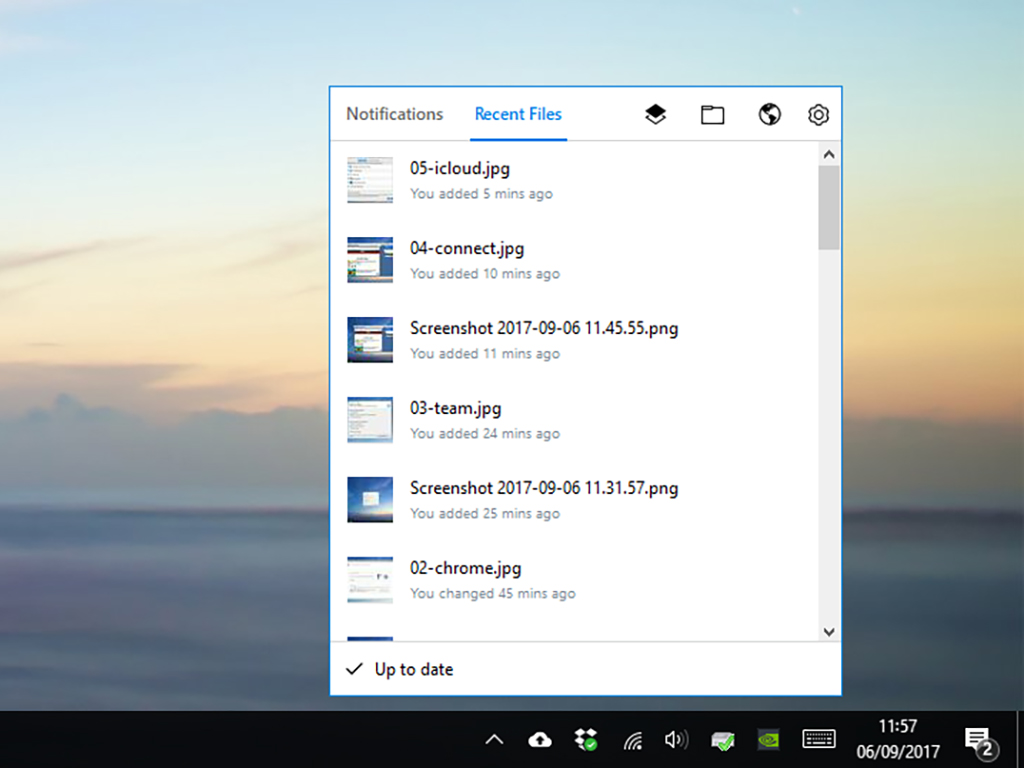
Dropbox saw the potential of file syncing before either Apple or Microsoft, and it offers client apps for all the major desktop and mobile platforms. You only get 2GB of space for free, though. If you’re going to need more than that, you’ll need to fork over $11.99 a month or $120 a year.
Finally, Google Drive is available on Windows, macOS, Android, and iOS. While it focuses mainly on document editing in the cloud, it’s also a perfectly functional file-syncing service. You’ll get 15GB of space in the cloud (spread across all your Google products) for free, and upgrades start from $1.99 a month for 100GB.
All of these services work in a similar way: You install them on your computers, phones, and/or tablets, and then you choose which folders to sync to the cloud. Make changes on your devices to instantly update the online copies of those files. Even if you haven’t installed the apps on a computer, you’ll still be able to access your files through any web browser window.
This story has been updated. It was originally published on September 9, 2017.
