
We may earn revenue from the products available on this page and participate in affiliate programs. Learn more ›
There’s one in every family—that person who sets out to hang a picture or assemble an IKEA table and ends up with a mouth full of nails or screws. Don’t let your loved ones swallow metal shards. Instead, give them DIY magnetic wristbands that will keep those metal pieces handy, available, and outside the digestive tract.
This project was adapted from the versions designed by DIYer Pauline Henderson and Instructables user genterara.
Stats
- Time: Less than an hour
- Cost: $15
- Difficulty: Easy
Tools & Materials
- Thin, flexible refrigerator magnet
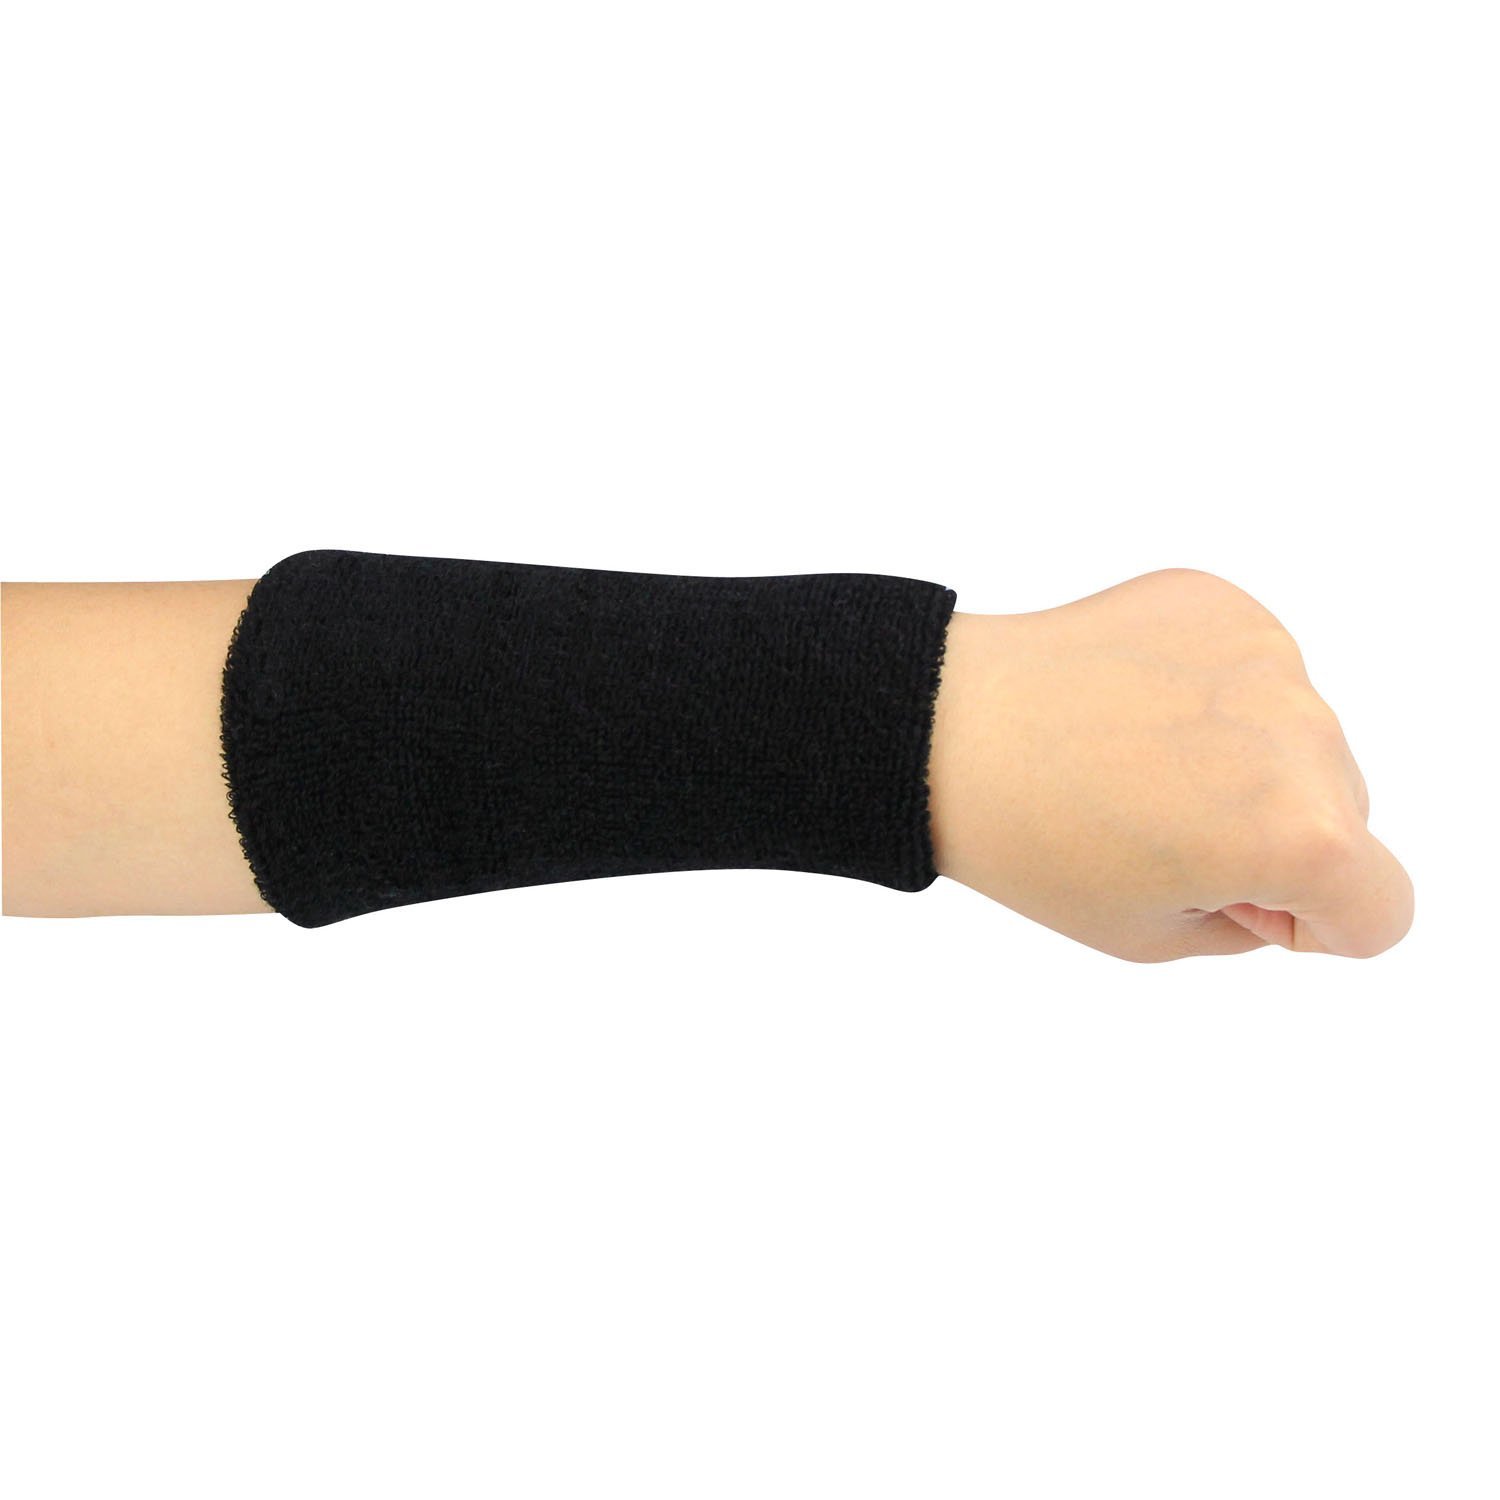
- Clean fabric sweatband for the wrist, ideally in the recipient’s favorite color
- Scissors
- About 8 small, strong neodymium magnets
- Contact glue
- Painter’s tape
- Awl
- Needle
- Thread that matches the color of the wristband
Instructions
- Put the refrigerator magnet on top of the sweatband to check its size. If necessary, trim the edges until it’s small enough to slide into the band.
- Evenly space the small magnets on top of the refrigerator magnet, leaving about half an inch between each one. This will prevent them from sticking to each other rather than to the nails and screws you want them to attract.
- Use the contact glue to glue the magnets in place. After it dries, add a layer of painter’s tape over the now-bumpy surface, pressing it down to touch the refrigerator magnet between each bump (if possible).
- Punch small holes in all four corners of the refrigerator magnet.
- Make a small cut along one edge of the sweatband. It should be just big enough to wiggle the refrigerator magnet inside the band. Make sure the bumpy side of the refrigerator magnet will face outward when the band is on a wrist.
- To make sure the magnet doesn’t shift around within the sweatband, place a few stitches through in each hole in the corners. Finally, sew the sweatband shut.
- Optionally, add some decoration to the band.
