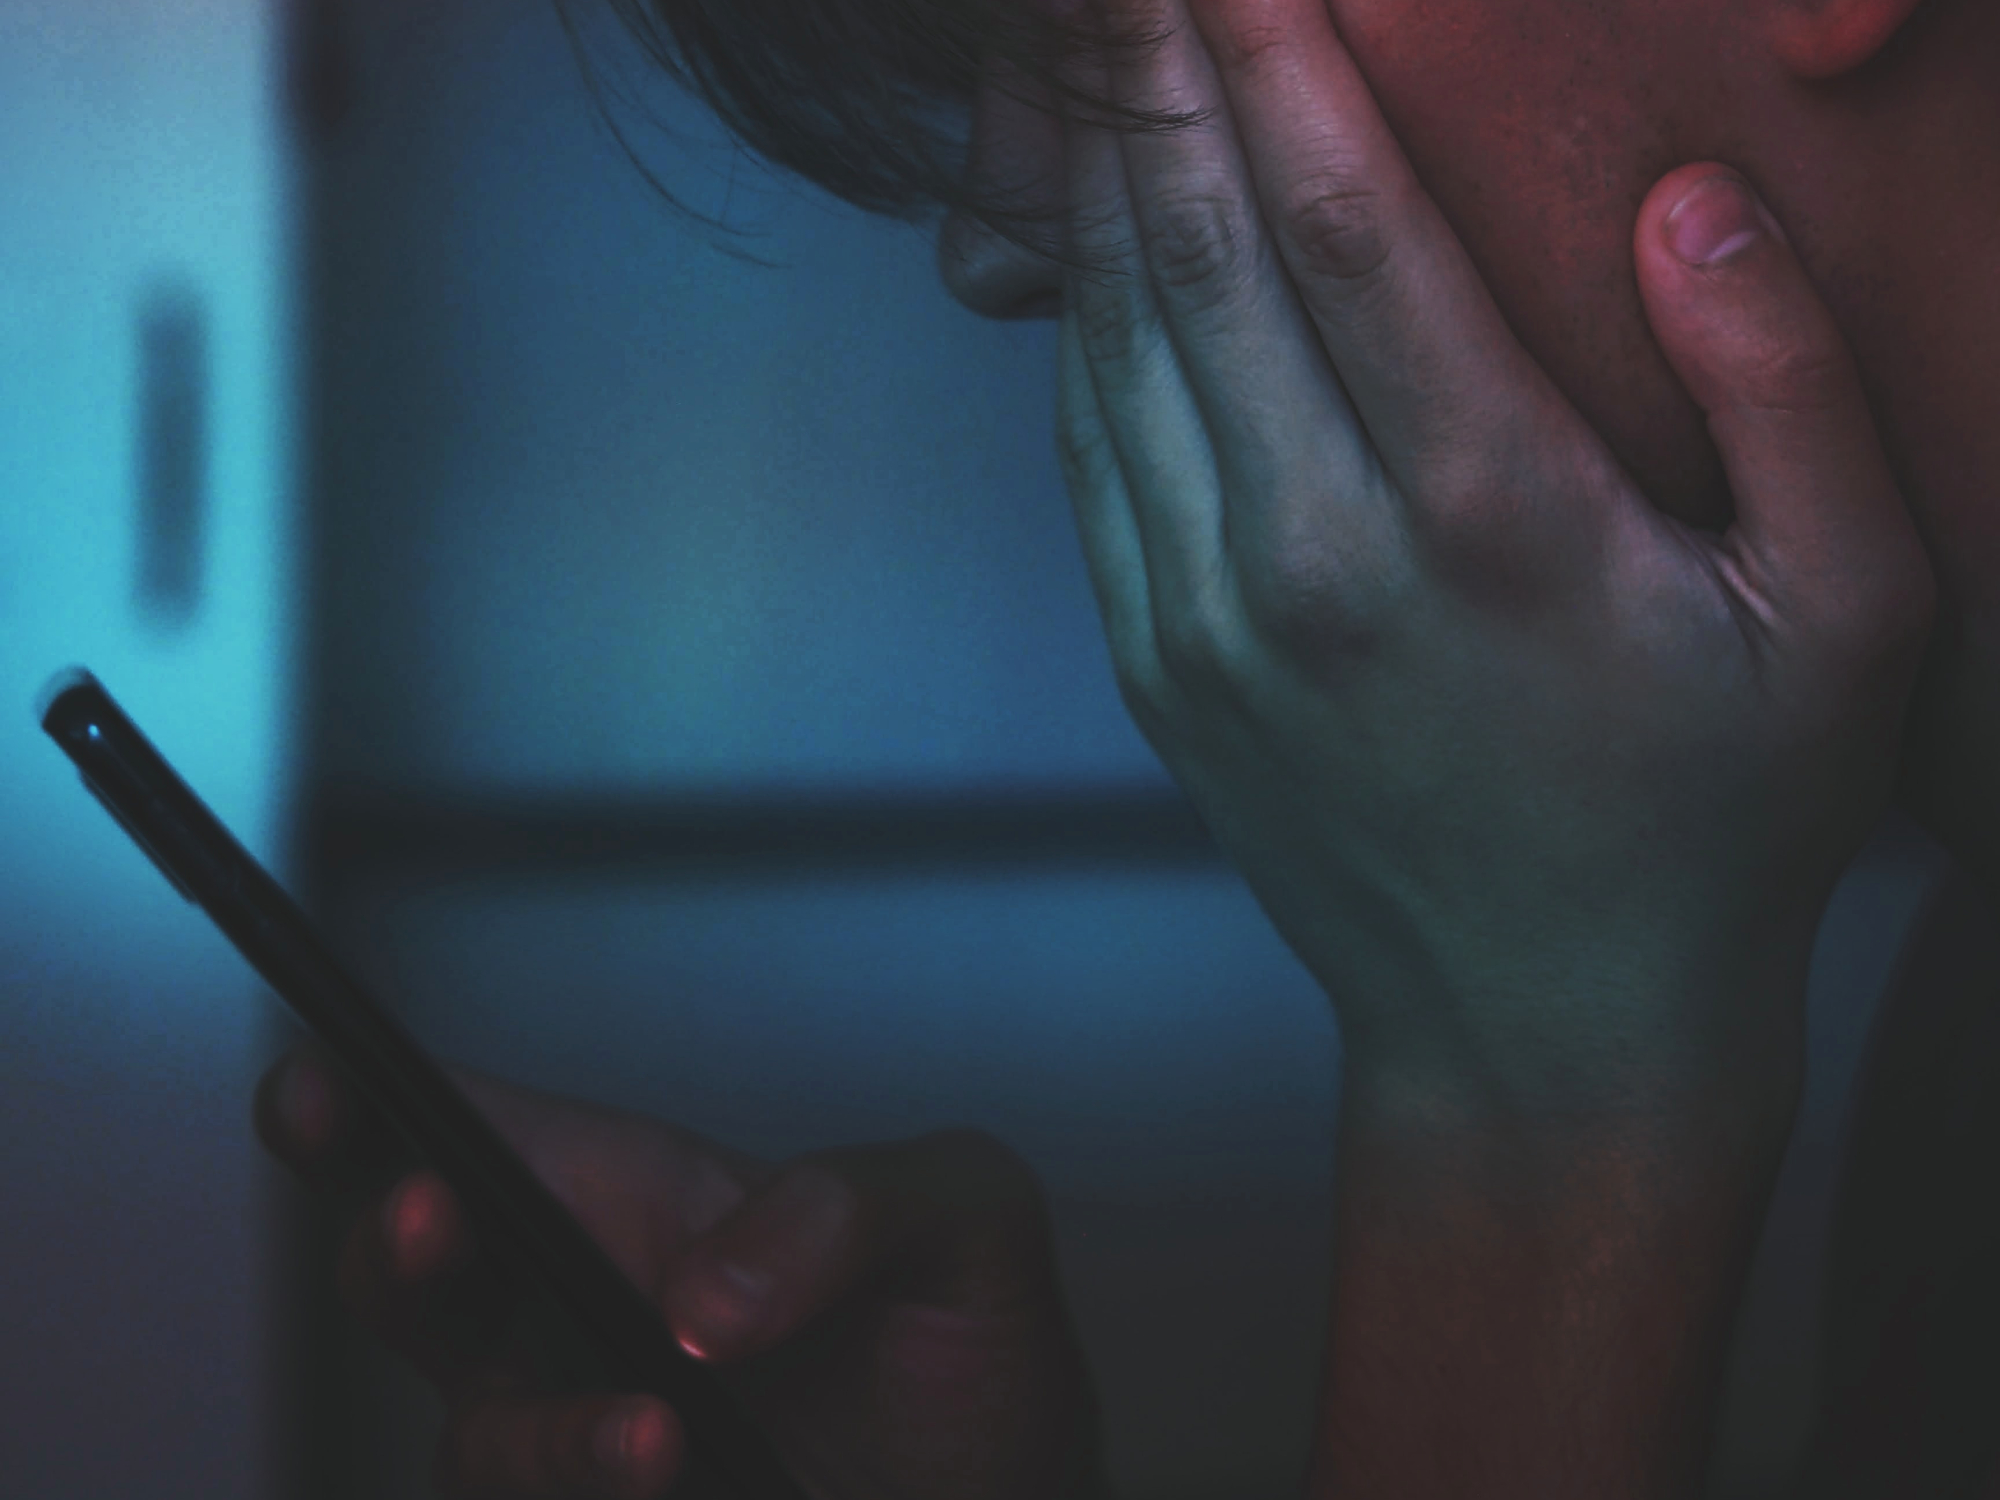
Social media platforms give everyone with internet access the ability to quickly circulate and discuss developing news stories. And if you happen to be near or involved in a significant event, your voice can help others understand what’s happening while traditional news organizations piece everything together. This can, however, be dangerous if you’re posting from a place where you might be under surveillance, a potential target for a cyberattack, or at risk of physical harm. Consider this your guide to more safely sharing info from unsafe places.
These tips are good advice for everyday social media use, too—but they become even more important when you have a reason to keep certain people from seeing your posts, figuring out your location, or even taking over your account to spread disinformation.
So before you hit send, tweet, publish, or whatever, run through this checklist. And if you prefer one app or site over all others, we recommend digging deep into its settings on your own. None of these tweaks will make you invincible, but they will make you more secure.
Secure your accounts
Cyberattacks are common in conflict areas and during protests, whether they’re initiated by governments, dissident groups, or just malicious third parties taking advantage of a hairy situation. If someone out there doesn’t like what you’re posting, you may be targeted. This is why it’s critical that you make your accounts as secure as possible.
A long, unique password is your first defense against malicious intent. If one or more of your accounts doesn’t have one, it’s important to change it as soon as possible. If you can’t come up with a good password on your own or think you might forget it, use a password manager. These services will suggest secure credentials to protect your content and will safely store them for you. You can download a dedicated app or use the managers built into your browser or phone.
Once you have a good password, add an extra layer of security by enabling two-factor authentication (2FA). This feature is highly efficient at preventing cyberattacks, so most online platforms—including Google, Apple, Twitter, Facebook, and Instagram—have it built in. If you need some help setting it up, most sites provide instructions, too (here’s TikTok’s, for example).
When you turn on 2FA, your device will prompt you to provide something other than your credentials to access your platforms—this can be an automated code, a biometric like a fingerprint, a security key, or even a tap from another trusted device. If your credentials leak onto the web as the result of a data breach or you lose control of your account to a malicious party, 2FA can prevent others from accessing your data.
Some platforms have also added their own safety check prompts, which you can follow to gain greater control over who can access your account. For more details on these built-in procedures, we have a guide that will help you secure mainstream accounts such as Facebook, Apple, and Microsoft. Google offers even more tools and settings to protect your data, and we have advice for all their apps too.
Protect your location
As you may already know, friends, authorities, and people with bad intentions can potentially determine where you are using content you post to social media. In the best situations, this is shady; in the worst, it’s dangerous—you might be putting yourself or people around you at risk. If your safety is in question, your first step is to skip any geotags and avoid proactively providing location information.
Start by making sure your phone isn’t giving you away. On iPhones, open the Settings app, go to Privacy, tap Location Services, and turn off the toggle switch at the top of the next page. On Android devices, swipe down from the top of the screen with two fingers to open the Quick Settings menu and tap Location to turn it off. You can also go to Settings, Location, and turn off the toggle switch next to Use Location. Keep in mind the exact paths for menus and options on Android may differ depending on your phone’s manufacturer.
Next, avoid adding location data to your posts. This is fairly easy, as this is usually an option you have to actively choose. If you want to remove geotags from past publications as well, your ability to do so will depend on the platform you’re using. On Instagram, for example, go to a specific post, tap the three dots in the upper right, and go to Edit. If you tap your location right under your username, you’ll realize you can’t remove it entirely, but you can change it to something more general (like a city or a country instead of a neighborhood), or something completely different. Tap the check mark in the upper right corner of your screen to save your changes.
[Related: Smartphone location data still poses a real risk for the military and its personnel]
Twitter lets you do more comprehensive editing and allows you to remove all location data from your posts. To do this, log onto your Twitter account on the web (you can’t do this from a mobile device), go to Settings, and then Privacy and Safety. Next, go to Your Tweets and click on Add location information to your tweets—in bright red letters you’ll see Remove all location information attached to your tweets. Click on it, and then click Delete on the emerging dialog box. This will retroactively remove all location tags from your tweets. Still, there are three things you’ll need to keep in mind. First, depending on how many times you’ve tweeted, it can take time for this setting to take effect, so remain cautious with what you publish. Second, this only works on Twitter’s web platform and its apps for iOS and Android, so people looking at their timeline from third-party platforms might still see past geotags attached to your tweets.
All of this will help you protect your whereabouts, but only to a certain extent. Authorities and other powerful third parties can determine your location from your IP address or from data provided by telephone service providers, who can easily keep tabs on you based on your proximity to their antennae. If this is a concern to you, you may want to consider setting up a virtual private network (VPN) on your mobile device.
As its name suggests, a VPN provides you with a secure connection that disguises your real IP address with a fake one. This results in a highly secure online experience, and also has the benefit of allowing you to access content or websites restricted to users in your physical location. If you’re not familiar with VPNs and don’t know where to start, we have a list of the best services to choose from and a handy guide for how to set one up on your device.
Protect your posts
Even though you may have disabled geotagging and thoroughly locked down your accounts and devices, a post can inadvertently disclose more about you and your location than you intend. Careful editing, framing, and built-in settings can mitigate this risk.
The easiest solution here is to make some or all of your posts private. To shut out everyone but your closest friends, wall off your entire account. From the Twitter app, for example, tap your avatar and go to Settings and privacy, Privacy and safety, and Audience and tagging. Once there, turn on the toggle switch next to Protect your Tweets. This will make it so only people who follow you can see your tweets, and you’ll have to manually approve any new follow requests. Keep in mind that this will not affect the audience you already have, so if you have lots of followers, you may want to take a minute to check that list and remove anyone suspicious.
You’ll find the settings are similar on other sites. On Instagram, go to your profile, tap the menu button (three lines) in the top right, then Settings, Privacy, and turn on the toggle switch next to Private Account. On Facebook, find the menu button (down arrow), Settings, Posts (under the Audience and Visibility heading), and work through each option to choose the audience for your future and past posts. Your options are: Public, Friends, Friends except, Specific friends, and Only me. For TikTok, enter your Profile, tap the menu button (three lines), then Privacy, and activate the toggle switch next to Private account.
Even if you don’t want to go entirely private, not every post needs to be broadcast to the world. Sometimes you just want friends and family to know what’s going on, or that you’re safe. The downside here is that not every social network lets you selectively hide posts. You can’t make one tweet private, for example, while keeping your entire Twitter account public.
On Instagram, the aptly named Close Friends feature can help you limit your Instagram Story to a select audience. Tap the menu button (three lines), then Close Friends to add and remove people from this group. When you post to your Story, simply tap Close Friends at the bottom of the screen and only the people on that list will see it.
Facebook also lets you hide individual posts: when you create one, tap or click Share with under your name to access audience-limiting options. When you make a TikTok, the app asks you Who can watch this video right before you post. Tap that option to select Only me, Friends (people you follow back), or Followers.
If you want to let the public see your post, there are still ways to limit inadvertent disclosure of private information. You can blur the faces of other people in your photos, or blur your entire background to obscure your location. There are apps and browser-based tools that can help with this, but you can also get by with just your phone.
On Android, you can edit images right in Google Photos—open a picture or video in the app, and tap Edit at the bottom of your screen. Scroll the options there until you find Markup to access the drawing tools. You can also keep going to the end (More), where you’ll be able to open the file directly in other image-editing apps. Google’s Snapseed (also for iOS) is free and its healing tool (the bandage icon) can help you remove landmarks or details with just a tap. Pixel 6 phones have this feature is built in and enhanced with artificial intelligence. To find it, open a picture in Google Photos, go to Edit, Tools, and choose Magic Eraser.
On iOS, open a photo, tap Edit, and hit the markup icon (a pen tip) in the top right. Here you can select different digital drawing tools and color over anything you don’t want people to see. Unfortunately, you can’t mark up a video on iOS.
[Related: 3 free video editing tools anyone can use]
When you don’t have time or the ability to edit photos or video, think about what’s going to be in the shot before you take it. If there’s anything in the background that could give away your location, keep it out of view. Major landmarks are, of course, easy to pinpoint, but even minor ones can tip off someone who’s familiar with the area.
Check to see if you’ve been hacked
If you fall victim to a cyberattack (or think you may have), here’s what you can do.
First of all, make sure you’ve actually been hacked. To do so, start by checking if there has been any abnormal activity (like logins you don’t recognize or posts you didn’t make). If you find anything unusual, or if you don’t but still feel unsafe, lock down your accounts.
Sometimes the realization that you’ve been hacked comes only after you notice you no longer have access to your accounts. It happens—which is why most social media platforms have integrated alternative ways to verify your identity and claim ownership of your data. In this case, try our suggestions for how to break into your Google, Microsoft, Apple, Facebook, and Instagram accounts. Some platforms already have established protocols where they may ask you for selfies holding a paper with a particular code, or to send a picture of your driver’s license or national identity card, so don’t be surprised if that’s the case.
Other platforms, such as TikTok, are a little more complicated to navigate if you lose access. The clock app is adamant that its users tell the company not only their email address but also their phone number, which by default makes it trickier for fraudsters to steal your account.
But if by any chance you are targeted and you lose access to your email and your phone, you can try recovering your account by contacting TikTok directly via their feedback platform or reporting a problem. From the login screen, tap the question mark in the top right corner, find Topics, and go to Logging in. There, use your username to recover your account, and when it asks to verify your identity via email, tap Need Help at the bottom. A new screen will appear and you’ll be able to type in a message explaining your situation—don’t forget to provide a secondary email address so you can actually receive help. Because neither of these methods is solely used for account recovery, it’s unclear how long it’ll take for somebody at TikTok to get back to you, but they should be able to help once they do.
Still, the best way to keep yourself safe is prevention. Run periodic security checks, keep your accounts secure (see above), and always link them to alternative methods of contact, like your phone number or a secondary email address.
Deactivate or delete your account if you need to
If you believe you’re in danger, under surveillance, or have no desire to post and would prefer to go dark, you can easily deactivate or delete your social media accounts. Deactivation is temporary and reactivation may only require logging back into your account, but deletion is permanent (though your data may stick around for a set amount of time in case you change your mind).
We have previously covered the deletion process in detail, including how to save your data beforehand, but we will touch on the basics here.
Facebook puts both options in the same place. From a web browser, click the menu button (down arrow) in the top right, choose Settings & privacy, then Settings, Your Facebook Information, and Deactivation and deletion. Proceed with one of those options from there. If you delete, know that Facebook may retain your data for up to 90 days.
Twitter only offers one option, but it does both things. You’ll need to visit your settings page on the web and click Deactivate your account. If you’re fine with the details listed there, click Deactivate. Twitter will keep your data for 30 days (or a year if you’re verified), but after that it’ll be gone forever.
Instagram makes the job a little harder by putting deactivation and deletion in separate places. To deactivate, log into the Instagram website, click your avatar, choose Settings, Edit Profile, and find Temporarily disable my account. It’s a link to the right of the Submit button, so it’s easy to miss. To ditch your account entirely, go to Instagram’s Delete Your Account page online. Log in, tell Instagram why you’re leaving, enter your password, and hit Permanently delete my account.
Finally, on Tiktok, go to your Profile, tap the menu button (three lines) in the top right, then Manage account, and Delete account. The app will ask why you’re leaving (as apps usually do), and give you the option to download your data. Then you’ll need to confirm you really want to delete your account. TikTok will deactivate your account for 30 days, and you can reactivate it during that time, but then it’ll be gone forever.
