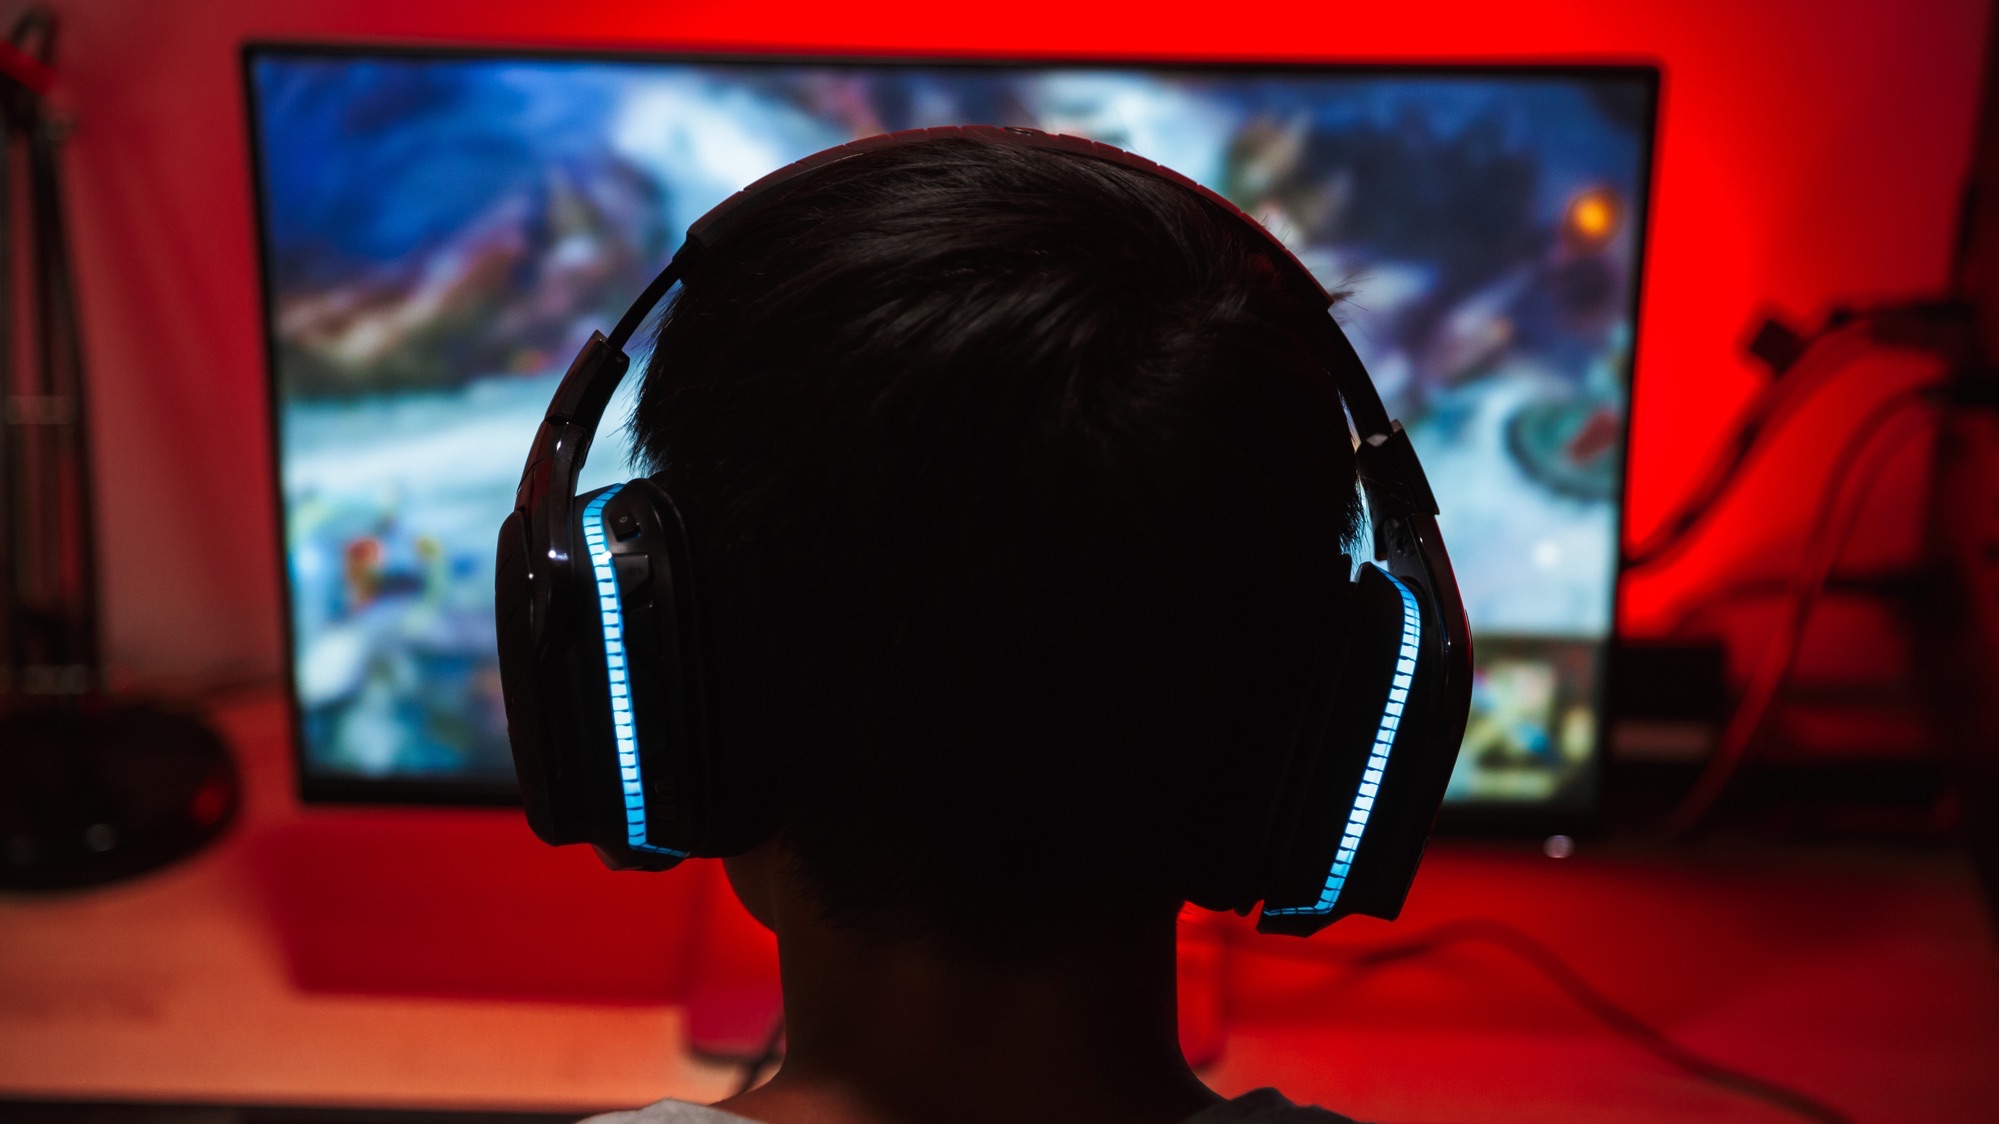
Steam continues to be a juggernaut in PC gaming—it recently set a new record for 36.4 million concurrent players all gaming at the same time. And it’s not difficult to see why it’s so popular, with an unbeatable selection of titles, a straightforward interface, and plenty of extras around user communities and content sharing too.
If you’re only using the Steam client to buy and launch your games though, you’re missing out on a lot of other features it offers too—from sharing games to managing the stress on your network. We’ve pulled together six essential Steam tips, which should be helpful for users at all levels of experience.
1. Put your games in collections
By default, Steam will simply catalog your games in a long list, ordered alphabetically—but as you start to get more and more titles added to your library, that can quickly become unwieldy. The built-in collections feature is one way to bring a bit of order to the chaos.
All you need to get started is right-click on one of your games in the list on the left, then choose Add to: You can pick a collection you’ve already set up, or create a new one. You can then select these collections from the main Library page.
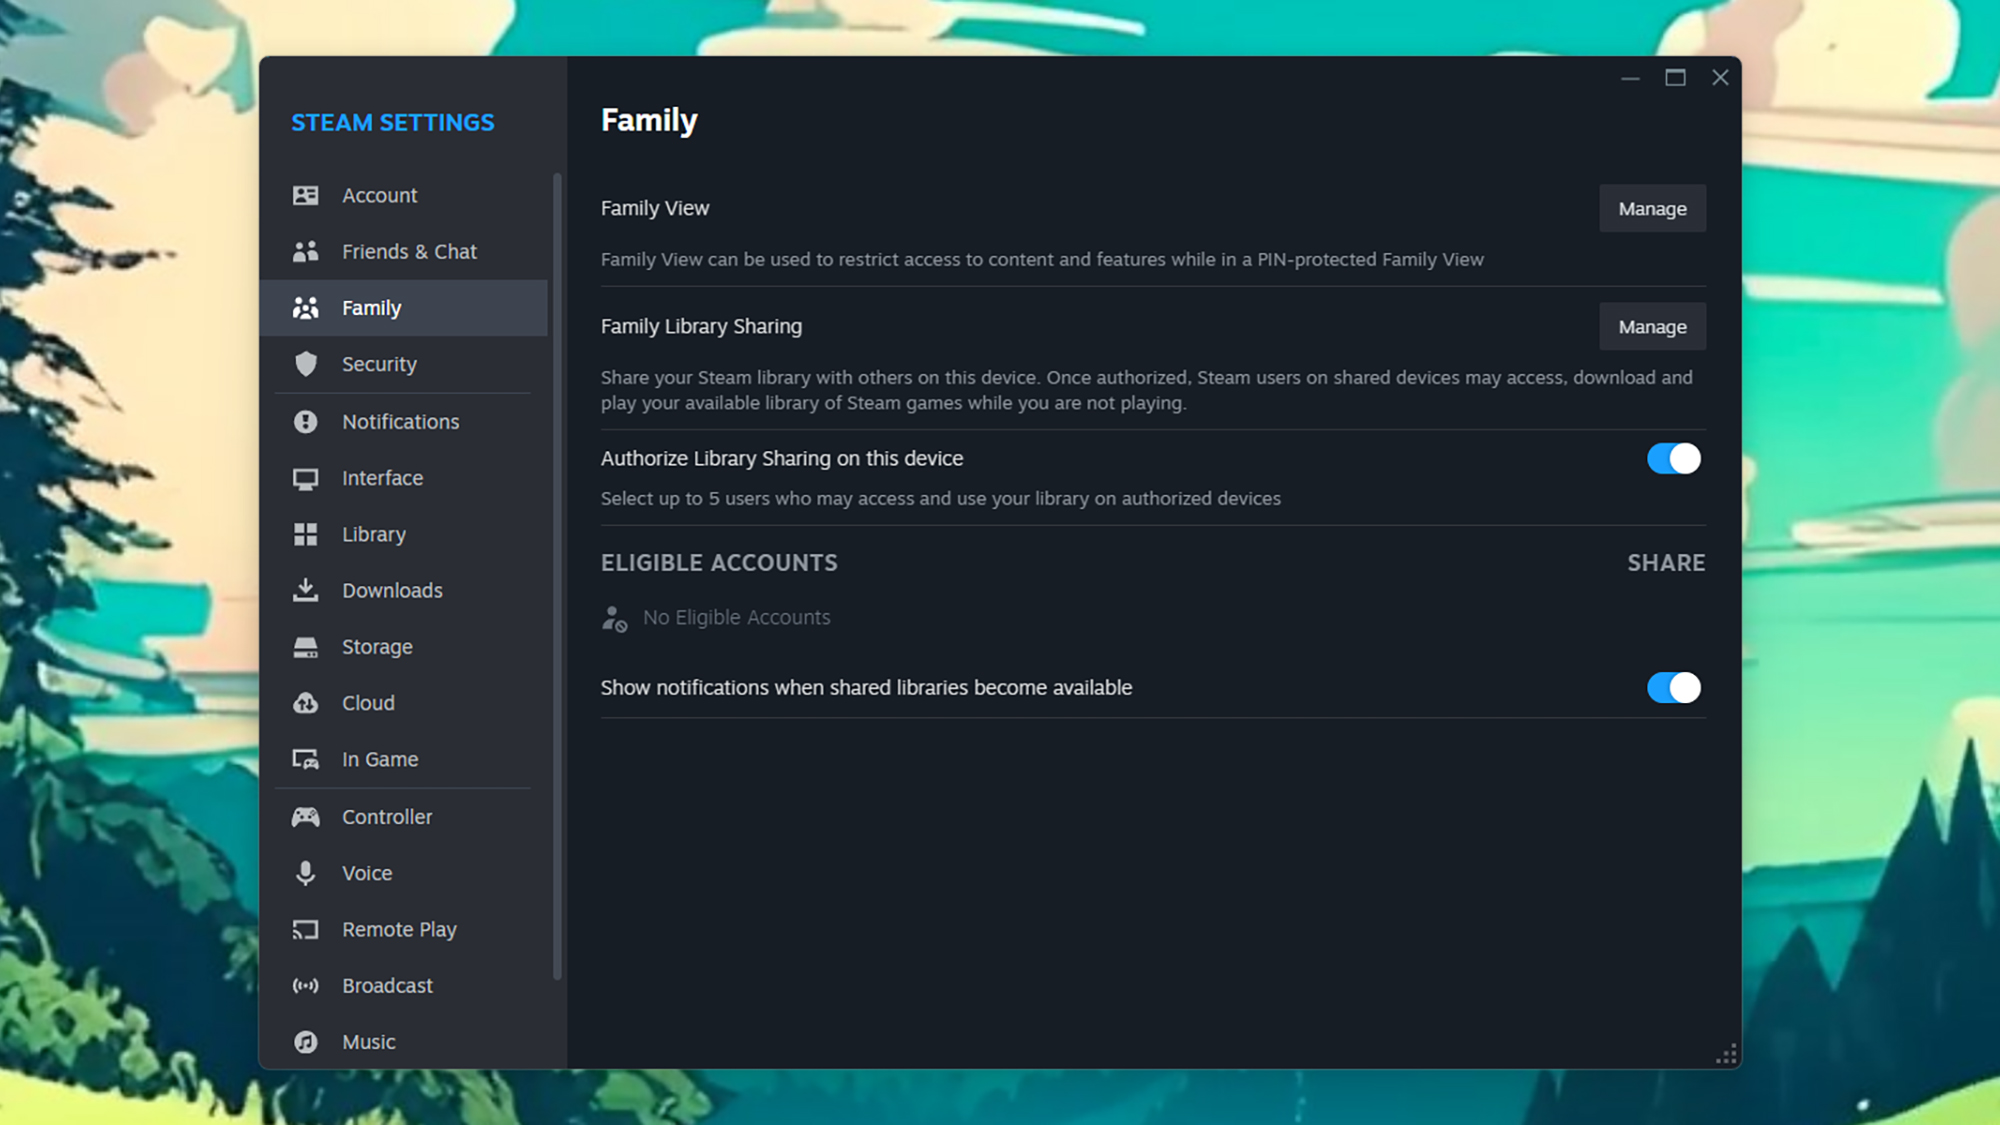
2. Share games with your family
In the old days, you could just hand someone a disc or cartridge to share a game with them. These days, we’ve got Steam Family Sharing. It means up to five other people in your household can access the game library you’ve carefully curated.
From the Steam client, open the Steam menu, then choose Settings and go to the Family tab. From here you need to enable Authorize Library Sharing on this device, then use the Manage option next to Family Library Sharing to decide who gets access to your games.
When new users are added, they’ll get an email with an invite link that they need to click on. From there, they have access to your entire library, but you can revoke this access at any time by heading to the Family page in Steam Settings.
3. Choose controller configurations on Steam
Most Steam games work with gaming controllers out of the box, with no extra configuration required—but what if you’re playing a more obscure title? Or you want to change the default setup on your controller in terms of which button presses lead to which actions on screen?
That’s where controller customizations come in. If you open the Steam menu and then Settings in the desktop client, you can head to the Controller page and change the way your connected controller works—right down to the buttons and joysticks if needed.
Click Open next to Calibration & Advanced Settings, and you get a limited number of customizations specific to your controller (like vibration settings and joystick sensitivity). More comprehensive options can be found by clicking Edit next to Desktop Layout—you can even install configurations created by other Steam users.
4. Manage your network
Some of the biggest titles on Steam can take up gigabytes and gigabytes of space, and that means quite a lot of strain on your home network when you’re installing something new. If you’re trying to stream a 4K movie on Netflix at the same time, you might find yourself running into problems.
You can fix this by opening up Steam > Settings > Downloads from the desktop client. Enable the Limit download speed option, then enter a figure in kilobytes per second (taking into account your overall broadband speed).
You’ll be waiting a little longer for your games to download of course, but your network won’t be crippled for hours while a download is in progress.

5. Move your Steam games
Being able to move your Steam games can be really useful if you’re running out of room on your main hard drive—as we said above, some Steam games are substantial in size. It’s possible to move part or all of your games library over to another internal or external hard drive on your system.
Open Settings from the Steam menu in the desktop client, then head to the Storage tab. Via the drop-down menu at the top you can see existing library locations and create new ones—then with a library selected, you’ll see a list of installed games. Select one or move games, then click Move to move them to another drive.
When you’ve got a library selected, there’s also a button with three dots on it to the right of the library location—click on this to make the current library the default one, which is where new games always get installed if you don’t specify a different location.
6. Buy Steam games for less
Our final tip is to head to the very useful third-party SteamDB website, where you’ll find a wealth of information on the Steam platform and the games available through it: From information about which games are currently the most popular, to those that have most recently received updates.
Most importantly for our purposes here, it can tell you when the next big Steam sale is, and tell you when individual games drop in price (and how that compares to their previous price over time). As long as you’re patient and check SteamDB regularly, you need never have to pay full price for your games.
