This article was originally featured on Popular Photography.
The PhotoScan app from Google is one of the quickest and easiest ways we’ve found to create high-quality digital versions of physical prints. In this tutorial, we’ll walk you through the steps needed to digitize your favorite instant photos, whether they’re Polaroids or Instax.
Why you should use an app to digitize

Though your smartphone’s camera may work in a pinch, this method often results in photos with noticeable glare and/or perspective distortion. The PhotoScan app, on the other hand, automatically corrects for both of these through computational wizardry. It also detects the edge of prints, so you won’t lose the snazzy borders around your instant frames.
And unlike digitizing with a traditional scanner, which can be a time-consuming process, PhotoScan creates a file ready for sharing in about ten seconds.
Step 1: Download & open PhotoScan

PhotoScan is available for free for both Android and iOS devices. Once downloaded, open the app and you should see a vertical frame with several controls at the bottom, including an option to toggle the camera’s flash on and off, as well as a toggle for glare reduction. We advise leaving both of these turned on.
Step 2: Line up your print in the frame

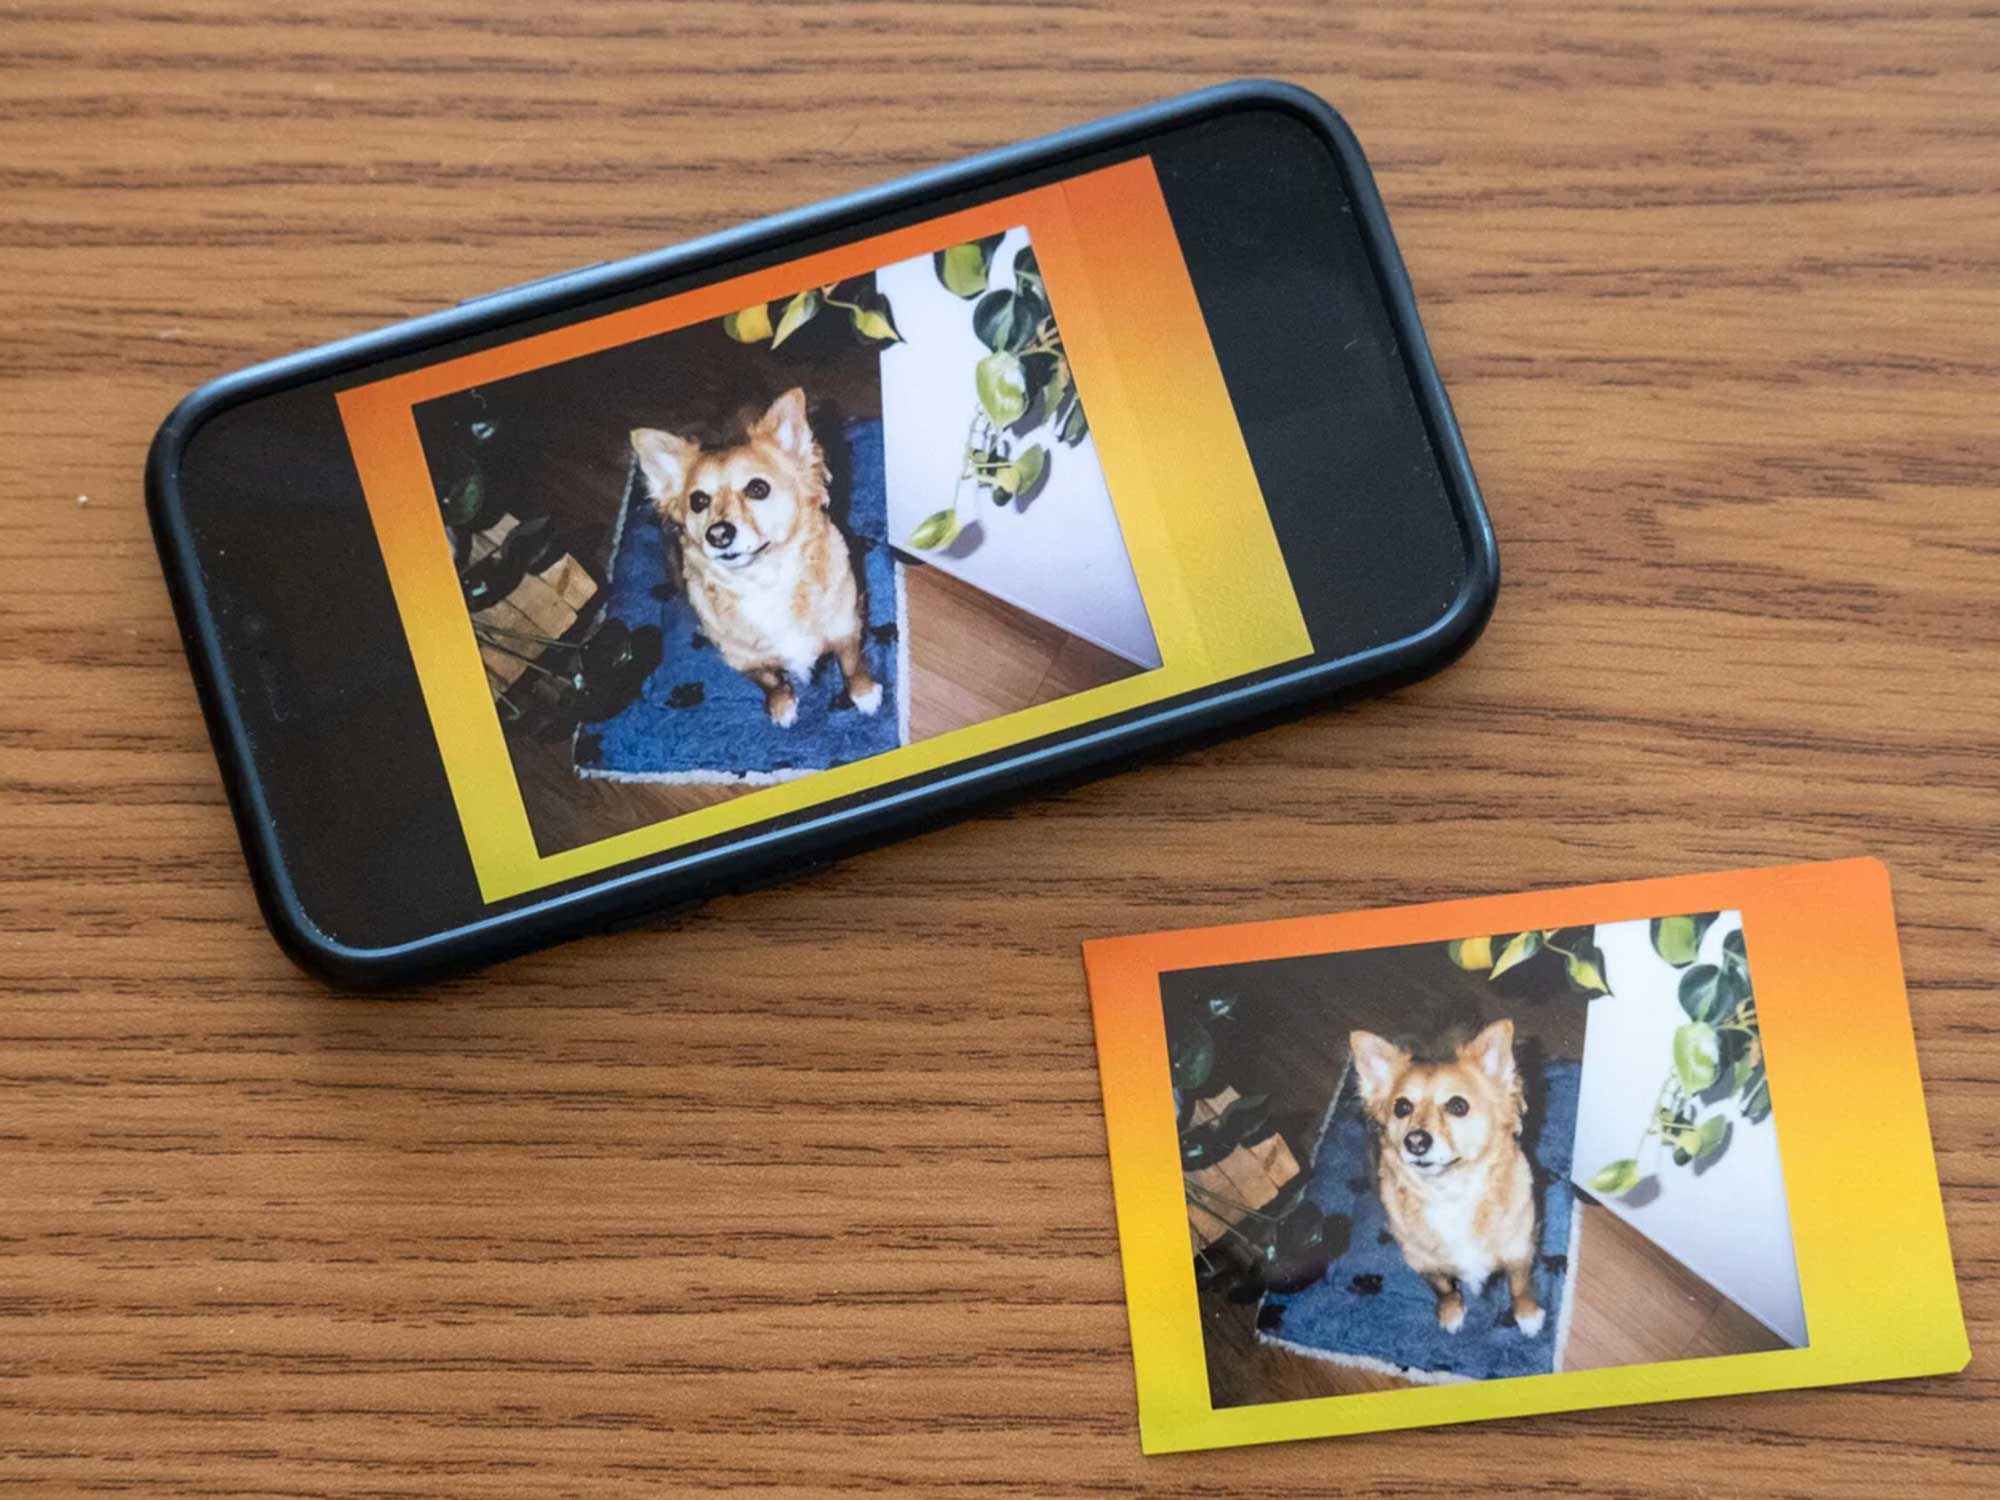
Select the instant photo you’d like to digitize and place it on a flat surface, preferably on a solid-colored background. I used the front of a notebook for this. With the app open, hold your phone over the print and line up the image within PhotoScan’s frame. Then, hit the big circular button at the bottom of the screen. This will start the digitizing process.
Step 3: Follow the app prompt by moving the camera around over the print

Next, you’ll see four white dots appear in the frame over your print. An arrow will guide you to the first dot. Slowly move the center circle over the first dot and wait until it turns from white to blue, this will take about 1-2 seconds.

Once a dot turns blue, another arrow will appear indicating which dot to align the center circle over next. Repeat this process until you’ve held your smart device over all four dots, at which point, PohotoScan will begin generating the final image file.

And that’s it! You can view all of the files you’ve scanned using the app by tapping the thumbnail in the bottom right of the screen. PhotoScan also allows you to rotate images and adjust the corners before sharing your scans with the world. Happy digitizing!
