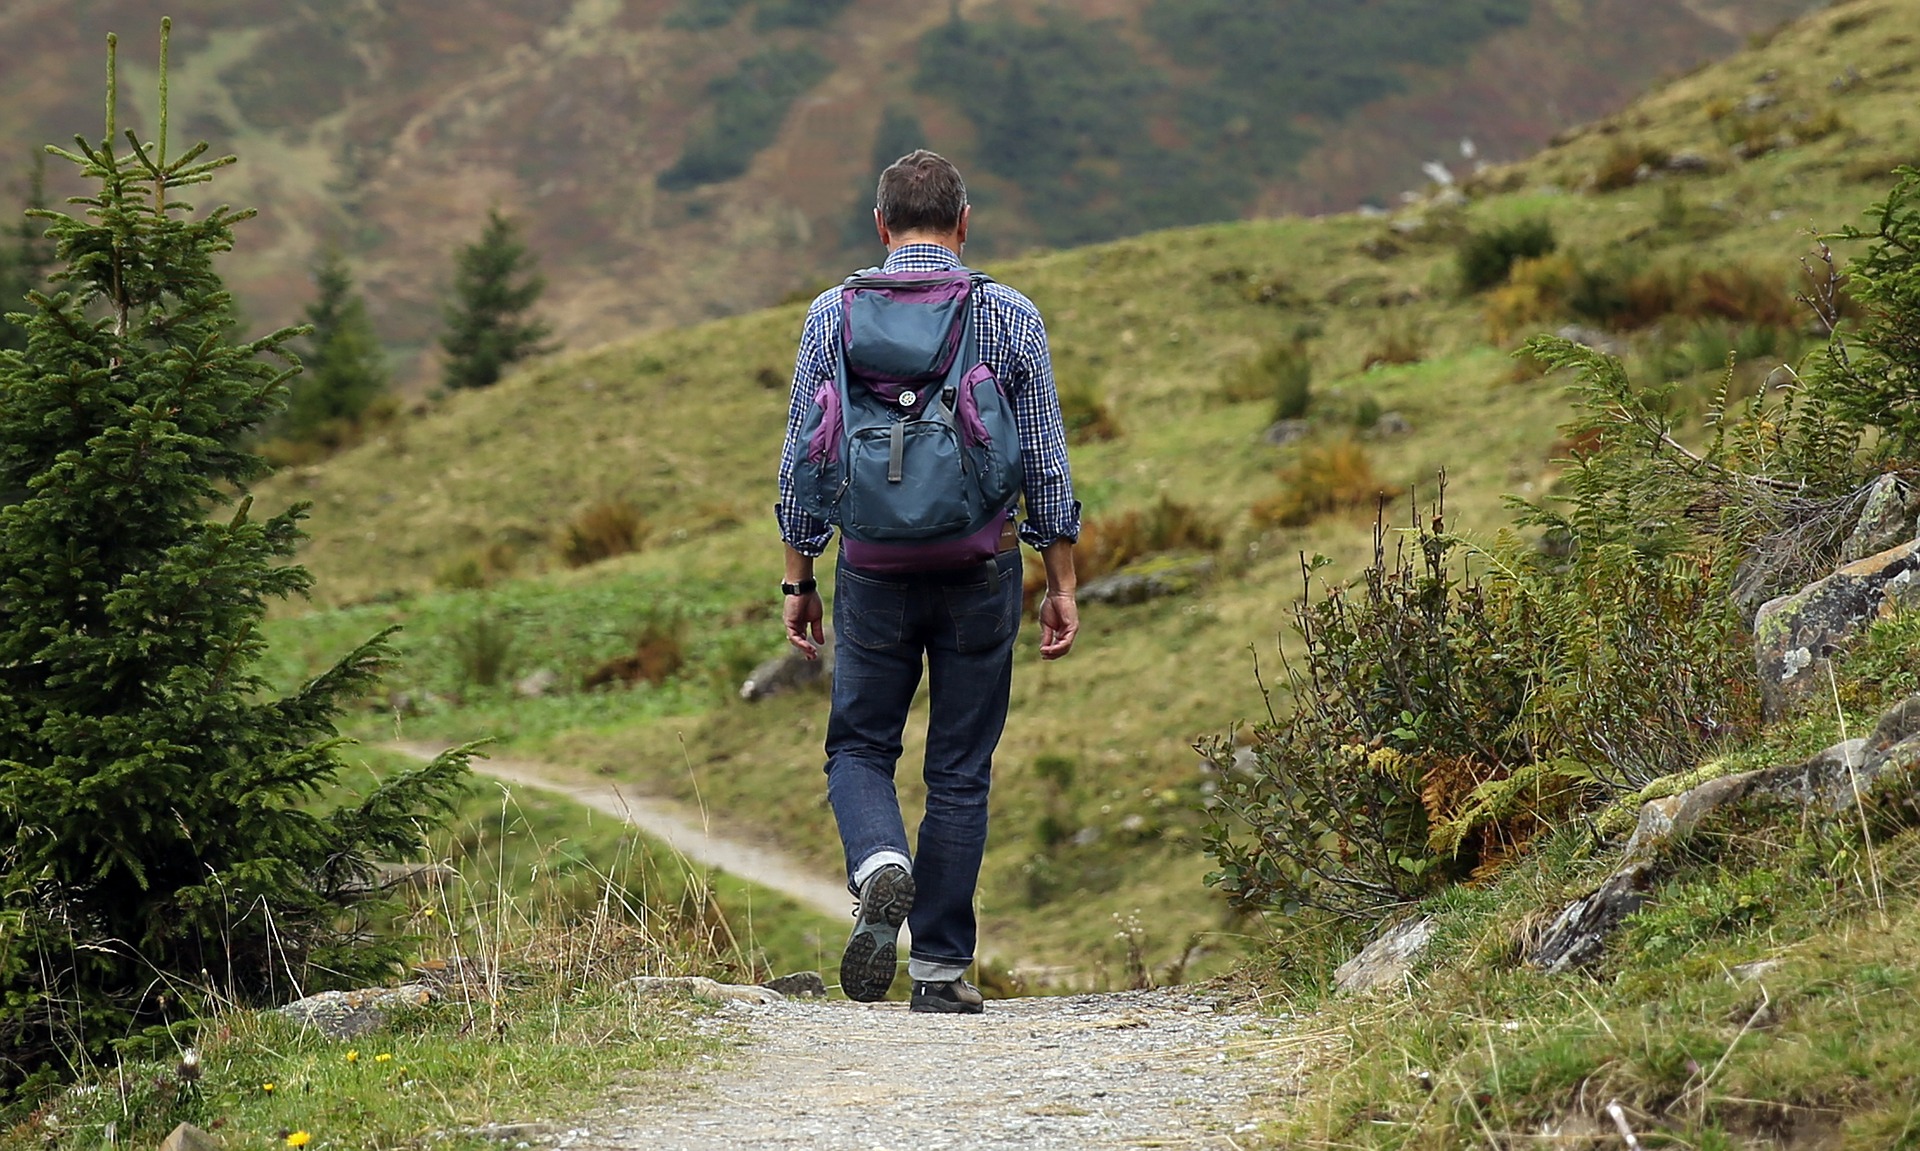
Nobody’s going to summit Mount Rainier or trek through Yosemite’s vast wilderness on just a handful of trail mix. When you head into the backcountry, you need balanced, hearty meals to fuel your adventures.
But not all rough-and-ready sustenance gets the job done. Ideally, your food will fit three criteria: It must taste good, cook fast, and not require too much precious stove fuel. That’s why freezer-bag cooking works so well on the trail.
I discovered the brilliance of this method at age 18, while taking an overnight trek with my aunt. For the previous 10 years, ever since my first hiking trip with my dad, I followed my father’s food preferences. He has always been the kind of backpacker who doesn’t worry about the weight of his pack, stuffing in cans of beans, tins of tuna, and boxes of Velveeta macaroni and cheese.
My aunt, on the other hand, dutifully weighed and portioned her meals in advance, creating stunning single-serve bundles that cut packaging waste and eliminated the weight of unnecessary extra servings. Plus, there was practically no cleanup after the meal. My eyes were opened—freezer bags became my default for backcountry cooking. Here’s how you can follow my lead.
The freezer bag advantage
This preparation is cheap and easy, and it also saves waste, weight, and water. What you carry into the wild, you have to carry back out. But no one likes toting a pack stuffed so full of garbage that you can’t find your eating utensils. Most of that waste comes from the packaging around your trail food. So remove those boxes, tins, and plastic wrap and place all of your ingredients in one compact zip-top freezer bag before you leave home. When you eat its contents on the trail, all that’s left to throw out (or wash and recycle) is the one bag.
With no unnecessary packaging and perfectly-portioned servings, you’ll also have less weight to carry. This is of the utmost importance to backpackers, who often cut toothbrushes in half to save an ounce or two.
This cooking method also requires less fuel, because you don’t have to simmer the food over a flame: You just add hot water and let the meal cook in the bag. On top of fuel, you save water: Instead of rinsing cookware with your precious liquid reserves, there’s zero cleanup, so you can save the H2O for the hike out.
Why build your own bags rather than buying pre-made freeze-dried meals? You can find backcountry fare lining the shelves at REI, but these meals cost about $8 to $12 on average. Plus, your options are limited, especially if you’re on a special diet. By crafting your own lightweight meals from grocery staples or bulk bins, you can save some cash and customize your meal plan.
Building your meal
A balanced diet is even more important when you’re on the trail. There, even the smallest deficiencies can seem monumental—just ask anyone who has backpacked the Grand Canyon in July without electrolytes or salty snacks. Fortunately, getting all the nutrients you need isn’t too difficult.
“Eat regularly, eat a variety, and eat often,” says Claudia Pearson, Rocky Mountain Rations Manager at the National Outdoor Leadership School (NOLS). “Those are the rules of food on the trail.”
Every meal you eat in the backcountry should contain three main components: fat, complex carbohydrates, and protein. Fat tops up your energy reserves, carbs offer a quick boost, and protein helps repair stress to your aching muscles. Salt and sugar play a part too, but at dinnertime, it’s all about refueling for muscle recovery and restocking your energy stores for tomorrow.
So when you craft your meal-in-a-bag, start with carbohydrates that cook quickly and easily, such as couscous, rice noodles, or ramen. Aim for starches that take no longer than five to seven minutes to rehydrate—otherwise, your carb may not cook fully with the freezer bag method.
Next, add a serving of protein like nuts or seeds, dried tofu, dried beans, or pre-cooked foil-packed tuna or chicken. If you opt for animal sources of protein, keep them separate in their foil-pack wrapping until you’re actually cooking the meal. That way you avoid spoilage.
And don’t forget the veggies. A few tablespoons of dried peas or mixed vegetable flakes offer necessary vitamins and minerals. To top everything off, bouillon cubes and dried spices add flavor.
It’s also worth your time to seek out foods that have the most calories for the smallest weight and size. Pearson says she often includes components like honey, peanut butter, coconut, chia, raisins, cheese, and powdered eggs, which are all nutritious and easy to prepare.
If you’re not comfortable creating your own recipes yet, we’ve provided a couple examples in the next section. Alternatively, Pearson recommends that you head to the grocery store and look for soups in bulk bins or instant cups. If you’re looking for prepackaged options, then dried refried beans, curried rice and vegetables, and ingredients like peanuts and miso paste all make for great freezer bag meals. Pearson regularly includes these foods in NOLS students’ meal packets.
“Your imagination is your only limitation,” she says. “It just has to taste good, that’s the bottom line.”

Recipes
Although you can build a meal yourself, I have a few tried-and-true recipes that have served me well. One contains meat, and the other is vegan.
Spicy Couscous
- 1/3 cup couscous
- 2 tablespoons freeze-dried peas or other vegetables
- ¼ teaspoon cumin
- ¼ teaspoon spicy chili powder
- ½ teaspoon dried cilantro
- ½ bouillon cube
- 1 tablespoon dried cranberries
- 1 tablespoon sunflower seeds
- 1 pouch of single-serve foil-pack chicken
- Salt and pepper to taste
Place all ingredients except chicken, sunflower seeds, and cranberries into a sealed double-zipper freezer bag before hitting the trail. At dinnertime, boil 1 cup of water and pour in enough to cover the couscous. Massage or stir the bag to mix the ingredients. Zip the bag closed, then wrap in a towel and let sit for five to seven minutes, or until couscous is soft, massaging once halfway through. When cooking is complete, stir the bag’s contents (if necessary). Then add chicken, seeds, and cranberries. For minimum cleanup, enjoy straight out of the bag, or transfer to a bowl if you prefer.
Vegan curry noodles
- 1 package of rice-noodle ramen, without seasoning packet
- ½ vegetable bouillon cube
- 2 tablespoons dried vegetables
- ¼ cup textured vegetable protein (TVP)
- ¼ cup Coconut milk powder
- 1 tablespoon curry powder or paste
- ¼ teaspoon ground ginger
- ½ teaspoon red pepper flakes, optional
Place all ingredients into a sealed double-zipper freezer bag before hitting the trail. At dinnertime, boil 1 cup of water and pour in just enough to cover the noodles. Massage or stir the bag to mix the ingredients. Zip the bag closed, then wrap in a towel and let sit for five to seven minutes, or until noodles are soft, massaging once halfway through to break noodles apart and encourage even cooking. When cooking is complete, stir the bag’s contents (if necessary). Again, you can eat out of the bag or move your food to a bowl before you dig in.
Take away your trash
After you eat your meals, pack up your tent, and check your boots for spiders, don’t forget to pack out your waste—freezer bags and all. As the non-profit Leave No Trace Center for Outdoor Ethics beseeches: Enjoy your world. Leave no trace.
