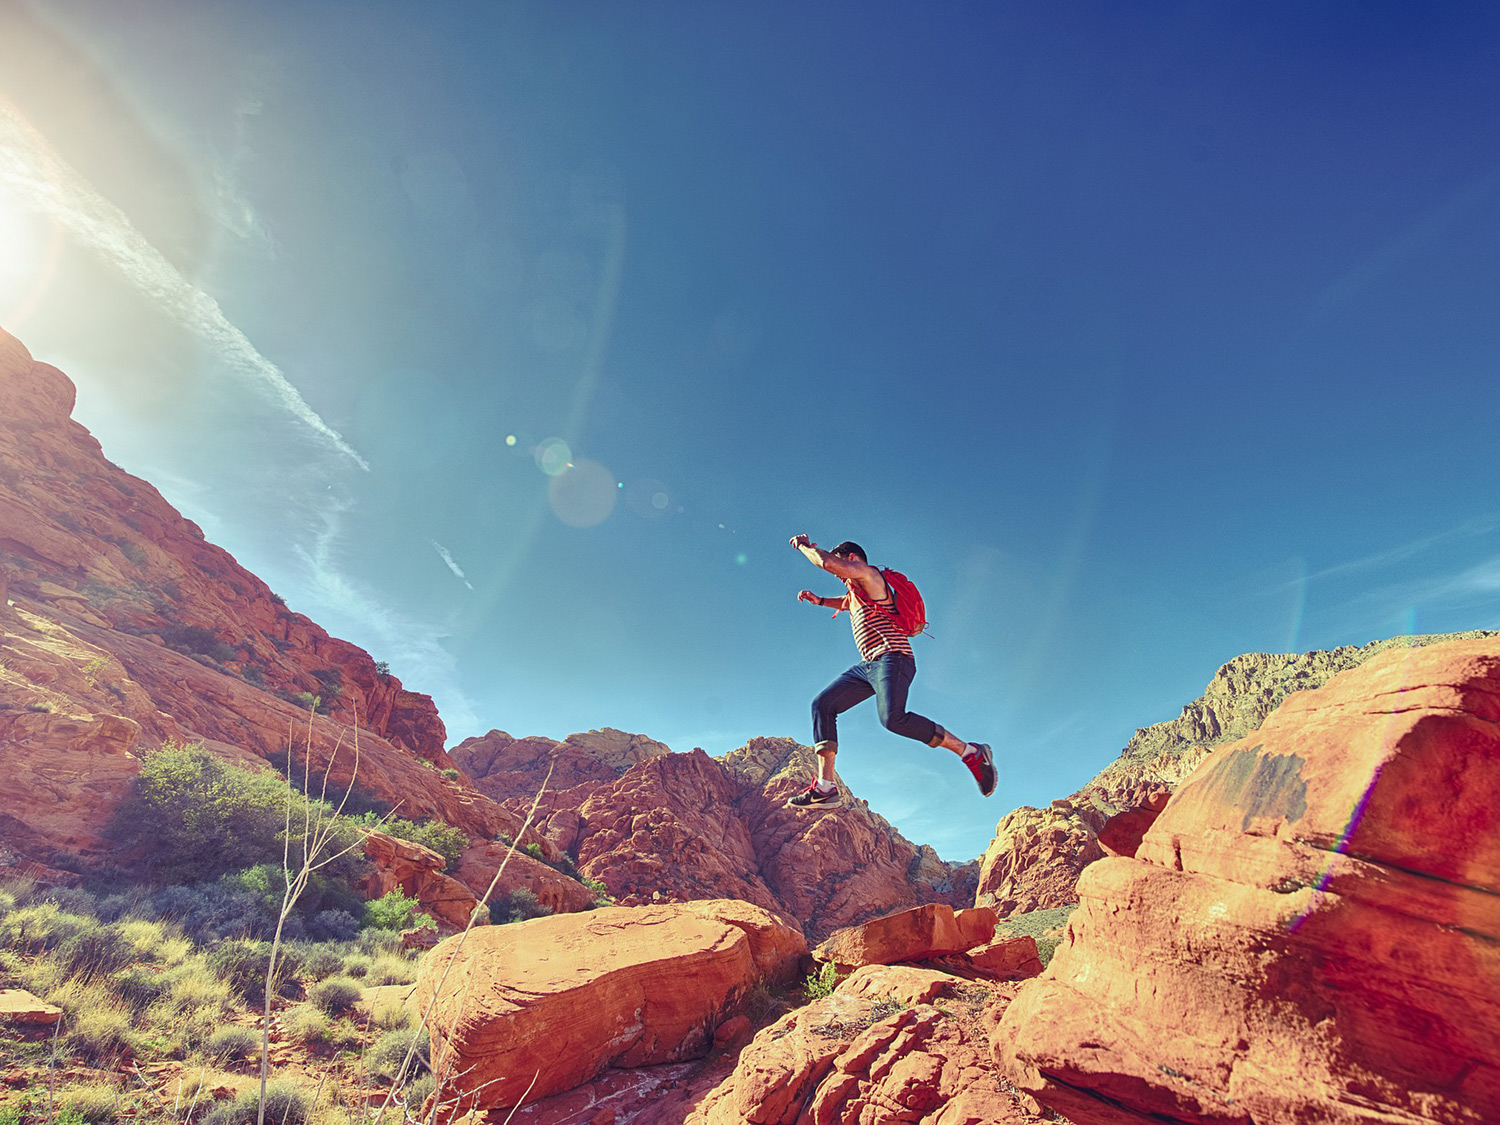
Injuries on the trail are common, be they banalities like blisters or lacerations from overgrown foliage, or serious concerns like dislocated shoulders while rock-climbing or snake bites. Outdoor lovers know the wilderness comes with risk of bodily injury. But those who know best venture boldly into the wild prepared with a knowledge of what to do if harm should befall them.
There’s no guarantee that Google will be there to help when gashes, scrapes, or broken bones arise, and medical help isn’t always just a phone call or car ride away. The best medicine for any type of injury is preparedness, so it’s important to know what to keep in your pack for everything from a day hike to a month-long sojourn, plus how to treat common injuries and frequent misconceptions about wilderness first aid.

First aid to pack for your next outdoor adventure
The length and remoteness of your trip—a well-worn day hike trail? unmarked wilderness?—will dictate what you should put in your pack. Climate, altitude, and destination will play a part, too, but chances are, you won’t need bottles of antiseptic and a full splint kit if you’ll only be gone a few hours and the trail is easily accessible from major roads. Likewise, you should bring more than a few adhesive bandages and aspirin if you’ll be away from civilization for a days or weeks.
Tod Schimelpfenig, Fellow of the Academy of Wilderness Medicine and curriculum director at the National Outdoor Leadership School (NOLS) Wilderness Medicine department, suggests starting with a small kit. Most of the time, the kind you can get at your local outdoor store will suffice. But if you prefer to build your own kit, he suggests packing a pair of nitrile or latex gloves, antiseptic ointment, bandages, gauze, larger dressings, an Ace wrap, tweezers to remove splinters, and a blister care kit.
For longer treks, the kit Schimelpfenig recommends is similar, but more robust. “Safety pins are always helpful,” Schimelpfenig adds. Transparent dressings come in handy, too and for blisters, nothing acts like a protective second skin like kinesthesiology tape. But his number one recommendation: consider what can go wrong and what access you’ll have to medical attention, cell service, or fellow hikers. “Prevention and planning can go a long way,” he says.
As for the bulky extras, while some find packing triangle bandages and splint kits bring peace of mind, Schimelpfenig prefers to improvise with items like handkerchiefs and tree branches, things he likely already has in his pack or can easily find on the trail.

Common wilderness injuries
Seasoned hikers aren’t often worried about snake bites and bear attacks; they know these sorts of encounters are rare at best. But broken bones, sprains, dislocations, cuts, and scrapes can pose risks that are just as serious if left untreated. According to Schimelpfenig, “There are some fundamental skills that you can learn that will help take care of people and possibly save their lives.”
The most common injuries in the wilderness are cuts and lacerations. While you might just throw a bandage on it and call it a day when you slice your shin in your own backyard, don’t underestimate how easily a small wound can become infected and cause much larger problems.
“Keeping wounds clean is difficult in the wilderness,” Schimelpfenig says. To do so, first, stop the bleeding and evaluate the situation. Is it over a joint, does it gape open, is it showing underlying structures? If so, time to call it a day and get to a doctor. If it’s small and non life-threatening, irrigate the wound with water that’s safe to drink and thoroughly clean out any debris or foreign particles. Add antiseptic and dress it with the appropriate bandage. Change the dressing and check for infection (swelling, redness or pus) every 24-48 hours.
For other injuries and accidents, Schimelpfenig recommends taking a wilderness first aid course through NOLS or at a local outdoor center. Proper training will not only teach you how to wrap a twisted ankle, dress a wound, and immobilize broken bones, but also introduce life-saving skills like administering CPR, stopping excessive bleeding, and maintaining an open airway. They also instill confidence and resourcefulness, which are necessities in the backcountry, Schimelpfenig says.

Common misconceptions about wilderness first aid
There’s nearly as much bad advice regarding wilderness first aid as there is good advice. You need to know the difference. You may have heard that sucking venom out of a snake bite or giving the bite area a mild shock will slow the spread of the poison. Unfortunately, the only remedy for snake bites is anti-venom, so don’t bother with other remedies; the sooner you can get to the hospital, the better.
Likewise, tourniquets often get a bad rap for doing more harm than good, but Schimelpfenig says otherwise: it’s a very effective method of stopping life-threatening bleeding. “Tourniquets save lives,” he says. “Limbs are not automatically sacrificed when a tourniquet is applied.” But do reserve the technique for severe bleeding only.

What to do with serious injuries on the trail
“The more remote you are, the more training you should have,” Schimelpfenig says. While most outdoorsy individuals can benefit from a 16-hour wilderness first aid course, those venturing far into the woods or the mountains may want to consider something closer to a 40-hour wilderness first aid or 80-hour wilderness first responder course. The longer you’re out there and the farther away from civilization, the longer you’ll have to care for yourself or someone else.
The first step involves being able to recognize threats to life, like obstructed airways, breathing problems, cardiac arrest, severe bleeding, or anaphylaxis. Recognize the signs and prioritize those issues so that you can thoughtfully and confidently address the major issue first while also considering secondary injuries that may cause discomfort, but aren’t life-threatening.
Lastly, be cognizant of where you’re going and what types of communication might be available or recommended. If you know you won’t have service, is the area where you’re hiking well-traveled? If so, even if you do get injured, there’s a good chance someone will pass by eventually. If not, consider packing a device like a satellite phone or personal locator beacon to call for help if you or a companion need it.
With the right training and gear, you can boldly embark upon the wilderness adventures of your dreams and be prepared for just about anything, come hell, high water, or twisted ankle.
