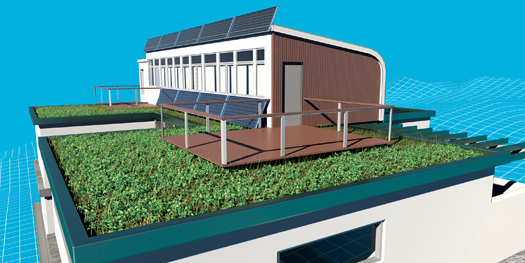
Why bother with an unsightly and inefficient flat tar roof when you can look out the window at a teeming green garden? That’s why I’m turning part of my roof green. I’ll post more detail about what I’m growing and the DIY tray-based system I’m growing plants in, but before any of that can happen, the roof itself needs to be prepared to hold several inches of dirt without collapsing or flooding my upstairs. For that, I went with a multi-layer system: insulation, rigid roof board and a thermoplastic barrier. Read on for more about the installation and check out the gallery for shots of the roof-prep in action.
I hired a commercial roofing company to take my flat roof system and get it built up to accept my green roof trays. Prior to the roof crew coming, I’d prepared a series of 9-inch-high curbs, made out of 2-by-4s and scraps of the ZIP board I put over the Kama panels. These curbs would hide the edges of the tapered insulation, allow for a wrap around of the thermoplastic layer, hide the edges of my green roof trays, hold my metal caps, and be the top-most edge of my hemlock siding.
The guys apply the tapered insulation by screwing it to the metal in the Kama panels. Then they glue the Dens Deck to the insulation, glue the TPO to the Dens Deck, and finally use high-powered heat guns to weld together all the seams.
The final product makes for a highly durable system that can directly support green roof trays. The multi-layer system costs about $3 more per square foot than a standard flat roof but will really hold up to the abuse of a green roof.
Photo gallery
John B. Carnett, PopSci‘s staff photographer, is using the latest green technology to build his dream home. Follow along as the project progresses on his Green Dream blog: popsci.com/green-dream.


