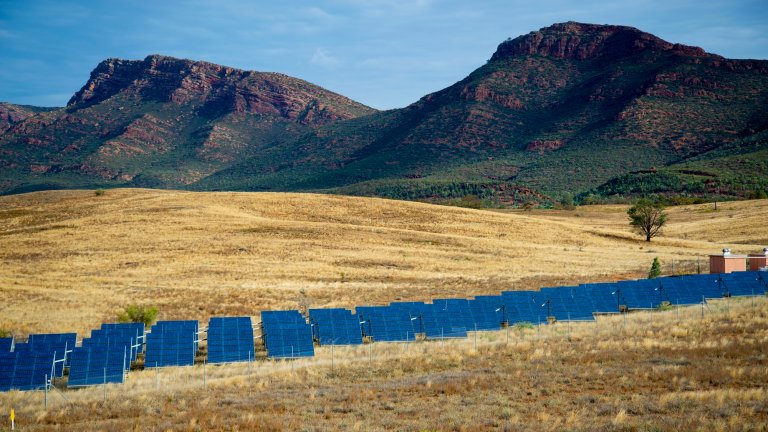
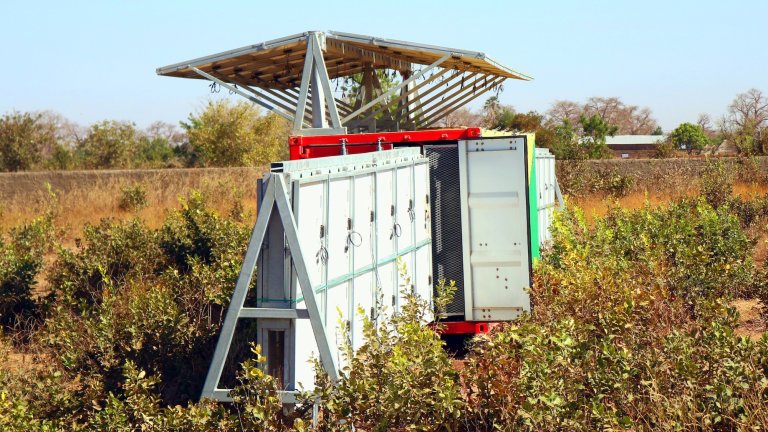
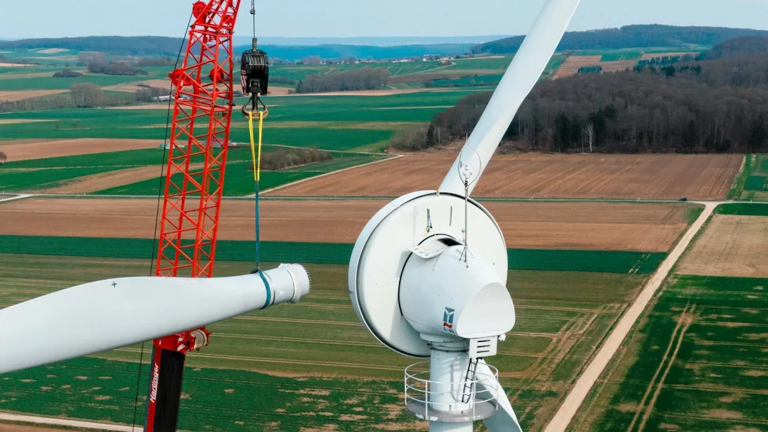
Build It
Recycle some used bottles into a powerful set of solar-charged lanterns

Light Beer Dave Prochnow

Al Gore and company have helped us to see that our planet is in peril. Lend a hand, make a toast, and help illuminate ways for saving Earth -- all at the same time! It's easy to do your part: recycle, refill, and recharge. Just take your fave beverage bottle (keep the cap), drop in a flexible solar panel, a step-up switching regulator circuit, a rechargeable battery pack, and a powerful LED, cap it, and you'll have a self-sufficient garden lantern that is ideal for shedding some light on solving environmental issues. You will have to choose your bottle carefully, though. Clear glass rules. Also, wide-mouth bottles are easier to convert than narrow opening long-neckers. Like your grandfather who built ships in discarded bottles, put a modern spin on bottle building while being conscientious of your world. Cheers!

TIME: 4 hours
PRICE: $23.17
DIFFICULTY: moderately hard

PARTS

STEPS

1. Refer to the schematic. Assemble the step-up switching regulator circuit with the TL499A controller, toroid inductor, and support components. Keep the profile of your regulator circuit small enough so that it can fit through the bottle's neck. Attach one pole of the switch to the circuit.

2. Solder two wires to the anode and cathode leads of the LED and connect the wires to the regulator circuit.

3. Carefully solder a "pad" on the positive and negative terminals of the solar module. Connect the diode to the solar module's positive terminal pad and attach one moderate length of wire to the diode's other lead. Attach another length of wire to the solar module's negative terminal solder pad. Wire the module into another pole of the switch.

4. Connect the battery pack to the final pole of the switch and tidy up any remaining connections.

5. Slip the solar module, circuit, LED, and battery pack inside the bottle. Route the switch wiring harness up and out of the bottle. Fit the bottle's cap over the wiring harness so that it holds the switch firmly in place on the outside of the bottle.

6. Place the bottle in the sun for charging. Slide the SPDT switch to the solar module connection for charging the battery pack. A partially drained battery pack will take 2-3 hours to fully recharge. Once the pack is fully charged, slide the switch to the circuit connection and the LED will illuminate. This high-powered LED will drain the battery quickly; so expect about 30 minutes worth of light from a fully charged battery pack.

7. Toast the sun and help save the planet. It sure beats pulling the label off the bottle and heaving it in the trash.

Want to read more articles like this, plus tips and tricks, home hacks, DIY projects, and more? Subscribe to Popular Science today, for less than $1 per issue!

24 Comments

The title says six-pack yet its for only one bottle lantern.
For a 6 pack it would be more like $150. Way to much for me I'll stick to my cheap-o walmart special solar lights.

nice concept but more money than sense; i'll just stick with the 9-volt LED lantern

nice enough

Im sorry, I can appreciate the recycling aspect of this project, but why would I spend twice as much money and 10 times the effort of just going and buying the damned thing already packaged at the home depot?...No offense, it's still cool!

I think this is cool.

Hobby circuitry isn't about saving money

It might be more cost effective to buy a walmart lantern and put the guts in a beer bottle.

You guys are so lame. The lantern you make like this is way cooler than anything you can buy, and you can customize it in endless ways if you learn even a tiny bit of electronics. Plus the cheepo walmart solar lights (all the solar lights) are incredibly lame, just like you guys. With this, if the light doesn't last long enough experiment! Larger or more efficient solar panel, maybe a battery with higher ampere-hours rating, or maybe search for more efficient leds with more lumens/watt. You can go with different colors, some can blink, you can make marquees, the possibilities go on and on. Have fun with it!!!

Patrick

Have fun with it he says and spend even more money.
I like the idea of gutting the cheap solar lights already made up and putting it into the bottle.

Dave,

Check the parts list to the step up circuit. I don't see where the 1N5817 diode is located. Let me know.

I'll let you all know if I get it to work.

Dave,

Check the parts list to the step up circuit. I don't see where the 1N5817 diode is located. Let me know.

I'll let you all know if I get it to work.

A little shopping around one can make this project cheaper try looking for LEDs on ebay the battery it's two AA Nicads you may already have some on hand in an old cordless phone.
The LEDs I'd just get a bunch of cheapo 18,000mcd white LEDs from a supplier from HK or Taiwan off ebay the ones you can buy in lots of 50 for $10.

hey confused: I believe the Led cathode is hooked to the negative terminals of both the battery pack and the solar pack. the anode is indicated on the schematic.

Could anyone provide more extensive directions for this beginner? Still need to learn the ABC's of reading schematics. For this project, even pictures would be great if possible.

Anyone?

Thank you.

question, can u get cheaper by using an old calculators' solar cell? and if so which ones?

I tried to make this and it's not working. If anyone did it successfuly how did you do it? What was missing from the instructions? Pics would have helped the instructions.

I might not know my way around an electical schematic as well as you all,but at least I'm trying. I have enlisted the help of my neighbor who is an electrical engineer and recently retire from Delphi. As soon as I get it done and working I'll be glad to help anyone who is having problems.

You can learn about the 1N5817 diode in this PowerFilm datasheet:

"Introduction to PowerFilm"

@www.iowathinfilm.com

Look for "PowerFilm Instructions" pg 1.

Dave Prochnow

I looked all over the iowathinfilm.com site and cannot find any data sheet "Introduction to Powerfilm". I still don't know where the diode is supposed to go. Why isn't it shown on the schematic like all the other components? Frustrating.

From the iowathinfilm.com home page click on the OEM components under the portable and remote heading on the left. Then click the link for the instructions page.
Really, this thing should work OK without the diode. It's purpose is to keep the solar panel from draining the charged battery when it is dark. It's a symmetric kind of thing, put light into the solar panel, juice comes out; dark on the panel, juice gets sucked up... but slower than charging.
The annode of the diode should go to the plus side of the solar panel.

It is difficult to me. where can I buy these parts in korea?

Can anyone recommend another LED or battery that would work for more than a half hour? thanks.

Hey Kase9, and everybody else that tried to do it this is what you do. First the solar panel the side that has the bars on it (not the shiny side) is the the correct side. Secondly on the solar film you will see something that looks like this "I- I- I-" the direction of the dashes is the negitive and the bar is the positive. Connect the negative side of the solar film to ground. Next all the sides that go to ground connect them all together and run them to the negative side of the battery. Since ground current wants zero whats less than zero the negative side of the battery. It's not a bad idea to have 2 regular batteries and some extra wire around. If you connect the batteries -+-+ and connect both ends to the L.E.D. poles (anode and cathode) you will quickly find out which is which. This way you can find out the polarity on the LED otherwise it won't light if it is connected wrong. I used this same tool to connect the positive and negative side to the batteries this should allow you to charge the batteries temporary so you can test the circuit. One last point the diode should be connected to the positive side of the solar film, but with the negative side attached to film and the positive side attached to the wire. This prevents negative current to flow the opposite direction draining the battery. I will post pictures soon, I really hope this helps because the directions were about as clear as a really really foggy day.

Lets drink it :)

Extractor 1.4
-----------
www.emailextractor14.com/
www.emailextractor14.com/?page_id=121

Is the intersection between the wire coming out of pin #3 on the controller and the wire to the inductor a soldered connection? It's not clear on the schematic. Does anyone have photos/drawings of a completed project? Thanks.

Haha, that's pretty freaking cool. Maybe you could even use a solar cell to help power that guy! Great idea, and ingenuity!

- Brett Adams
www.efficientsolarpanels.com/

Popular Tags

Regular Features


June 2013: American Energy Independence

Five amazing, clean technologies that will set us free, in this month's energy-focused issue. Also: how to build a better bomb detector, the robotic toys that are raising your children, a human catapult, the world's smallest arcade, and much more.


Online Content Director: Suzanne LaBarre | Email
Senior Editor: Paul Adams | Email
Associate Editor: Dan Nosowitz | Email
Assistant Editor: Colin Lecher | Email
Assistant Editor: Rose Pastore | Email

Contributing Writers:
Rebecca Boyle | Email
Kelsey D. Atherton | Email
Francie Diep | Email
Shaunacy Ferro | Email

circ-top-header.gif
circ-cover.gif
bmxmag-ps