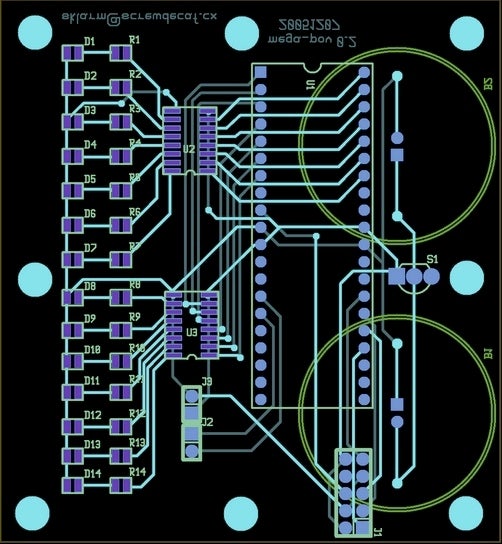
How to get professionally printed circuit boards, cheap
Get your boards printed by a pro-service for a longer-lasting, better-looking project.

We may earn revenue from the products available on this page and participate in affiliate programs. Learn more ›
Let’s say you have a problem that can be solved with some electronics and maybe even a microcontroller. You gather up your parts and prove the idea on a breadboard, a sort of blank canvas for prototyping projects. Then what? A common solution is to solder everything to a blank perforated circuit board, but that still leaves you with a fragile mess of wires that looks like a disaster and takes a long time to assemble. The better idea: get a circuit board professionally printed. Too spendy? Think again. I’ve had about 10 different boards printed for all sorts of projects ranging from a trampoline that shoots fireballs to much less complicated boards that spells text on my bicycle wheels. These circuits are still working great four years later and didn’t break my wallet.
To get the most bang for your buck on a pro-printing job, you have to first ask: How much can you do without? Do you need a legend (aka silkscreen)—the printed part names on the circuit board? If you designed the circuit and will be the only person building it, you can probably skip the legend. How about a solder mask? This is simply a thin, resistive coating that prevents bridging between areas of the board that are to be soldered. If you don’t need either one, why pay for them? That’s why I love Barebones PCB, a minimalist board shop that makes two-layer boards with plated-through via’s for less than any other place I’ve found online. (If you’ve found a better deal, please let me know in the comments!)
Barebones has a simple website that prompts you for three basic questions. Answer these and you get a unit price:
- Quantity
- Y_Dimension
- X_Dimension

I punched in quantity: 2, y = 2″ and x = 3″ and got a price of $23.70. So much for my good deal talk, right? But when I changed the quantity to 20, the price drops to $4.80 a board. So for any projects you intend to make more than once, you can save yourself a ton of money and the headaches of hand-drilling boards or messing with breadboards.
The first circuit boards I had printed were all based on persistence-of-vision projects. A microcontroller would blink specific LEDs at 30 hertz, creating an effect that looked like text when the lights were moving. This is a fun beginner project and each of my boards worked. I sent these boards out for printing for two reasons:
- I was getting into surface-mount parts, which make home etching and perf boarding even less appealing.
- These boards were going onto bicycle wheels, so I didn’t want to have them falling apart or dropping off the wheel as I rode through the streets of New York.

Here are the basic steps to go from idea to pro-printed board:
1. Design a schematic (most DIY folks use Eagle software, I use gschem).
2. Design a circuit board (most DIY folks use Eagle software, I use PCB).
3. Export the gerbers (circuit board formatted files).
4. Upload gerbers to BarebonesPCB as a ZIP file.
5. Wait five business days for boards to arrive.
6. Stuff (assemble) boards and enjoy.
Oh, and should you decide that it is time for a more professional circuit board complete with legend and soldermask, you can still go through Advanced Circuits. The cost of the original Barebones order will be discounted from your final run of professional boards.
