Stay-at-home science project: Leave some “fossil” footprints
Dinosaur footprints are wonderful. Have some fun making a few of your own.
Welcome to PopSci’s at-home science projects series. On weekdays at noon, we’ll be posting new projects that use ingredients you can buy at the grocery store. Show us how it went by tagging your project on social media using #popsciprojects.
Looking at fossilized footprints is one of the most tangible ways to experience prehistoric life. Gazing up at the terrifying skull of a Tyrannosaurus rex in a museum is one thing, but standing next to a set of tracks in their original location is entirely another. A dinosaur walked here, millions of years ago. Right where you’re standing.
These trackways can tell us a lot about the creatures that made them: how they moved, if they were walking or running, and (if there are other imprints nearby) how they interacted with the world around them. It’s similar to analyzing animal tracks today, but instead of being set in snow or sand, these ancient footprints are preserved in stone.
You don’t have millions of years to show your kids how these fossils form, but once you complete this project, you’ll see solid results in a few days. Plus, if you start every morning with a home-brewed cup of coffee, it’s a good way to use those grounds for something else.
Stats
- Time: 10 minutes (plus a few days waiting for it to harden)
- Difficulty: easy
What you’ll need
- 1 cup of flour
- ½ cup of salt
- ¼ cup of used coffee grounds
- ½ cup of cold coffee (or water)
- Large mixing bowl
- Mixing spoon
- Dinner plate
- Something to make an imprint in the “mud”
Instructions
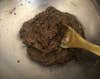
1. Create the mud. Pour the flour, salt, coffee grounds and cold coffee into the mixing bowl and mix it all together.
- Note: The less coffee-related ingredients you use, the lighter your mud will be.
2. Create your own mudflat. Dump the blob of homemade mud onto a plate and use your hands or the spoon to flatten it so it’s ½-inch to 1 inch thick.
- Note: We don’t recommend using a flimsy paper plate. The moisture in the mud will quickly soak through it.
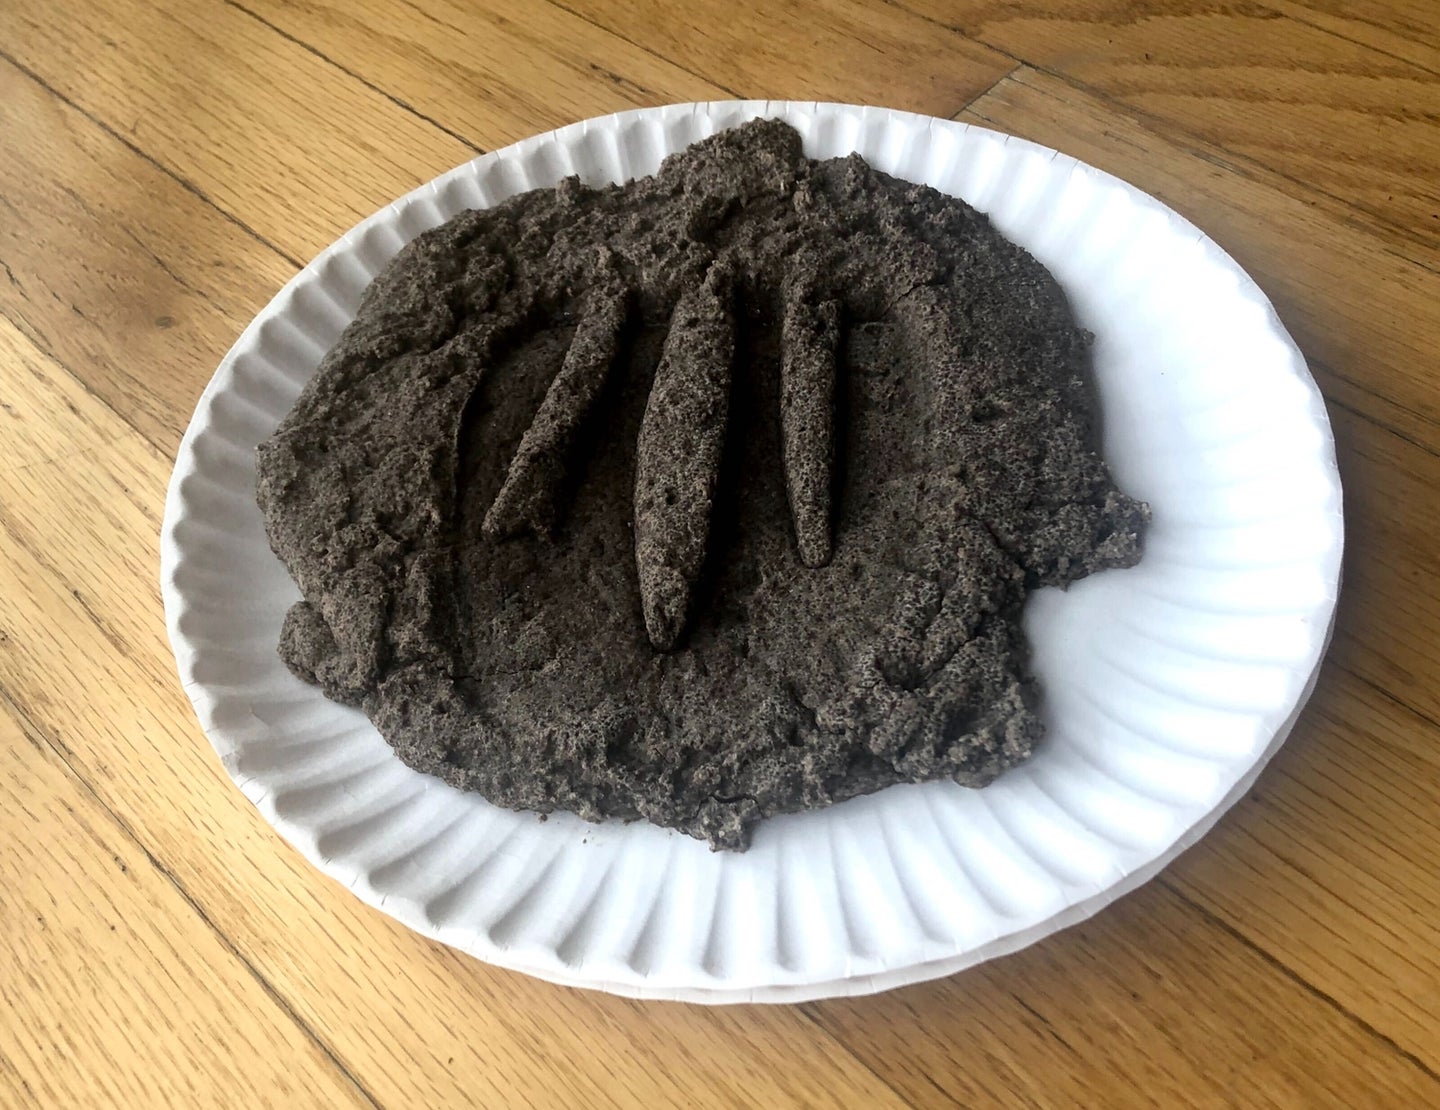
3. Make a footprint. Grab a dinosaur toy, a kitchen utensil, or even let your child use their hand. Whatever you use to make an imprint in the mud, make sure it’s clear. We used a salad tong.
4. Wait. The print will be visible immediately, but it won’t be hard. Wait two to three days for it to dry completely.
How it works
This project demonstrates the very start of the fossilization process. By making a print in your homemade mud and setting it aside to dry, you’re giving the moisture time to evaporate. When it’s gone, you’re left with a material that’s quite different from the doughy patty you started with.
Let’s imagine a dinosaur stomping across the mudflats on the shore of an ancient lake. Once it passes by, the water level changes and the mud dries out, baking under the hot sun. That’s as far as this experiment goes.
For us to see that dino’s tracks today, another sediment would have to fill in those tracks days, maybe months later. It couldn’t just be more mud, either—it’d have to be something different, perhaps sandy or full of plant material. Millions of years later, after those mudflats have turned to stone, another event like erosion or the rocks breaking apart, would have to expose the now-fossilized footprint.
So not only do you need immense amounts of time, you also need the proper conditions. Not everything that walks the Earth is going to leave its mark. Fossilization, in general, is a rare event.
“All kinds of things have lived and died, plants and animals, leaving no particular trace,” says Pat McShea, an educator at the Carnegie Museum of Natural History in Pittsburgh. “But if the conditions are right from the point the organism dies until it’s buried, those are the things that become fossils.”
