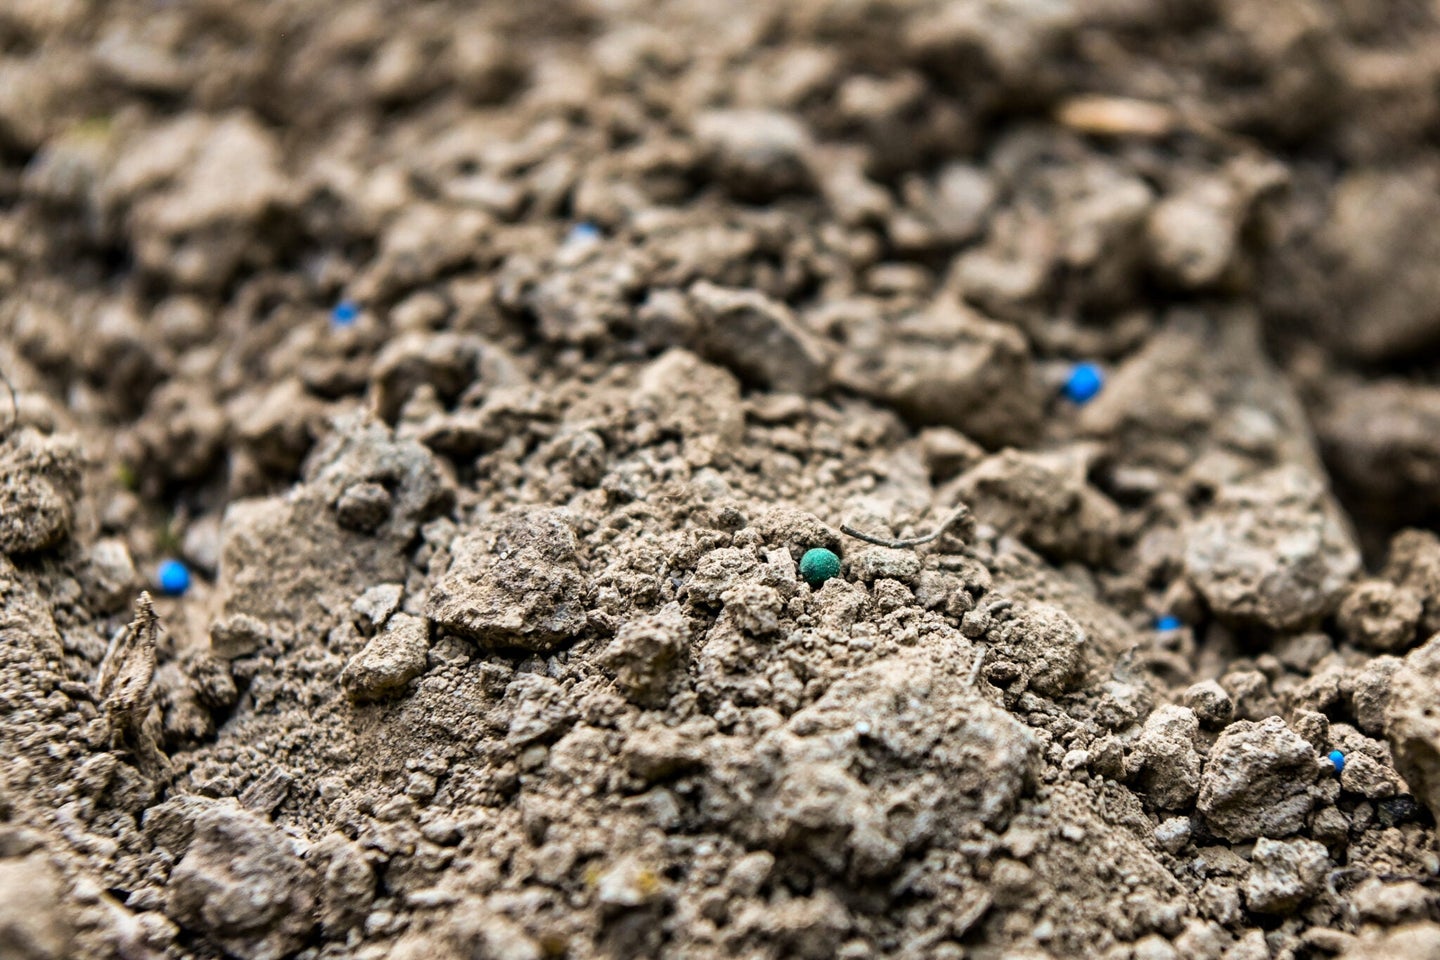
Soil tests are the secret to a bountiful home garden
Make good food, and lots of it.

This story originally featured on Field & Stream.
Not using a soil test to prepare for planting is like not stretching before a workout. It’s risky and has a high likelihood of keeping you from reaching your goals. Whether you’re establishing a new plot or an area you’ve previously planted, a simple soil test can save you time and quite a bit of money on lime and fertilizer. If you’re new to food plots and anything like I was when I first started, you’re probably thinking, Whoa, I just want to plant some food to attract deer to my property; no need to get technical. Well, the good news is taking a soil test is one of the easiest parts of the entire food plot process, and it isn’t as technical as it sounds.
At the most basic level, a soil test will get you a detailed breakdown of your soil’s pH and nutrient levels. When you consider even the most cost-effective forms of planting a food plot, it doesn’t make sense to start the entire process by guessing. Seed manufacturers may have good intentions by putting recommendations for soil amendments on the back of the seed bag. But they don’t know the exact soil you’re planting in, and it’s not something to leave to chance, especially if you’re establishing a new plot. A few simple steps, a little time, and a few bucks for shipping, and you’ll have the information you need to give your seeds the best chance to flourish into deer-magnet forage.
What to look for in a soil test kit
There are a few different ways you can test your soil. Some test kits come with capsules or solutions to guide you to a pH level. There is also a reader known as a prong tester that is designed to instantly give the pH level of the soil. The benefit of these tests is they provide quick results. The downside is they’re not very accurate. Sending soil samples to a lab for testing is the best way to get accurate, detailed results. Most lab-based test kits turn results around in a few days via email.
Start off by buying an inexpensive soil test kit from your county extension office, a university ag department, or a food plot seed supplier. I like to use one test kit per food plot for the most accurate results, and it shouldn’t cost more than $15 per kit. Think about adding another kit for any plots or food sources four acres or larger. Each kit should come with an information sheet and a small bag for your soil.
Next, you’ll need a clean bucket or container big enough to hold a few pounds of dirt. I’ve found any relatively clean five-gallon bucket will work fine. Try not to use anything containing residues like oil, gas, or paint. To take the soil sample, I use a standard garden spade or small round-nose shovel. There is a product called a soil probe that takes precise amounts of soil from deeper underground for better results. They cost about $40.
How to take a soil sample
When sampling the soil from the area you want to plant, you want to make sure it’s dry. If the soil is too moist, your results can be skewed. I learned this the hard way, unfortunately. Once the soil conditions are right for sampling, you’ll want to get good samples from the entire area.
My general rule is, the larger the plot, the more places I sample. I like to sample from six different locations around the plot’s perimeter and four to six more from the center for a total of 10 to 12 samples for one plot. Try to space your samplings out evenly, so you can cover the entire area. With each sample, I try to take soil from three to four inches deep. Since I have very little equipment, most food plots I plant are no bigger than a couple of acres, but don’t be afraid to take more samples if you’re planting in a larger area.
Once all soil samples from the plot area have been gathered, mix them together in the bucket. Be sure to remove any large debris like clumps of grass, leaves, or rocks. Taking these pieces out will help the accuracy of your test results.
How to use soil sample results
Without a test, it’s impossible to know the pH level of your soil, and how to amend the soil to reach the proper levels for what you’re planting. The pH level is an indicator of how acidic or alkaline your soil is. In general, you’re shooting for a neutral pH of between 6.5 and 7.5. Most fallow or unplanted soils are below the neutral level, meaning they’re acidic, which prevents planted forage from accessing the soil’s nutrients. If you fertilize and plant your food plot in soil that’s too acidic, the forage you plant will only be able to access about half of the nutrients from the applied fertilizer. On the other side of the pH scale, you don’t want your soil to be alkaline. Very wet conditions and poor drainage are the most common reasons that soils are above 7.5 on the pH scale.
Knowing that your soil is too acidic or too alkaline before you plant will let you adjust it to get it back to a neutral level. For acidic soil, you can do this by adding lime. I have never had to deal with alkaline soil, but a few farmers have told me the fastest way to correct it is a heavy application of elemental sulfur. Whatever you decide to do, it’s a good idea to consult an agronomist or soil specialist if you see high pH levels. But without an accurate test, you’ll never know where the soil in your food plot stands.