Projects: Install a Pixel Qi Screen on Your Laptop for Computing in the Sun
A (fairly) easy mod makes any netbook ready for the beach
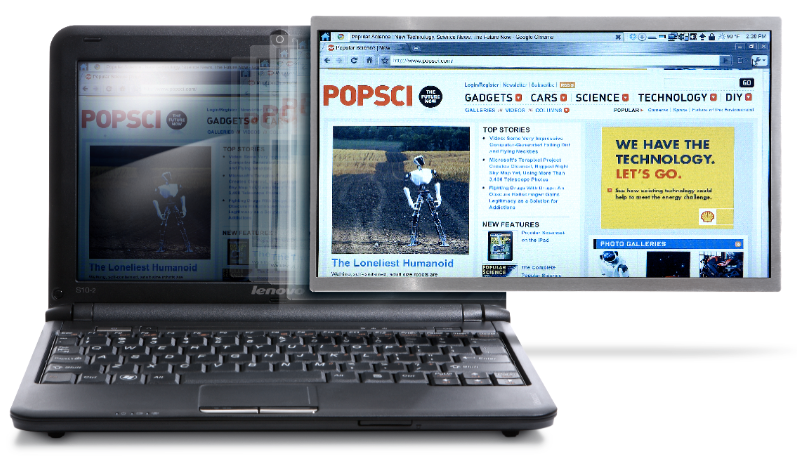
It’s rare that the first people who get to use a ground-breaking technology are third-world students and home tinkerers. But a new type of LCD, which requires less power than conventional displays and is viewable even in bright sunlight, was originally developed by the company Pixel Qi for the One Laptop Per Child project and is now available as a DIY replacement screen for netbook computers.
(You can check out our interview with Pixel Qi founder Mary Lou Jepsen here.) The display combines the full color and fast motion of regular LCDs with E Ink’s ability to operate without a backlight. Installation takes only about 15 minutes, with no special connections or software needed.
Click to launch the step-by-step photo gallery
Right now, the display costs $275 at MakerShed.com, so it’s still best for early adopters or people who often use their netbooks outside. As production ramps up, though, expect the cost to drop quickly. Soon we’ll all enjoy computing out in the sun without breaking the bank.

Step One
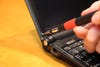
Step Two

Step Three
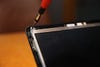
Step Four
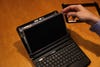
Step Five

Step Six
Step Seven