A rapid AVR prototype programmer
A cure for the heartache of bent pins.
If you’ve ever bent the pin on a microcontroller while trying to insert it into a DIP programming socket, you’re not alone. Aligning those crazy pins again and again, while intermittently prying them out of the programming socket and then inserting your freshly burned chip into a target circuit, can lead to a long and sleepless night. Luckily, there is a cure for the bent pin nightmare. And this prescription costs less than $35.
By now you’ve heard me extol the virtues of Modern Device/Wulfden’s Freeduino Arduino-clone PCBs. These PCBs are low-cost svelte alternatives to the conventional Arduino workhorse controller boards. More importantly, you can purchase Freeduino PCBs in kit form allowing you to thoroughly customize the final Arduino-like circuit.
For example, if you don’t need a voltage-regulated external power source, omit the barrel power connector, voltage regulator, and two electrolytic capacitors. Or, if you prefer SIP inline female headers, replace the male headers with your interface preference. The Freeduino is an easy-to-build, flexible, and customizable Arduino clone.
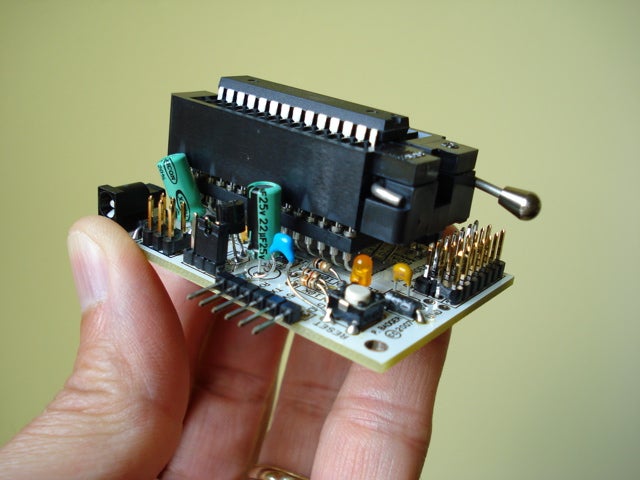
As a demonstration of this flexibility, by adding two non-standard components to the stock Freeduino Bare Bones Board kit you can create an AVR ATmega168 prototype programmer that’ll never bend another microcontroller pin.
Stats
- Time: 1 hour
- Cost: $32.94
- Difficulty: easy
Parts
- 28-pin .600-to-.300 DIP adapter socket (Mouser #535-1107254-28; $16.50)
- 28-pin ZIF test socket (Mouser #535-28-6554-10; $16.44)
Instructions
1. Begin assembling the Freeduino kit according to its instructions.
2. Do not add the two 14-pin DIP sockets from the Freeduino assembly instructions (i.e., Step 4). Solder the DIP adapter socket to the PCB. Watch the placement of the two 0.1mF capacitors (e.g., “104”) near the socket.
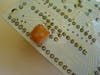
3. Solder the ceramic resonator to the bottom of the Bare Bones Board. Make sure that the leads of the resonator do not touch the DIP adapter socket’s leads.
4. Complete the assembly of the Freeduino kit.
5. Align the ZIF test socket with the DIP adapter socket and carefully join the sockets. Now you can quickly and easily drop ATmega 168 microcontrollers into the ZIF for rapid prototype programming. You might find this modification to be a welcome addition the next time you’re programming bootloader software into 100 AVRs.
Extra credit
If you enjoy a challenge, build your Freeduino AVR rapid prototype programmer from scratch. For a limited time, an older version of the Bare Bones Board PCB (dubbed “Rev. C”) can be purchased from Wulfden for $2.50 + $2 shipping and handling. This is not a kit. It is a bare PCB for which you must purchase and install the parts yourself. Thankfully, you can find a complete parts list inside the Bare Bones Board assembly instructions PDF.
More Freeduino news
If you’re new to Freeduino programming, you will probably be considering the purchase of an FTDI-to-TTL USB serial cable. Hold that thought—a new FTDI breakout PCB from SparkFun Electronics gives you all of the programming functionality of the FTDI USB cable and it costs six bucks less, to boot.