Getting started with Arduino
You just need to take the first step.
Arduino boards and their ilk are perfect for customizing the otherwise run-of-the-mill electronics in our lives. Once you know how to use them, you can make custom shortcut keys for your computer, change your thermostat, or even control a walking robot. But to do that, you need to start simple, and we’re here to help.
To get started, head to Arduino’s software page and download the proper program for your system.
If you’re using Windows 8.1, for example, install the “Windows Installer, for Windows XP and up.” Run the program, following on-screen prompts to give it permission to modify your system.
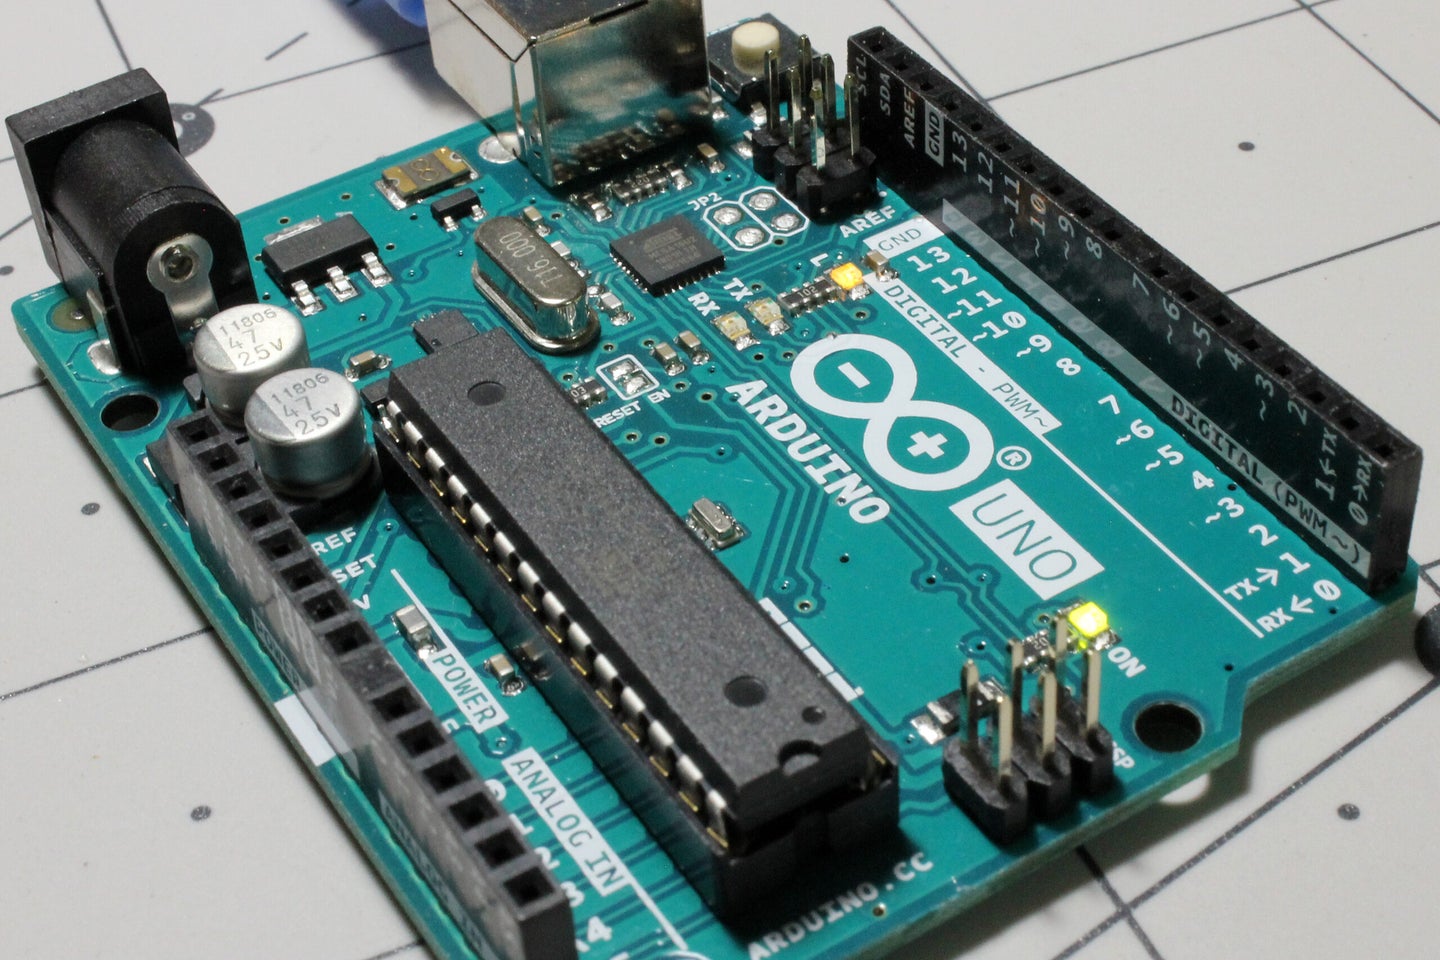
You’ll also need:
- Arduino Uno
- USB Type-A to USB Type-B connector
- LED (optional)
You can use an official Arduino board for this, or another compatible microcontroller, but we chose the Arduino Uno because it’s a common starter board for beginners and experienced programmers alike. Plug the board into your computer using the USB Type-A to USB Type-B cable, then open Arduino IDE.
Your first program
When the board connects, your computer will recognize it as a new device and an LED on the board will turn on. That means you’ve got power. In Arduino IDE, navigate to File > Examples > Basics > Blink, and open the file. You’ll see code that might not make sense now, but it will.
Then go to Tools > Board: > Arduino/Genuino Uno to select the type of Arduino you’re using. After that, you’re off to Tools > Port to select the port where your board is listed by name. Here, ours was COM3(Arduino/Genuino Uno), but yours may have a different number or name, depending on the microcontroller you’re using.
Now, everything’s set up, so click the right-facing arrow near the top-left corner of the Arduino IDE window to upload the program to the board. Once this is done, you’ll see another onboard LED start blinking—on for one second, then off for another second.
What’s going on?
Let’s revisit the code for a minute. If you look closely at the simple “blinking LED” program, you’ll notice blocks of code under “void setup()” and “void loop().” The “void setup()” section only runs one time, at setup, when it sets the pin with an LED connected to it (pin 13) as an output, meaning the pin controls the light instead of receiving input from a button or a sensor.
The “void loop()” section, however, runs continuously. First, it triggers the LED to turn on with its initial digitalWrite command, then stops for one second (1,000 milliseconds) via the delay(1000) command. It then issues another digitalWrite command to turn the LED off, and stops for one more second, before starting over at the beginning of the void loop() section.
Modify as you please
Arduino IDE includes other code examples too, under File > Examples. There’s also a wide array of code available online; just search for what you want your device to do.
Since we’re just getting started, try this simple modification: changing the LED’s blink rate. Just alter the numbers in the delay commands, then upload it to your Arduino board with the arrow icon near the top left in the program.
If you’d like to add your own LED, you can move the built-in LED’s pin to one of the other numbered ones, or leave it at 13, plugging your new LED’s longer leg into whatever pin you choose. Connect the shorter leg to ground (GND). You may also want to use a resistor here to prolong the LED’s life, but for short, supervised tests, omitting one shouldn’t be a problem.
Blinking an LED is, of course, only a minuscule slice of what these systems are capable of. Once you’ve got it doing something simple, it’s just a matter of incremental improvements until you have something truly fantastic.