How To Use The New Apple Photos App in IOS 10
It's got a new interface and a smarter brain
We may earn revenue from the products available on this page and participate in affiliate programs. Learn more ›
Here’s our guide on how to use the new Photos app for the iPhone and iPad in iOS 10. For our complete guide to iOS 10, head over here.
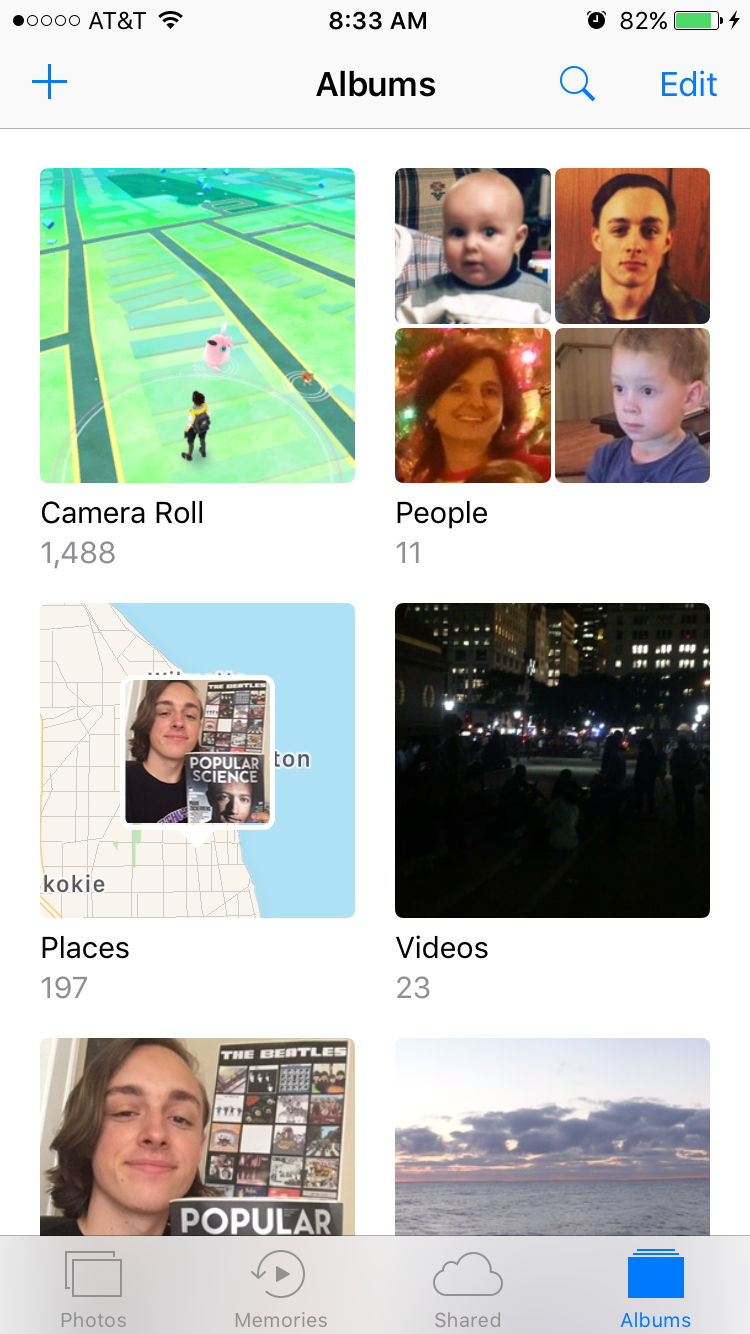
The default Photos app has a new look in iOS 10. The albums are set up in a grid format, two wide, to help you navigate your photos more easily than before. You have an album just for your camera roll, one for all your wonderful selfies, and one for videos.
The new AI-powered albums
You’ll notice that you have albums called “People” and “Places” now, too. Not only did the Photos app get a reorganization, but it also got some brain power. Apple now uses artificial intelligence to recognize the location of the photo and literally puts them on a map inside the album.
The AI also recognizes faces, and then organizes these into mini albums inside the People album. You can add names to them, which allows you to organize all the photos you have with your friends and family by person. Just tap at the top of a mini album to rename it anything you want.

The new Photos app in iOS 10 lets you name mini-albums
Now, you won’t have to search endlessly for the perfect “Happy Birthday” photo collage; you’ll have all the photos you need right in the same place.
The new markup and editing options
You can also add mark up photos, adding a magnifying glass to highlight a word or important part of the image and drawings to your photos. Follow the steps below to access the markup options (and to find where the editing tools are now located!). Read the captions on the screenshots below to help guide you.

First, find the new edit option

Next, find more options

Finally, choose markup