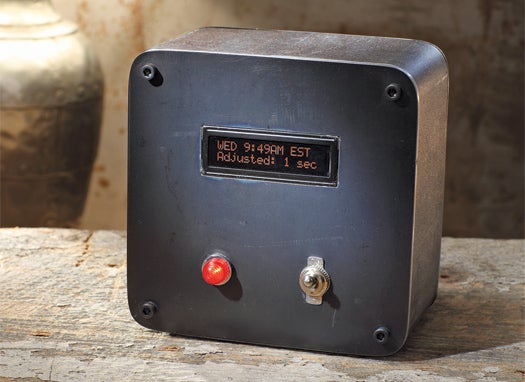
Build a DIY Clock that Uses Ultra-Precise Atomic Timekeeping
For a great time, call the National Institute of Standards and Technology
Reading a clock is one thing; really knowing the time is quite another. For everyday timekeeping needs, we use a standard known as Coordinated Universal Time, or UTC, which is derived from International Atomic Time, a consensus of more than 200 clocks that keep precise time based on the movement of electrons.
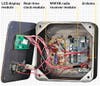
Using a receiver module, you can build a clock that picks up one of the U.S. UTC radio broadcasts, called WWVB. A microcontroller decodes the WWVB time signal that the receiver pulls in, while a separate real-time clock module (a regular microchip-and-crystal-based timekeeping mechanism) keeps the clock running like a normal clock. When a new time signal has been received that differs from the clock’s current time, the microcontroller updates the clock. The signal will come in better at night and when atmospheric conditions are best for long-range radio reception. When it does come in, the project will give you the best time you’ve ever had.
Atomic Timekeeping
Build an Atomic Clock
Time: 2 Hours
Cost: About $80
Difficulty: Hard
- Buy or build a clock enclosure.
- Follow the schematic here to build the circuitry, and attach the real-time clock and WWVB modules to the auxiliary circuit board. Connect leads to the Arduino pins as you go.
- Wire the connections between the Arduino and the display. We used a 16-character, two-line LCD.
- Download the software and program the Arduino.
- Set the dip switches to indicate your time zone.
- Fire up the circuit. When the receiver pulls in the WWVB signal (which may take until nightfall in noisy radio-frequency environments far from its origin in Colorado), the display will update to the correct time and indicate that the adjustment has been made. The front-panel light will blink in time with each pulse received and decoded, once per second when all is working properly.